3920DD3005D Dishwasher Packing

XPart Supply Ltd. 8801031329519

Sale price
$85.59
Regular price
$100.55
You save
$14.96 (15%)

Frequently Bought Together

3920DD3005A, 3920DD3005B, 3920DD3005C, PS11728361, AP5986280, 1267772, EAP11728361

Fits Models: (Ctrl+F and Enter Your Model Number)

LG: LDF5545ST, LDF5545SS, LDF5545BD, LDF5545WW, LDF7774ST, LDF7774SS, LDF7774BD, LDF7774WW, LDT7808ST, LDT7808SS, LDT7808BD, LDT7808WW

LG (continued): LDP6797ST, LDP6797SS, LDP6797BD, LDP6797WW, LDS5540ST, LDS5540SS, LDS5540BD, LDS5540WW, LDFN4542S, LDFN4542D, LDFN4542B, LDFN4542W

Kenmore: 665.13242K900, 665.13243K900, 665.13249K900, 665.14542K900, 665.14543K900, 665.14549K900, 665.15542K900, 665.15543K900, 665.15549K900, 665.16542K900

Note: This is a partial list. This pump packing seal is used in many LG-manufactured dishwashers built between 2010-2024. Verify your specific model number for compatibility before ordering.

Professional: 60-90 minutes
DIY: 120-180 minutes
Difficulty Level: Medium to advanced repair (requires dishwasher disassembly and pump removal)

Required Tools:

  • Phillips screwdriver
  • Flathead screwdriver
  • 1/4" nut driver or socket wrench
  • Needle-nose pliers
  • Towels (to soak up water)
  • Bucket or shallow pan (to catch water)
  • Work gloves
  • Flashlight

Step-by-Step Installation:

  1. Disconnect Power: Unplug the dishwasher from the electrical outlet under the sink, or turn off the circuit breaker. Never work on the dishwasher with power connected.
  2. Shut Off Water Supply: Turn off the water supply valve under the sink that feeds the dishwasher. Turn the valve clockwise until fully closed.
  3. Remove Lower Dish Rack: Pull out the lower dish rack and set it aside to provide access to the dishwasher tub floor.
  4. Remove Spray Arm: The lower spray arm is typically secured with a center cap or twist-lock mechanism. Twist counterclockwise or pull up to remove the spray arm. Set it aside.
  5. Remove Filter Assembly: Lift out the dishwasher filter assembly (cylindrical mesh filter and flat screen). This is typically a twist-and-lift or straight pull-out design. Set the filter aside.
  6. Bail Out Standing Water: Use towels or a small cup to remove any standing water from the bottom of the dishwasher tub. There may be 1-2 cups of water remaining after the last cycle.
  7. Access Pump Assembly: With the filter removed, you'll see the sump area at the bottom of the tub. The circulation pump is located beneath this area. You'll need to access it from underneath the dishwasher.
  8. Remove Toe Kick Panel: At the front bottom of the dishwasher, remove the toe kick panel (decorative panel at floor level). It's typically held by clips or screws. Pull it straight off or remove screws and set aside.
  9. Tilt Dishwasher or Access from Below: Depending on your installation, you may need to carefully tilt the dishwasher forward slightly (have a helper support it), or lie on the floor and work from underneath. Place towels under the dishwasher to catch any water that drips out.
  10. Locate Pump Assembly: From underneath, locate the circulation pump assembly. It's a cylindrical component (approximately 4-6 inches in diameter) mounted to the bottom of the dishwasher tub with a motor attached.
  11. Disconnect Pump Hoses (if necessary): Depending on your model and access, you may need to disconnect hoses from the pump to access the packing seal. Use pliers to release hose clamps and pull hoses off the pump fittings. Have towels ready—water will drip out.
  12. Remove Pump Mounting Hardware: The pump assembly is secured to the tub with mounting screws, clips, or a twist-lock ring (varies by model). Remove the mounting hardware. Typically 3-4 screws around the perimeter of the pump housing.
  13. Lower Pump Assembly: Once mounting hardware is removed, carefully lower the pump assembly down from the tub. You may need to twist or wiggle it to release it from the mounting position. Support the pump—don't let it hang by the wires or hoses.
  14. Disconnect Electrical Connector (if necessary): If the pump has an electrical connector that prevents you from fully removing it, press the release tab and disconnect the wire harness. Take a photo for reference.
  15. Separate Pump Housing: The pump assembly typically consists of two parts: the motor housing and the impeller chamber. These are held together by screws or clips. Locate and remove the screws or clips holding the two halves together (typically 4-6 screws).
  16. Access Old Packing Seal: Once the pump housing is separated, you'll see the old rubber packing seal in a groove between the motor housing and impeller chamber. It may be compressed, cracked, or hardened.
  17. Remove Old Packing: Use a flathead screwdriver or pick to carefully pry the old packing seal out of its groove. Be careful not to scratch or gouge the groove surfaces—they must be smooth for the new seal to work properly.
  18. Clean Groove Surfaces: Thoroughly clean both groove surfaces where the packing seal sits. Remove all old rubber residue, mineral deposits, detergent buildup, and debris. Wipe clean with a damp cloth and dry completely. The surfaces must be clean and smooth for a proper seal.
  19. Inspect for Damage: Check the groove surfaces for cracks, scratches, or damage. Minor scratches are acceptable, but deep gouges or cracks will prevent a proper seal and may require pump housing replacement.
  20. Install New Packing Seal: Remove the new packing seal from its packaging. Position it in the groove on one half of the pump housing. Press it firmly into the groove all the way around, ensuring it seats evenly with no twists or kinks.
  21. Reassemble Pump Housing: Carefully align the two halves of the pump housing, ensuring the packing seal stays properly positioned in its groove. Press the halves together firmly.
  22. Install Mounting Screws: Install the screws or clips that hold the pump housing halves together. Tighten in a cross-pattern (like tightening lug nuts) to ensure even compression of the packing seal. Tighten firmly but do not overtighten—excessive force can compress the seal too much or crack the plastic housing.
  23. Reconnect Electrical Connector (if disconnected): Plug the wire harness connector back together. Ensure it clicks securely into place.
  24. Reinstall Pump Assembly: Lift the pump assembly back up into position on the bottom of the dishwasher tub. Align the mounting holes and ensure any alignment tabs or guides fit properly.
  25. Install Pump Mounting Hardware: Secure the pump assembly with mounting screws, clips, or twist-lock ring. Tighten firmly to compress the seal and create a watertight connection.
  26. Reconnect Pump Hoses (if disconnected): Push hoses back onto pump fittings and secure with hose clamps. Ensure clamps are positioned properly and tightened securely.
  27. Return Dishwasher to Position: If you tilted the dishwasher, carefully lower it back to its normal position.
  28. Reinstall Toe Kick Panel: Snap or screw the toe kick panel back into position at the front bottom of the dishwasher.
  29. Reinstall Filter Assembly: Place the dishwasher filter assembly back into the sump area. Twist or press down to lock it into position.
  30. Reinstall Spray Arm: Position the lower spray arm back onto its mounting hub. Twist clockwise or press down to secure it. Verify it spins freely.
  31. Reinstall Lower Dish Rack: Slide the lower dish rack back into the dishwasher.
  32. Restore Water Supply: Turn on the water supply valve under the sink by turning it counterclockwise until fully open.
  33. Restore Power: Plug the dishwasher back in or turn on the circuit breaker.
  34. Test for Leaks: Run a short RINSE cycle without dishes. Monitor the area under the dishwasher carefully for any water leaks. Check the pump area from underneath (if accessible) during the cycle. The pump should operate without any water dripping or leaking.
  35. Full Test Cycle: Run a complete NORMAL wash cycle with dishes to verify the pump operates properly under full load without leaks.

Diagnose the leak source before replacing parts. Not all dishwasher leaks come from the pump packing seal. Before ordering parts, run a cycle and carefully observe where water is leaking from. Common leak sources include: door gasket, spray arm seal, inlet valve, drain hose, tub crack, or float switch. If water is dripping specifically from the pump area at the bottom center of the tub during the wash cycle (not during fill or drain), the pump packing seal is likely the culprit. Misdiagnosing the leak source wastes time and money.

Clean and inspect pump components while you're in there. With the pump disassembled to replace the packing seal, take the opportunity to inspect the impeller for damage, cracks, or foreign objects (bones, toothpicks, glass shards). Clean any mineral deposits or detergent buildup from the impeller and pump housing. A clean, undamaged impeller ensures optimal pump performance and extends the life of your new seal. Many pump "failures" are actually just clogged or damaged impellers.

Proper groove preparation is critical for seal success. The packing seal groove surfaces must be perfectly clean and smooth for the new seal to work. Any old rubber residue, mineral deposits, or scratches create leak paths. Use fine sandpaper (400-grit) to lightly smooth any rough spots in the groove, then clean thoroughly with rubbing alcohol. A properly prepared surface ensures the new seal will last 5-10 years instead of failing within months.

Don't overtighten pump housing screws. When reassembling the pump housing with the new packing seal, tighten screws in a cross-pattern to ensure even compression. Tighten until snug, then add 1/4 turn more. Overtightening compresses the seal excessively, causing it to squeeze out of the groove or tear. Undertightening leaves gaps that allow leaks. Proper torque is critical—if you have a torque wrench, consult the service manual for specifications (typically 15-25 inch-pounds).

Lubricate the seal for easier installation and better sealing. Before installing the new packing seal, apply a thin coat of silicone grease or dish soap to the seal surface. This helps the seal slide into the groove more easily and ensures it seats properly without twisting or kinking. Lubrication also improves the initial seal when you reassemble the pump housing. Never use petroleum-based lubricants (Vaseline, motor oil)—they degrade rubber seals.

Consider replacing the entire pump if it's old or damaged. If your dishwasher is 8+ years old and the pump housing shows cracks, corrosion, or significant wear, consider replacing the entire circulation pump assembly instead of just the packing seal. A $15 seal on a failing $100 pump is false economy—you'll be back inside the dishwasher in 6 months when the pump motor or impeller fails. If the pump housing is in good condition and only the seal is worn, replacing just the seal is a smart, cost-effective repair.

Test immediately and monitor for 24 hours. After installing the new packing seal, run a test cycle immediately and watch for leaks. Some leaks only appear under full operating pressure during the wash cycle. Also check again after 24 hours—occasionally a seal that seems fine initially will develop a small leak after thermal cycling (heating and cooling) causes slight settling. Catching a problem early allows you to adjust pump housing screws or reseat the seal before it becomes a major leak.

  • Water leaks from bottom of dishwasher during wash cycle
  • Water pools under dishwasher after running
  • Dishwasher displays leak error codes
  • Water drips from pump area during operation
  • Visible water on floor around dishwasher base
  • Dishwasher stops mid-cycle due to leak detection
  • Water leaks only during wash cycle, not during fill
  • Pump makes gurgling or air-sucking noises (air entering through bad seal)
  • Reduced wash performance due to pump losing pressure
  • Water spray is weak or inconsistent
  • Dishwasher takes longer to complete cycles
  • Visible cracks or damage in old pump packing seal
  • Pump seal hardened or compressed from age
  • Water leaks started gradually and worsened over time


Whirlpool refrigerator replacement parts, Frigidaire refrigerator replacement parts, GE refrigerator replacement parts, Kenmore refrigerator replacement parts, KitchenAid refrigerator replacement parts, LG refrigerator replacement parts, Maytag refrigerator replacement parts, Whirlpool refrigerator drawers and glides replacement, Whirlpool dishwasher replacement parts, GE dishwasher replacement parts, KitchenAid dishwasher replacement parts, Maytag dishwasher replacement parts, Frigidaire dishwasher replacement parts, Kenmore dishwasher replacement parts, Whirlpool washer replacement parts, GE washer replacement parts, Maytag washer replacement parts, Kenmore washer replacement parts, LG washer replacement parts, Whirlpool dryer replacement parts, GE dryer replacement parts, Maytag dryer replacement parts, Kenmore dryer replacement parts, LG dryer replacement parts, Whirlpool range replacement parts, GE range replacement parts, Whirlpool stove replacement parts, GE stove replacement parts, GE oven replacement parts, GE microwave replacement parts, buy Whirlpool refrigerator parts online, buy GE dishwasher parts online, replacement Kenmore washer parts for sale, buy Maytag dryer parts, LG washer replacement parts online, KitchenAid refrigerator parts for sale, Whirlpool stove and range replacement parts

3920DD3005D Dishwasher Packing

Experience reliable protection for your LG dishwasher with the 3920DD3005D Dishwasher Packing from XPart Supply Ltd. This essential replacement part is designed for homeowners and appliance enthusiasts looking to maintain optimal performance and prevent common issues like leaks.

Key Features & Design

  • High-Quality Materials: Crafted with durable, precision-engineered materials to ensure a secure fit and long-lasting resilience against wear and environmental factors.
  • Compatibility: Specifically designed for a range of LG dishwasher models, including LDT7797ST, LDF5545ST, LDF5545BD, and others, for seamless integration and exact specifications as per SKU 3920DD3005D.
  • Compact and Versatile Design: Engineered to match the original equipment standards, providing a straightforward installation process without the need for additional modifications.

Performance & Benefits

This dishwasher packing effectively seals your appliance to prevent water leaks and potential damage, helping you avoid costly repairs and ensuring your dishwasher operates quietly and efficiently. By maintaining a tight seal, it solves common problems like moisture buildup, extending the lifespan of your unit and enhancing your overall kitchen experience with dependable, everyday reliability from XPart Supply Ltd.

This dishwasher packing is designed with precision, ensuring a perfect fit for your dishwasher model. Made with high-quality materials, it provides superior protection against leaks and damage. Keep your dishwasher running smoothly with this reliable and durable packing.

Compatible Models
LDT7797ST, LDF5545ST, LDF5545BD, LUDP8997SN, LDP6797BD, LDP6797ST, LDT7797BM, LUDP8996SN, 72214673710, LDT7797BD, LDF5545BB, LDT5665WW, LDF5545WW, LDT5665ST, LDP6797BM, LDP6797WW, LDT5665BB, LDT5665BD, LDP6797BB, LDF5545SS, 1467314677, 14307143051, 338313387, LDT5678SS, LDP6797SS, LDT5678ST, LDF5678BD, LDF5678ST, LDP5676BD, LDB4548ST, LDT5678BD, LDF5678SS, LUDP8908SN, LDPN6761T

Hard to find parts? We've got them or we'll find them!

Over 10,000 New & Used Parts Ready for Pickup

Show this item number to our store staff to help locate the exact part you need
XPART GTIN/UPC NUMBER
9665308754209

XPart Supply Advantage

Your trusted partner for fast, reliable parts delivery across North America

Lightning Fast Shipping

Same-day processing with expedited delivery options across North America

Massive Inventory

Over 10,000 parts in stock and ready to ship immediately

North America Coverage

Comprehensive shipping network covering USA, Canada, and Mexico

Quality Guaranteed

Premium parts with warranty protection and expert customer support

10K+
Parts in Stock
24-48H
Local Delivery
99.8%
Customer Satisfaction
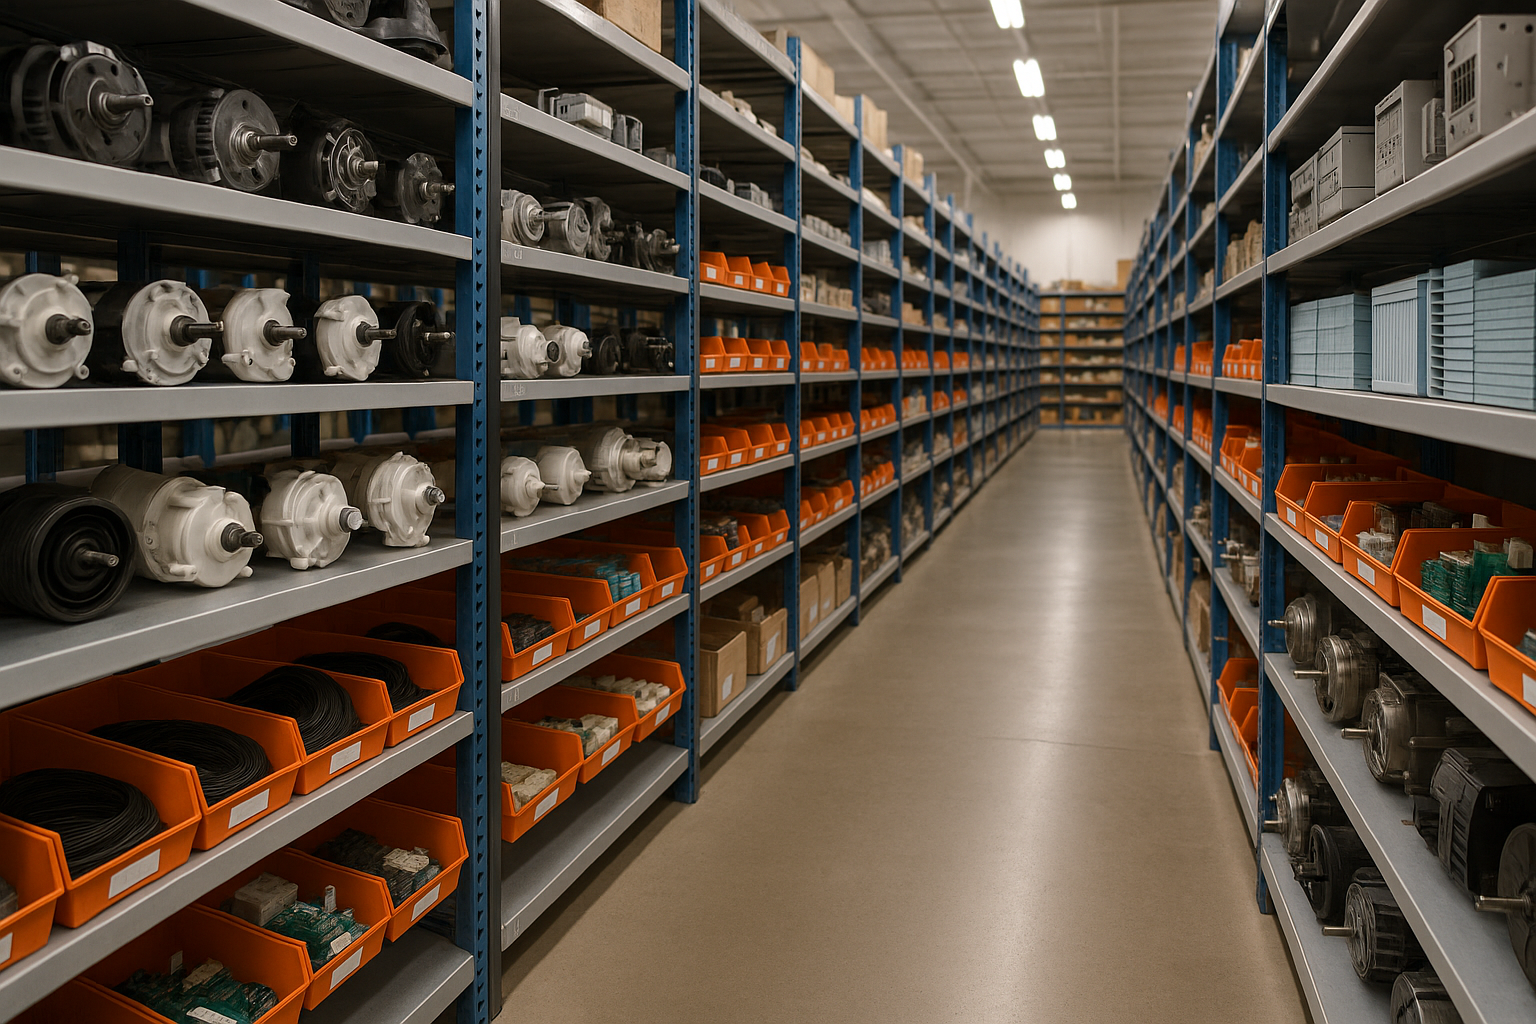
Professional appliance parts warehouse with organized shelving and extensive inventory

Express Warehouse Shipping

Order within the countdown for same-day shipping!

00 Hours
00 Minutes
00 Seconds

In stock orders placed during business hours ship the same day.

Order of $75 or more of eligible items qualify for FREE Shipping.

Same-day shipping deadline has passed

Orders placed now will ship the next business day.

Same-day shipping deadline has passed

Orders placed outside business hours will be processed when we reopen.

Business Hours: Monday - Friday, 9:00 AM - 5:00 PM EST

Trusted Family Business

29 years of Excellence in Appliance Parts

For over 29 years, our family has been dedicated to providing quality appliance parts and exceptional service. What started as a small local business has grown into a trusted name, but we've never forgotten our roots. Every customer receives the personal attention and care that only a family-owned business can provide.

Years of Experience

Our knowledge has been built over the past 29 years in the business, ensuring expert advice for every appliance need.

Personal Service Guarantee

We treat every customer like family, providing personalized solutions and standing behind our products.

Built on Trust

Our reputation has been built one satisfied customer at a time, creating lasting relationships in our community.

Buy Online Pick Up In-Store

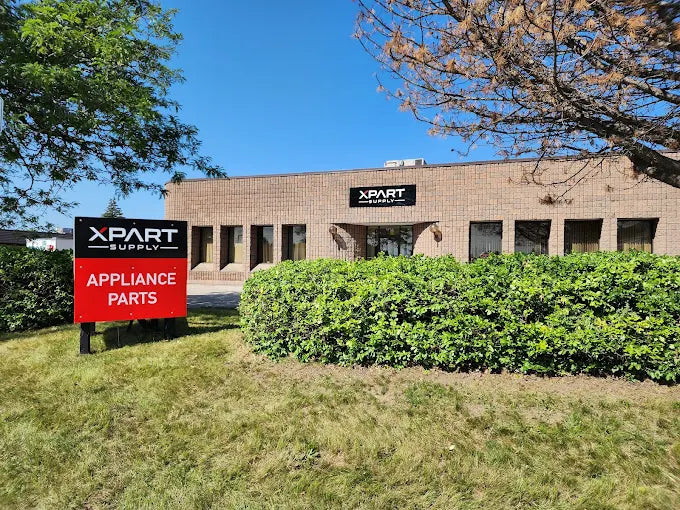
Address
101 Trillium Dr
Kitchener, Ontario N2R 1J8
Phone
Hours
Monday - Friday 9:00 AM - 5:00 PM
Get Directions

Contact Us Customer Service

Hard to find parts? We've got them or we'll find them!

Call now for expert appliance parts assistance

Available Monday - Friday, 9AM - 5PM EST