Menu

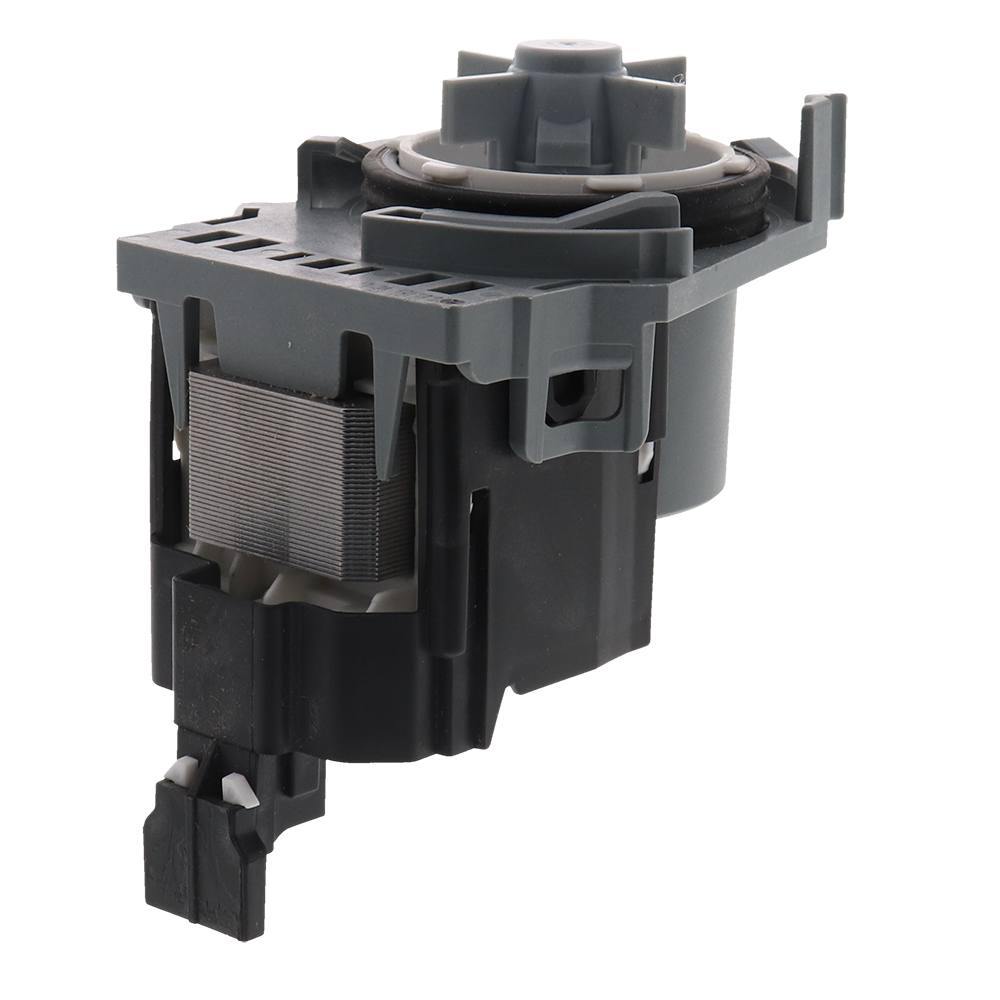


The drain pump sits in the sump at the bottom of the dishwasher and activates at the end of each cycle to force water out through the drain hose. When the motor burns out, the impeller jams with debris, or the seal fails, water stays in the tub — leaving dishes sitting in dirty water, triggering drain error codes, and sometimes flooding the floor. The W11412291 Whirlpool OEM Drain Pump is the factory-specified complete assembly (motor, impeller, and housing) that restores full drainage in one repair.
✓ Symptoms This Fixes
- Standing water in the bottom of the dishwasher after the cycle ends
- Dishwasher won't drain at all
- Loud grinding, rattling, or humming noise during the drain phase
- Pump motor hums but no water is evacuated
- Dishwasher stops mid-cycle with water in the tub
- Drain error code displayed on the control panel
- Slow drainage — takes 5+ minutes to clear the tub
- Burning smell during the drain cycle
- Water leaking from the pump area under the dishwasher
✓ Part Details
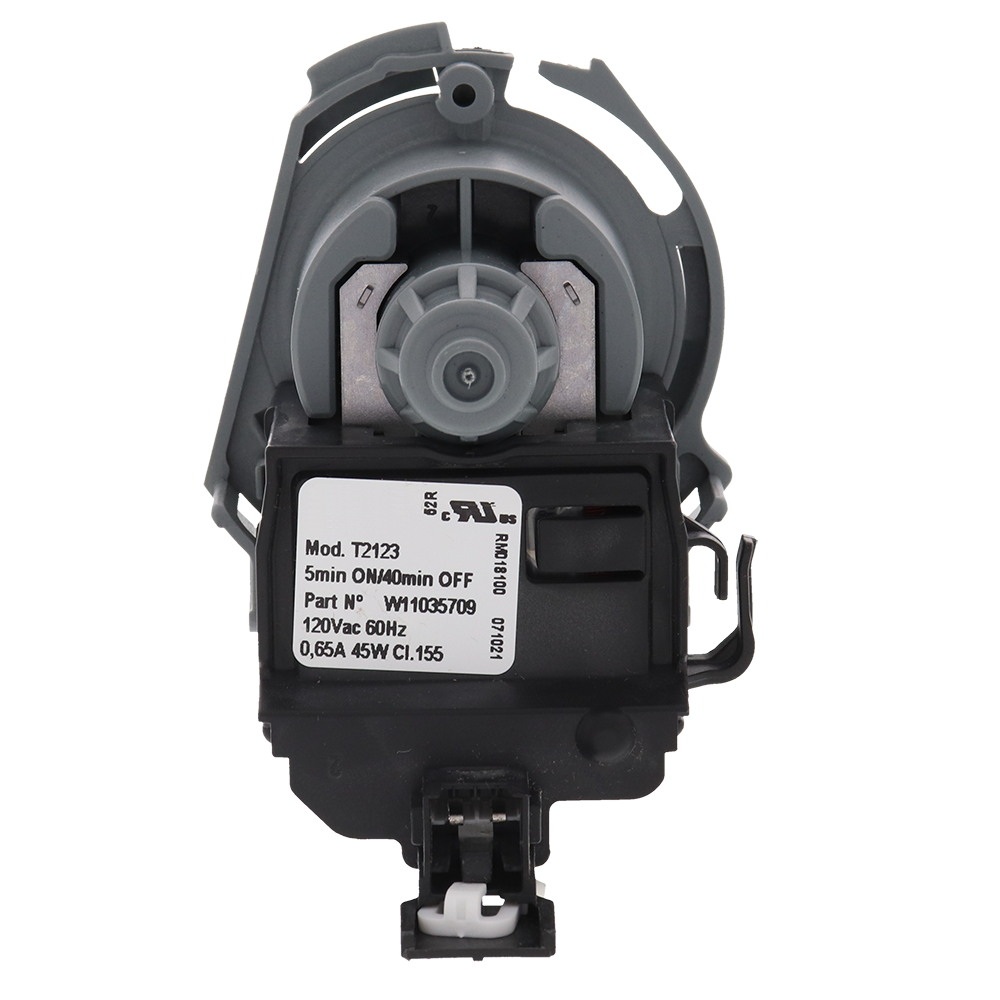
- OEM Part Number: W11412291
- Cross-References: W11035709, W11497943
- Brand: Whirlpool OEM
- Component: Drain pump — complete assembly (motor + impeller + housing)
- Appliance Type: Built-in dishwasher
- Compatible Brands: Whirlpool, KitchenAid, Maytag, Jenn-Air, Amana, Kenmore
- Genuine OEM: Yes — factory-specified replacement
- Options: New or Used (inspected and tested)
Pro Tip — Check the Filter and Impeller for Debris Before Condemning the Pump:
An estimated 25% of drain pump failures are actually blockages, not motor failure. Before ordering, remove the filter assembly and inspect the pump impeller cavity for food debris, broken glass, toothpicks, or fruit pits. Spin the impeller by hand — it should rotate freely. If it's jammed, clear the obstruction and test again. Also check the drain hose for kinks and confirm the garbage disposal knockout plug was removed if the dishwasher drains into a disposal. If the impeller spins freely but the pump still won't run, the motor has failed and replacement is the correct fix.
An estimated 25% of drain pump failures are actually blockages, not motor failure. Before ordering, remove the filter assembly and inspect the pump impeller cavity for food debris, broken glass, toothpicks, or fruit pits. Spin the impeller by hand — it should rotate freely. If it's jammed, clear the obstruction and test again. Also check the drain hose for kinks and confirm the garbage disposal knockout plug was removed if the dishwasher drains into a disposal. If the impeller spins freely but the pump still won't run, the motor has failed and replacement is the correct fix.
✓ Installation Notes
- Skill Level: Intermediate — requires access from inside the tub and underneath the unit
- Estimated Time: 45–60 minutes (professional) / 90–120 minutes (DIY)
- Key Steps: Disconnect power and shut off water → Remove lower rack, spray arm, filter assembly, and spray arm support → Bail out standing water → Open lower front kick plate to access pump from below → Photograph drain hose and harness connections → Release hose clamp and disconnect drain hose → Unplug harness connector → Rotate pump counterclockwise 1/4 turn to release from sump → Inspect sump and impeller cavity for debris → Seat new pump and rotate clockwise to lock → Reconnect hose (clamp at least 1/4" from end) and harness → Reassemble interior components → Run rinse-only cycle and check for leaks under unit
- Safety: Always disconnect power at the breaker before beginning. Have towels and a shallow pan ready — residual water will drain when the hose is disconnected. Confirm no leaks before running a full cycle.
✓ Compatible Models
Whirlpool: WDT750SAKB0, WDT750SAKV0, WDT750SAKW0, WDT750SAKZ0, WDTA50SAKB0, WDTA50SAKT0, WDTA50SAKV0, WDTA50SAKW0, WDTA50SAKZ0
KitchenAid: KDFE104KBL0, KDFE104KPS0, KDFE104KWH0, KDFM404KBS0, KDFM404KPS0, KDPM604KBS0, KDPM604KPS0, KDPM704KPS0, KDPM804KBS0, KDPM804KPS0, KDTM404KBS0, KDTM404KPS0, KDTM604KBS0, KDTM604KPS0, KDTM704KPS0, KDTM804KBS0, KDTM804KPS0
✓ All Cross-Reference Part Numbers
- W11412291 (current active OEM part number)
- W11035709 (superseded)
- W11497943 (cross-reference)
✓ Why XPart Supply
- Canadian Business Since 1996 — 30 Years of Appliance Parts Expertise
- Guaranteed Fit — OEM parts matched to your exact model
- Fast Canada-Wide Shipping
- Trusted by DIYers and Appliance Technicians Across Canada
- Expert support to confirm compatibility before you order
✓ Frequently Asked Questions
How do I know if it's the drain pump and not the circulation pump?
Your dishwasher has two separate pumps. The drain pump evacuates water between cycles — if the dishwasher washes and sprays normally but leaves standing water at the end, the drain pump has failed. The circulation pump sprays water during the wash cycle — if the dishwasher drains fine but dishes come out dirty and the spray arms aren't spinning, the circulation pump is the issue. This part (W11412291) is the drain pump only.
Should I check for blockages before replacing the pump?
Yes — always. Remove the filter assembly and inspect the pump impeller cavity for food debris, broken glass, toothpicks, or fruit pits. Spin the impeller by hand — it should rotate freely with no binding. If it's jammed, clear the obstruction and test the dishwasher before ordering a new pump. Also check the drain hose for kinks and verify the garbage disposal knockout plug was removed if applicable.
Is W11412291 the same as W11035709?
Yes — W11035709 and W11497943 are superseded or cross-reference part numbers for the same drain pump assembly. W11412291 is the current active OEM part number and is a direct replacement for all models that previously used those numbers.
What is the Used option?
The Used option is a genuine Whirlpool OEM drain pump pulled from a working appliance, inspected for motor operation, impeller condition, and seal integrity. It is ideal for older dishwashers where a new part may outlast the appliance.
Does XPart Supply ship dishwasher parts across Canada?
Yes! XPart Supply ships OEM and aftermarket dishwasher parts Canada-wide with fast, reliable shipping. We've been serving Canadian appliance repair customers since 1996 and offer guaranteed fit on all parts. Contact us if you need help confirming compatibility with your model.
✓ Model-Specific Repair Pages
KDFE104KWH0
KDFE104KPS0
KDFE104KBL0
KDFM404KPS0
KDFM404KBS0
KDPM604KBS0
WDTA50SAKZ0
WDTA50SAKW0
WDTA50SAKV0
WDTA50SAKT0
WDTA50SAKB0
WDT750SAKZ0
WDT750SAKW0
WDT750SAKV0
WDT750SAKB0
KDTM804KPS0
KDTM804KBS0
KDTM704KPS0
KDTM604KPS0
KDTM604KBS0
KDTM404KPS0
KDTM404KBS0
KDPM804KPS0
KDPM804KBS0
KDPM704KPS0
KDPM604KPS0
✅Compatibility & Cross Reference
Not sure about your model number? Call 1-877-899-7278 and we’ll help you confirm. All brand names are the property of their respective owners and are used for compatibility reference only.

Buy Online Pick Up In-Store
Address
101 Trillium Dr
Kitchener, Ontario N2E 1W8
Kitchener, Ontario N2E 1W8
Phone
Hours
Mon–Fri 9 AM–5 PM • Sat 9 AM–1 PM

- Choosing a selection results in a full page refresh.


