W11596211 Range Oven Bake Igniter

XPart Supply Ltd.

Sale price
$88.81
Regular price
$93.57
You save
$4.76 (5%)

Frequently Bought Together

WE4M519, WE4M520, WE04M0519, WE04M0520, PS12060672, AP6263233, 5303937186, 279311, 4391996

Whirlpool: WGE745C0FS0, WGE745C0FS1, WGE745C0FS2, WGE745C0FH0, WGE745C0FH1, WGE745C0FH2, WGE755C0FS0, WGE755C0FS1, WGE755C0FS2, WGE755C0FH0

Whirlpool (continued): WGE755C0FH1, WGE755C0FH2, WGE765C0FS0, WGE765C0FS1, WGE765C0FS2, WGE765C0FH0, WGE765C0FH1, WGE765C0FH2, WGE775C0FS0, WGE775C0FS1

KitchenAid: KGRS308BSS00, KGRS308BSS01, KGRS308BSS02, KGRS308BBS00, KGRS308BBS01, KGRS308BBS02, KGRS505BSS00, KGRS505BSS01, KGRS505BSS02, KGRS505BBS00

Maytag: MGR6775FW0, MGR6775FW1, MGR6775FW2, MGR7775FW0, MGR7775FW1, MGR7775FW2, MGR8775FW0, MGR8775FW1, MGR8775FW2, MGR8885FW0

Jenn-Air: JGR7555FW0, JGR7555FW1, JGR7555FW2, JGR8555FW0, JGR8555FW1, JGR8555FW2, JGS7555FW0, JGS7555FW1, JGS7555FW2, JGS8555FW0

Amana: AGR6775FW0, AGR6775FW1, AGR6775FW2, AGR7775FW0, AGR7775FW1, AGR7775FW2, AGR8775FW0, AGR8775FW1, AGR8775FW2, AGR8885FW0

Note: This is a partial list. This bake igniter is compatible with most Whirlpool-manufactured gas ranges and dual-fuel ranges built between 2005-2024. Verify your specific model number for compatibility before ordering.

Professional: 45-60 minutes
DIY: 90-120 minutes
Difficulty Level: Medium repair (requires oven access and gas component handling)

Required Tools:

  • Phillips screwdriver
  • Flathead screwdriver
  • 1/4" or 5/16" nut driver
  • Needle-nose pliers
  • Work gloves (heat-resistant recommended)
  • Flashlight
  • Towel or blanket (to protect range surface)
  • Camera or smartphone (for reference photos)

Step-by-Step Installation:

  1. Disconnect Power: Unplug the range or turn off the circuit breaker. For gas ranges, also shut off the gas supply valve. Never work on the range with power or gas connected.
  2. Move Range: Pull the range away from the wall to provide access to the rear and sides. You'll need at least 3 feet of clearance.
  3. Remove Oven Racks: Pull out the oven racks from the bake oven compartment to provide clear access to the burner assembly and igniter.
  4. Locate Bake Burner Assembly: Look at the bottom of the oven cavity. You'll see the bake burner assembly—a long tube (typically 12-18 inches) with the igniter mounted at one end near the gas valve.
  5. Locate Igniter: The igniter is a white ceramic component with a glowing element mounted at the end of or adjacent to the burner tube. It's held in place with a mounting bracket and screws (typically 1-2 screws).
  6. Take Reference Photos: Before disconnecting anything, take clear photos of the igniter wire connector, mounting orientation, and position relative to the burner tube.
  7. Disconnect Igniter Connector: The igniter has a wire connector (typically a 2-pin plug). Carefully pull the connector apart by grasping both halves and pulling straight. Do not pull on the wires themselves—pull on the connector housings. The connection may be tight due to heat exposure.
  8. Remove Mounting Screws: Remove the screw(s) securing the igniter mounting bracket to the burner assembly or oven frame (typically 1-2 screws).
  9. Remove Old Igniter: Once the mounting screws are removed, carefully lift the old igniter and bracket away from the burner assembly. Handle gently—the ceramic is fragile even when broken.
  10. Inspect Burner Area: Check the burner tube opening and mounting area for lint buildup, rust, or debris. Use a vacuum to remove all lint from the burner area, gas valve, and surrounding components. A clean burner operates more efficiently and safely.
  11. Inspect Old Igniter: Examine the old igniter for visible damage: cracks in the ceramic, broken heating element, or burn marks. This confirms the diagnosis. Even if the igniter looks intact, it may have failed electrically.
  12. Prepare New Igniter: Remove the new igniter from its packaging. Handle the igniter very carefully by the ceramic bracket only—never touch the glowing element portion. Oils from your skin can cause hot spots that lead to premature failure.
  13. Position New Igniter: Carefully position the new igniter and mounting bracket into the same location as the old igniter. Ensure the glowing element is positioned correctly in front of the burner tube opening where it can ignite the gas. The element should be centered and not touching any metal surfaces.
  14. Install Mounting Screws: Secure the igniter mounting bracket with the mounting screw(s). Tighten firmly but do not overtighten—excessive force can crack the ceramic bracket.
  15. Reconnect Igniter Connector: Connect the wire connector to the igniter leads. Push the connector halves straight together until they're fully seated and locked. You should hear or feel a click. Verify the connection is secure and won't pull apart easily.
  16. Verify Installation: Ensure the igniter element is properly positioned in front of the burner opening, the mounting bracket is secure, and wire connections are tight. The igniter should not touch any metal surfaces except the mounting bracket.
  17. Reinstall Oven Racks: Replace the oven racks back into the bake oven compartment.
  18. Move Range Back: Push the range back into position, leaving a small gap from the wall for gas line and vent clearance.
  19. Restore Gas Supply: Turn on the gas supply valve by turning it counterclockwise until fully open.
  20. Restore Power: Plug the range back in or turn on the circuit breaker.
  21. Test Igniter Operation: Set the oven to BAKE at 350°F and press START. Within 30-60 seconds, you should see the igniter glow orange/white through the oven window or hear the gas ignite with a soft "whoosh" sound.
  22. Verify Heating: Allow the oven to run for 5-10 minutes. Open the oven door and feel inside—the oven should be warming up. Check the oven temperature display or use an oven thermometer to verify heating.
  23. Check for Gas Leaks: While the oven is running, use a soap solution (dish soap and water) to check all gas connections for leaks. Apply the solution to connections and look for bubbles. If bubbles form, turn off gas immediately and tighten the connection. Never use the range if you smell gas.
  24. Monitor Igniter Glow: During the test, observe the igniter glow. It should glow bright white/orange when the oven is heating. If the igniter glows dimly or doesn't glow at all, there may be an electrical issue.
  25. Test Ignition: Verify the gas ignites when the oven calls for heat. You should hear a soft "whoosh" or "pop" sound as the gas ignites. If the igniter glows but gas doesn't ignite, the gas valve coils may be faulty.
  26. Full Bake Test: Run a complete bake cycle at 375°F for 20-30 minutes. Place an oven thermometer inside to verify the oven reaches and maintains the set temperature.
  27. Verify Consistent Heating: The oven should heat evenly and maintain the set temperature without excessive cycling or temperature fluctuations.

Test the igniter electrically before replacing. Before ordering a new igniter, verify it's actually faulty. With power disconnected, access the igniter and disconnect the wire connector. Use a multimeter to test the igniter for continuity—you should read approximately 50-400 ohms depending on the igniter type (varies by manufacturer). An infinite reading (OL) means the igniter element is broken and needs replacement. A reading near zero indicates a short circuit. Also visually inspect for cracks or breaks in the ceramic. This diagnostic step confirms igniter failure before you spend money on a replacement.

Check the gas valve coils if the new igniter doesn't work. If your new igniter glows bright white but gas doesn't ignite, the problem is likely the gas valve coils, not the igniter. The igniter must draw enough current to open the gas valve coils. Weak or failed coils won't open even with a good igniter. Test the gas valve coils for proper resistance (approximately 1000-1500 ohms for each coil). If coils test bad, replace the entire gas valve assembly. An estimated 20% of "igniter failures" are actually gas valve coil failures.

Never touch the igniter element with bare hands. Oils from your skin create hot spots on the igniter element that cause premature failure—sometimes within weeks of installation. Always handle the new igniter by the ceramic bracket only. If you accidentally touch the element, clean it with rubbing alcohol on a lint-free cloth before installation. This simple precaution extends igniter life from 5 years to 10+ years.

Clean the burner assembly while you're in there. With the oven accessible and igniter removed, vacuum out all lint from the burner tube, burner housing, gas valve area, and surrounding cavity. Lint buildup restricts airflow, causes incomplete combustion, and creates a fire hazard. A clean burner operates more efficiently, ignites more reliably, and extends igniter life. Many range fires start in lint-clogged burner assemblies—this is critical preventive maintenance.

Verify proper gas pressure. Gas ranges require 4-6 inches water column (WC) natural gas pressure, or 8-10 inches WC for LP/propane. Low gas pressure causes weak flames, long preheat times, and premature igniter failure as the igniter cycles excessively trying to heat the oven. If your new igniter fails quickly or the oven still doesn't heat properly, have a qualified technician test gas pressure at the range. Low pressure is often caused by undersized gas lines, too many appliances on one line, or regulator problems.

Thermal fuse and high-limit thermostat can mimic igniter failure. If your oven runs but doesn't heat, the thermal fuse or high-limit thermostat may be blown, not the igniter. These safety devices cut power to the igniter if the oven overheats (usually from a clogged vent). Test the thermal fuse and thermostats for continuity before replacing the igniter. If they're blown, replace them AND clean the entire exhaust system—otherwise they'll blow again immediately. An estimated 30% of "no heat" diagnoses are actually blown thermal fuses, not bad igniters.

Igniter lifespan depends on cycling frequency. Igniters fail from thermal stress—repeated heating to 2500°F and cooling to room temperature causes the element to weaken and crack over time. If you use the bake function frequently (multiple times daily), the igniter cycles more frequently and fails sooner. Running fewer, longer bake cycles reduces igniter cycling and extends its life. Also, keeping the oven clean and ensuring proper ventilation reduces oven temperature stress and igniter cycling.

  • Oven won't heat (bake function not working)
  • Oven takes multiple cycles to heat
  • Igniter glows but gas doesn't ignite
  • Igniter doesn't glow at all when oven runs
  • Igniter glows weakly (dim orange instead of bright white)
  • Visible cracks or breaks in igniter ceramic
  • Igniter element broken or separated from ceramic base
  • Gas smell when oven runs (igniter not igniting gas properly)
  • Oven cycles normally but doesn't heat
  • Igniter worked intermittently before failing completely
  • Oven makes clicking sounds but doesn't heat (gas valve trying to open)
  • Long preheat times (30+ minutes to reach temperature)
  • Uneven baking (temperature too low)


Whirlpool refrigerator replacement parts, Frigidaire refrigerator replacement parts, GE refrigerator replacement parts, Kenmore refrigerator replacement parts, KitchenAid refrigerator replacement parts, LG refrigerator replacement parts, Maytag refrigerator replacement parts, Whirlpool refrigerator drawers and glides replacement, Whirlpool dishwasher replacement parts, GE dishwasher replacement parts, KitchenAid dishwasher replacement parts, Maytag dishwasher replacement parts, Frigidaire dishwasher replacement parts, Kenmore dishwasher replacement parts, Whirlpool washer replacement parts, GE washer replacement parts, Maytag washer replacement parts, Kenmore washer replacement parts, LG washer replacement parts, Whirlpool dryer replacement parts, GE dryer replacement parts, Maytag dryer replacement parts, Kenmore dryer replacement parts, LG dryer replacement parts, Whirlpool range replacement parts, GE range replacement parts, Whirlpool stove replacement parts, GE stove replacement parts, GE oven replacement parts, GE microwave replacement parts, buy Whirlpool refrigerator parts online, buy GE dishwasher parts online, replacement Kenmore washer parts for sale, buy Maytag dryer parts, LG washer replacement parts online, KitchenAid refrigerator parts for sale, Whirlpool stove and range replacement parts

W11596211 Range Oven Bake Igniter

Genuine OEM gas oven bake igniter for gas ranges and dual-fuel ranges. This critical component is responsible for igniting the gas in the bake burner assembly to produce heat for baking. The igniter glows white-hot (typically reaching 2500°F) when the oven calls for heat, opening the gas valve and igniting the gas-air mixture in the burner tube. This igniter includes the heating element, ceramic mounting bracket, wire leads with connector, and mounting hardware. When the igniter fails, the oven runs but produces no heat, takes extremely long to bake, or the igniter glows but gas doesn't ignite. Igniters fail due to age, thermal stress from repeated heating/cooling cycles, and normal wear—they typically last 5-10 years. The igniter is located inside the oven cavity near the bake burner assembly, accessible from the front or rear depending on model. This is a direct replacement for Whirlpool-manufactured gas ranges and dual-fuel ranges.

Key Features and Design

Crafted with high-quality materials for durability, the W11596211 Bake Igniter features a precise design that fits seamlessly into a wide range of supported models, including popular Whirlpool series like GGG388 and JGS9900. As a genuine OEM part, it replaces older igniters such as 74007965 and WP7432P143-60, offering straightforward compatibility with its compact, heat-resistant construction that enhances overall oven functionality.

  • Compatible with numerous models for versatile use in various range ovens.
  • Engineered for easy installation, helping you get back to cooking without hassle.
  • Bears the SKU W11596211, ensuring you're getting an authentic part from a reputable supplier.

Performance and Benefits

This igniter solves common oven issues like slow startup or inconsistent heating by providing a swift and efficient ignition process, allowing you to enjoy perfectly baked meals every time. From XPart Supply Ltd., it enhances your cooking experience by reducing wait times and improving energy efficiency, making it a smart choice for maintaining your appliance's longevity and reliability in everyday use.

Upgrade your range oven with the W11596211 Bake Igniter. This high-quality igniter guarantees a quick and efficient start, allowing you to spend more time cooking and less time waiting for your oven to heat up. Enjoy perfectly cooked meals every time with the W11596211 Bake Igniter.

Part number W11596211 replaces 74007965, 7432P143-60, W11532055, WP7432P143-60

Supported Models:

GGG388LXB00, GGG388LXB01, GGG388LXB02, GGG388LXB03, GGG388LXB04, GGG388LXB05, GGG388LXQ00, GGG388LXQ01, GGG388LXQ02, GGG388LXQ03, GGG388LXQ04, GGG388LXQ05, GGG388LXS00, GGG388LXS01, GGG388LXS02, GGG388LXS03, GGG388LXS04, GGG388LXS05, GGG390LXB00, GGG390LXB01, GGG390LXB02, GGG390LXB03, GGG390LXB04, GGG390LXB05, GGG390LXQ00, GGG390LXQ01, GGG390LXQ02, GGG390LXQ03, GGG390LXQ04, GGG390LXQ05, GGG390LXS00, GGG390LXS01, GGG390LXS02, GGG390LXS03, GGG390LXS04, GGG390LXS05, IGS900DS00, IGS900DS01, IGS900DS02, IGS900DS04, IGS900DS05, JGR8890ADP, JGR8890ADP13, JGR8890ADP14, JGR8890ADP20, JGR8890ADP21, JGR8890ADP22, JGR8895BDS12, JGR8895BDS13, JGS9900BDB, JGS9900BDB15, JGS9900BDF, JGS9900BDF15, JGS9900BDS, JGS9900BDS15, JGS9900BDS16, JGS9900CDB00, JGS9900CDB01, JGS9900CDF00, JGS9900CDF01, JGS9900CDR00, JGS9900CDR01, JGS9900CDS00, JGS9900CDS01, JGS9900CDS02, KFGD500EBL00, KFGD500EBL01, KFGD500EBL02, KFGD500EBL03, KFGD500EBL04, KFGD500ESS00, KFGD500ESS01, KFGD500ESS02, KFGD500ESS03, KFGD500ESS04, KFGD500EWH00, KFGD500EWH01, KFGD500EWH02, KFGD500EWH03, KFGD500EWH04, KGRS505XBL00, KGRS505XBL01, KGRS505XBL02, KGRS505XBL03, KGRS505XBL04, KGRS505XBL05, KGRS505XSS00, KGRS505XSS01, KGRS505XSS02, KGRS505XSS03, KGRS505XSS04, KGRS505XSS05, KGRS505XWH00, KGRS505XWH01, KGRS505XWH02, KGRS505XWH03, KGRS505XWH04, KGRS505XWH05, MGR6751BDB, MGR6751BDB18, MGR6751BDB19, MGR6751BDS, MGR6751BDS18, MGR6751BDS19, MGR6751BDW, MGR6751BDW17, MGR6751BDW18, MGR6751BDW19, MGR6772BDB, MGR6772BDQ, MGR6772BDS, MGR6772BDW, MGR6775ADB, MGR6775ADQ, MGR6775ADS, MGR6775ADW, MGR6775BDB, MGR6775BDB13, MGR6775BDB18, MGR6775BDB19, MGR6775BDQ, MGR6775BDQ13, MGR6775BDQ17, MGR6775BDQ18, MGR6775BDS, MGR6775BDS19, MGR6775BDS20, MGR6775BDW, MGR6775BDW13, MGR6775BDW18, MGR6775BDW19, MGR6875ADB, MGR6875ADB26, MGR6875ADB27, MGR6875ADQ, MGR6875ADS, MGR6875ADS27, MGR6875ADS28, MGR6875ADW, MGR6875ADW27, MGR6875ADW28, MGT8655XB00, MGT8655XB01, MGT8655XB02, MGT8655XB03, MGT8655XS00, MGT8655XS01, MGT8655XS02, MGT8655XS03, MGT8655XW00, MGT8655XW01, MGT8655XW02, MGT8655XW03, MGT8720DE00, MGT8720DE02, MGT8720DE03, MGT8720DE05, MGT8720DE06, MGT8720DH00, MGT8720DH02, MGT8720DH03, MGT8720DH05, MGT8720DH06, MGT8720DS00, MGT8720DS02, MGT8720DS03, MGT8720DS05, MGT8720DS06, MGT8775XB00, MGT8775XB01, MGT8775XB02, MGT8775XB03, MGT8775XB04, MGT8775XS00, MGT8775XS01, MGT8775XS02, MGT8775XS03, MGT8775XS04, MGT8775XW00, MGT8775XW01, MGT8775XW02, MGT8775XW03, MGT8775XW04, MGT8820DS00, MGT8820DS02, MGT8820DS03, MGT8820DS05, MGT8885XB00, MGT8885XB01, MGT8885XB02, MGT8885XB03, MGT8885XB04, MGT8885XS00, MGT8885XS01, MGT8885XS02, MGT8885XS03, MGT8885XS04, MGT8885XW00, MGT8885XW01, MGT8885XW02, MGT8885XW03, MGT8885XW04, WGG555S0BB00, WGG555S0BB01, WGG555S0BB04, WGG555S0BB06, WGG555S0BB07, WGG555S0BS00, WGG555S0BS01, WGG555S0BS04, WGG555S0BS06, WGG555S0BS07, WGG555S0BW00, WGG555S0BW01, WGG555S0BW04, WGG555S0BW06, WGG555S0BW07, WGG745S0FE00, WGG745S0FE01, WGG745S0FE02, WGG745S0FH00, WGG745S0FH01, WGG745S0FH02, WGG745S0FS00, WGG745S0FS01, WGG745S0FS02, WGG755S0BE00, WGG755S0BE01, WGG755S0BE03, WGG755S0BE04, WGG755S0BE06, WGG755S0BE07, WGG755S0BH00, WGG755S0BH01, WGG755S0BH03, WGG755S0BH04, WGG755S0BH06, WGG755S0BH07, WGG755S0BS00, WGG755S0BS01, WGG755S0BS03, WGG755S0BS04, WGG755S0BS06, WGG755S0BS07.

✅ In-Stock for Same Day Shipping

Currently in stock: 0 units available
"Don’t wait! Limited stock available get yours shipped today."

"On Order - Arriving Soon"

24/7 Call Us 833-899-7278 for estimated time of arrival.
Item has been placed on order with the manufacturer, once the item has shipped you will be updated with tracking.
Price Guarantee: Whenever you pre-order an eligible item, the price you pay will be the lowest price offered by XPart Supply Ltd. between the time you place your order up to and including the release date.

Over 10,000 Parts In Stock Ready To Ship

Hard to find parts? We've got them or we'll find them!

Show this item number to our store staff to help locate the exact part you need
XPART GTIN/UPC NUMBER
9665365115169

Trusted Family Business

29 years of Excellence in Appliance Parts

For over 29 years, our family has been dedicated to providing quality appliance parts and exceptional service. What started as a small local business has grown into a trusted name, but we've never forgotten our roots. Every customer receives the personal attention and care that only a family-owned business can provide.

Years of Experience

Our knowledge has been built over the past 29 years in the business, ensuring expert advice for every appliance need.

Personal Service Guarantee

We treat every customer like family, providing personalized solutions and standing behind our products.

Built on Trust

Our reputation has been built one satisfied customer at a time, creating lasting relationships in our community.

XPart Supply Advantage

Your trusted partner for fast, reliable parts delivery across North America

Lightning Fast Shipping

Same-day processing with expedited delivery options across North America

Massive Inventory

Over 10,000 parts in stock and ready to ship immediately

North America Coverage

Comprehensive shipping network covering USA, Canada, and Mexico

Quality Guaranteed

Premium parts with warranty protection and expert customer support

10K+
Parts in Stock
24-48H
Local Delivery
99.8%
Customer Satisfaction
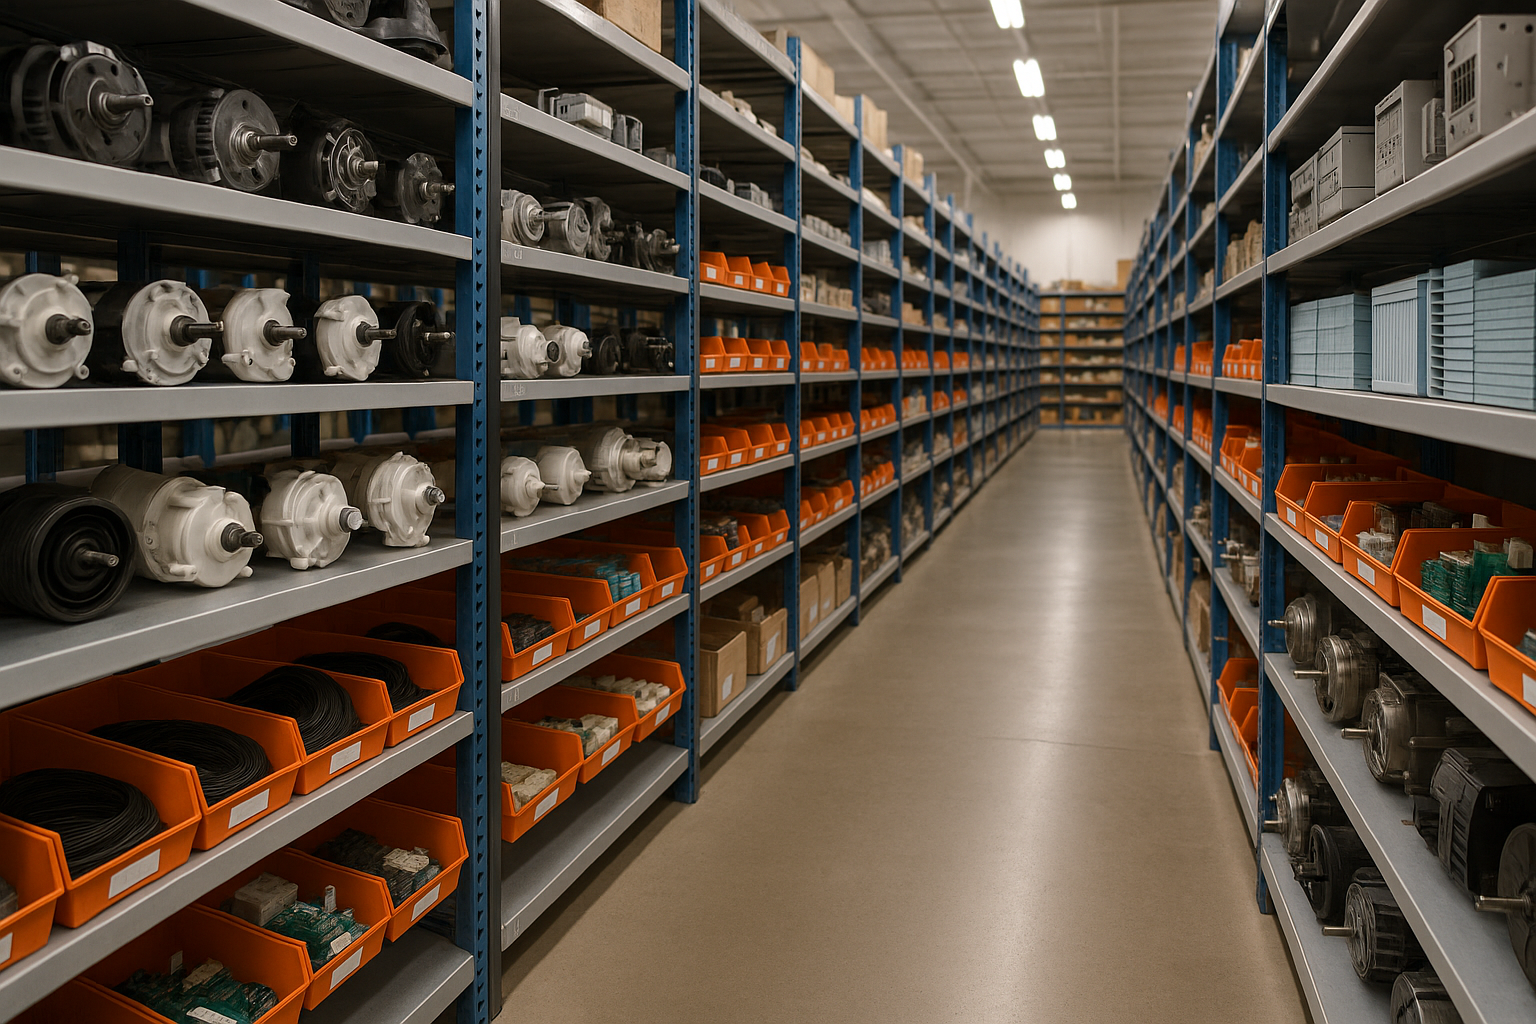
Professional appliance parts warehouse with organized shelving and extensive inventory

Express Warehouse Shipping

Order within the countdown for same-day shipping!

00 Hours
00 Minutes
00 Seconds

In stock orders placed during business hours ship the same day.

Order of $75 or more of eligible items qualify for FREE Shipping.

Same-day shipping deadline has passed

Orders placed now will ship the next business day.

Same-day shipping deadline has passed

Orders placed outside business hours will be processed when we reopen.

Business Hours: Monday - Friday, 9:00 AM - 5:00 PM EST

Buy Online Pick Up In-Store

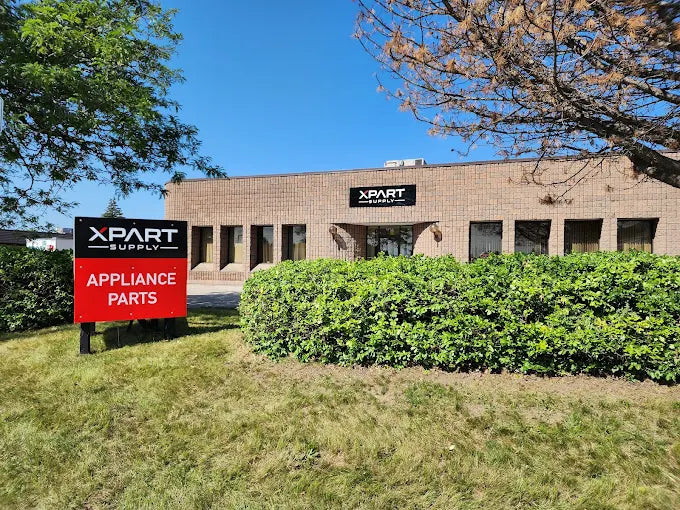
Address
101 Trillium Dr
Kitchener, Ontario N2R 1J8
Phone
Hours
Monday - Friday 9:00 AM - 5:00 PM
Get Directions

Contact Us Customer Service

Hard to find parts? We've got them or we'll find them!

Call now for expert appliance parts assistance

Available Monday - Friday, 9AM - 5PM EST