


REFRIGERATOR NOT COOLING OR FREEZER NOT FREEZING
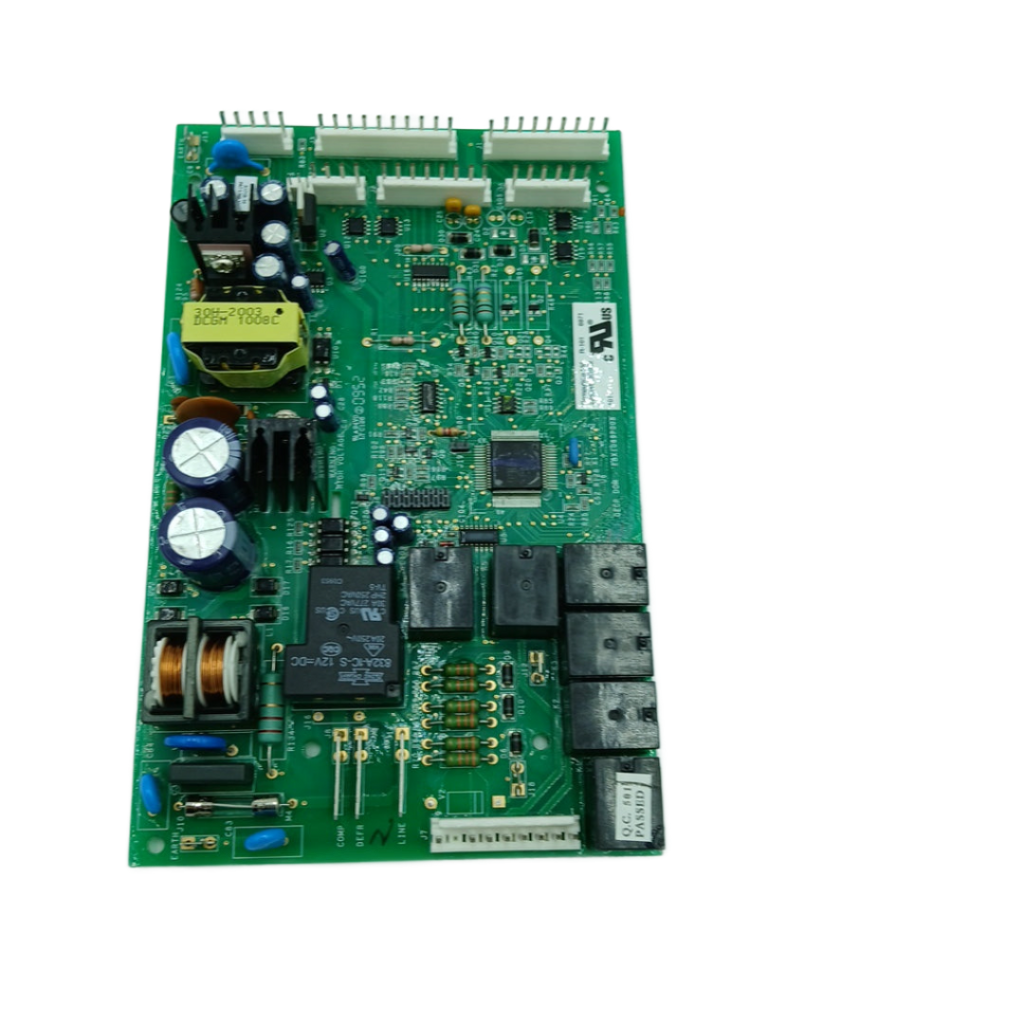
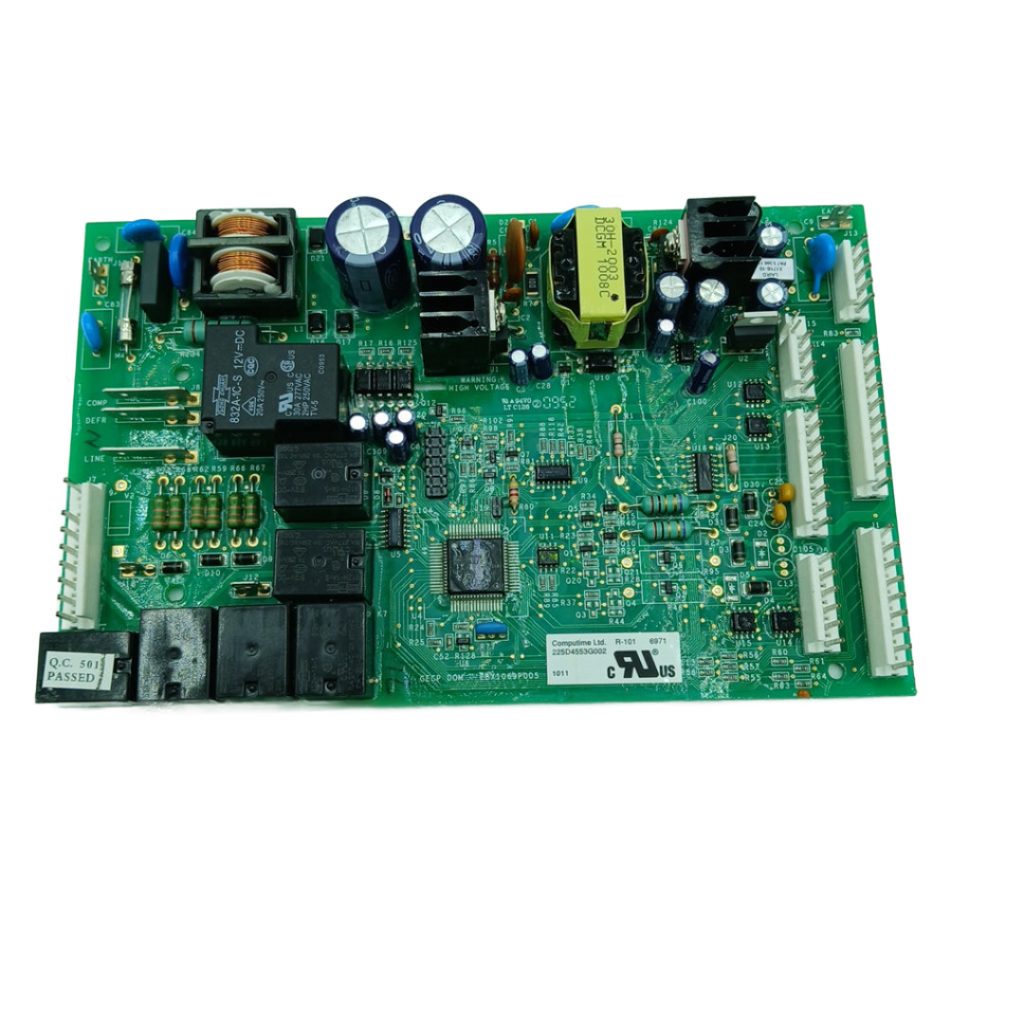
GE Refrigerator Main Control Board Assembly WR01F00247, Fixes Refrigerator not cooling or freezer not freezing
Genuine GE refrigerator main electronic control board that manages refrigerator functions including cooling and defrost timing.
Part WR01F00247Replaces 225D4553G002, WR55X11022GE
Guaranteed to Fit — or your money back.
Confirm your full appliance model number before ordering.
Confirm your full appliance model number before ordering.
Is This the Right Part?
Part NumberWR01F00247
Replaces225D4553G002, WR55X11022
ManufacturerGE
Appliance TypeRefrigerator
Part TypeRefrigerator Main Control Board Assembly
✅ Cross Reference Information
Current Part NumberWR01F00247
Replaces225D4553G002, WR55X11022
Common Symptoms
- Refrigerator not cooling or freezer not freezing
- Compressor does not start or run
- Refrigerator runs continuously without cycling off
- Control panel display is blank or unresponsive
- Error codes displayed on control panel
- Evaporator fan or condenser fan does not run
- Defrost cycle not operating (excessive frost buildup on evaporator coils)
- Ice maker not producing ice
- Water dispenser not working
- Temperature settings not responding to adjustments
- Refrigerator cycling on and off too frequently
- Intermittent cooling or temperature fluctuations
- Lights not working or flickering
- Burnt or melted control board components visible
Pro Tip
Control boards are frequently misdiagnosed.
Part Details
Part NumberWR01F00247
Part TypeRefrigerator Main Control Board Assembly
ManufacturerGE
Appliance TypeRefrigerator
Installation Notes
- Unplug the refrigerator
- from the electrical outlet to ensure complete power disconnection. Wait at least 5 minutes for capacitors to discharge.
- Empty the refrigerator and freezer
- of all food items and store them in coolers with ice to prevent spoilage during the repair.
- Locate the main control board
- inside the refrigerator. On most GE models, it's behind the control panel at the top of the fresh food compartment, or behind a cover panel on the ceiling or back wall.
- Remove the control panel or cover
- by locating and removing the screws that secure it (typically 2-4 screws). Some models have snap-in covers that release with gentle prying.
- Take multiple photos of the control board
- before disconnecting anything. Document every wire harness connector, its position, color, and orientation. This is critical for proper reassembly.
- Label each wire harness connector
- with masking tape and a marker to identify its connection point (e.g., "compressor," "evaporator fan," "thermistor," "display").
- Carefully disconnect all wire harness connectors
- from the control board one at a time. Pull connectors straight off—do not twist or bend. Some connectors have locking tabs that must be released first.
- Count the connectors
- as you disconnect them and verify the count matches your photos. Most main control boards have 6-12 connectors.
- Remove the mounting screws
- that secure the control board to the mounting bracket or panel (typically 2-4 screws).
- Carefully lift the old control board
- out of the refrigerator, noting its orientation and position.
- Inspect the old control board
- for visible damage such as burnt components, melted solder, corrosion, or moisture damage. This confirms the diagnosis.
- Inspect all wire harness connectors
- for corrosion, melted plastic, or damaged pins. Clean or replace damaged connectors before installing the new board.
- Unpack the new WR01F00247 control board
- from its anti-static packaging. Handle the board by the edges only—do not touch electronic components or circuit traces.
- Compare the new control board to the old one
- to verify all connectors, mounting holes, and component layouts match. Ensure you have the correct replacement part.
- Position the new control board
- in the same location and orientation as the old board.
- Secure the control board
- with the mounting screws, tightening firmly but not over-tightening (which can crack the circuit board).
- Reconnect each wire harness connector
- to the new control board, matching the labels you applied earlier. Ensure each connector is fully seated and clicks into place.
- Verify all connections are secure
- by gently tugging on each connector. None should pull loose.
- Double-check connector orientation
- to ensure no connectors are reversed or misaligned. Incorrect connections can damage the new board.
- Verify no wires are pinched or kinked
- between the control board and the mounting panel.
- Reinstall the control panel or cover
- by aligning it with the refrigerator and securing all screws or snaps.
- Plug the refrigerator back in
- and restore power.
- Listen for the compressor to start
- within 1-2 minutes. It should run smoothly without unusual noises.
- Check the control panel display
- for proper operation. The display should light up and respond to button presses.
- Set the refrigerator and freezer temperatures
- to the desired settings (typically 37°F for fresh food, 0°F for freezer).
- Verify the evaporator fan runs
- when the compressor is on. Open the freezer door and listen for the fan (it may stop when the door opens on some models).
- Verify the condenser fan runs
- when the compressor is on. Check at the back or bottom of the refrigerator.
- Monitor the refrigerator for 24 hours
- to ensure it reaches and maintains proper temperatures.
- Check for error codes
- on the control panel. If codes appear, verify all connections are secure and consult the service manual.
- Test the ice maker and water dispenser
- (if equipped) to ensure they function properly.
- Verify the defrost cycle operates
- by monitoring the refrigerator over several days. The evaporator coils should not accumulate excessive frost.
- If the refrigerator does not cool properly
- , verify the compressor is running, the fans are operating, and all temperature sensors are connected.
- If the control panel does not respond
- , verify the display connector is fully seated and the power supply is correct.
- If problems persist
- , the issue may be with another component (compressor, relay, thermistor, etc.) rather than the control board. Further diagnosis is required.
- Safety Notes:
- Always unplug the refrigerator before working on it. Control boards contain capacitors that can store electrical charge—wait at least 5 minutes after unplugging before touching the board. Handle the control board by the edges only and avoid touching electronic components. Use an anti-static wrist strap if available. Never operate the refrigerator with the control board exposed or unsecured.
- COMMON SYMPTOMS FIXED
Verified Compatible Models
PFSF0MFCABB, PFSF0MFCAWW, PFSF0MFZEBB, PFSF0MFZFBB, PFSF0MFZFWW, PFSF0MFZJWW, PFSS0MFCASS, PFSS0MFZBSS, PFSS0MFZESS, PFSS0MFZGSS, PFSS0MFZJSS, PNR20KGEAFBB, PNR20KGEAFWW, PNR20KGEBFWW, PNR20KSEAFES, PNR20KSEBFES, PFSF0MFZBBB, PFSF0MFZBWW, PFSF0MFZEWW, PFSF0MFZGBB, PFSF0MFZGWW, PFSS0MFCBSS, PFSS0MFZHSS, PNS20KSEAFSS
Fitment reminder: Match the complete appliance model number, including suffix or revision where applicable, before ordering.
Buy Online Pick Up In-Store
Address
101 Trillium Dr
Kitchener, Ontario N2E 1W8
Kitchener, Ontario N2E 1W8
Phone
Hours
Mon–Fri 9 AM–5 PM • Sat 9 AM–1 PM


