


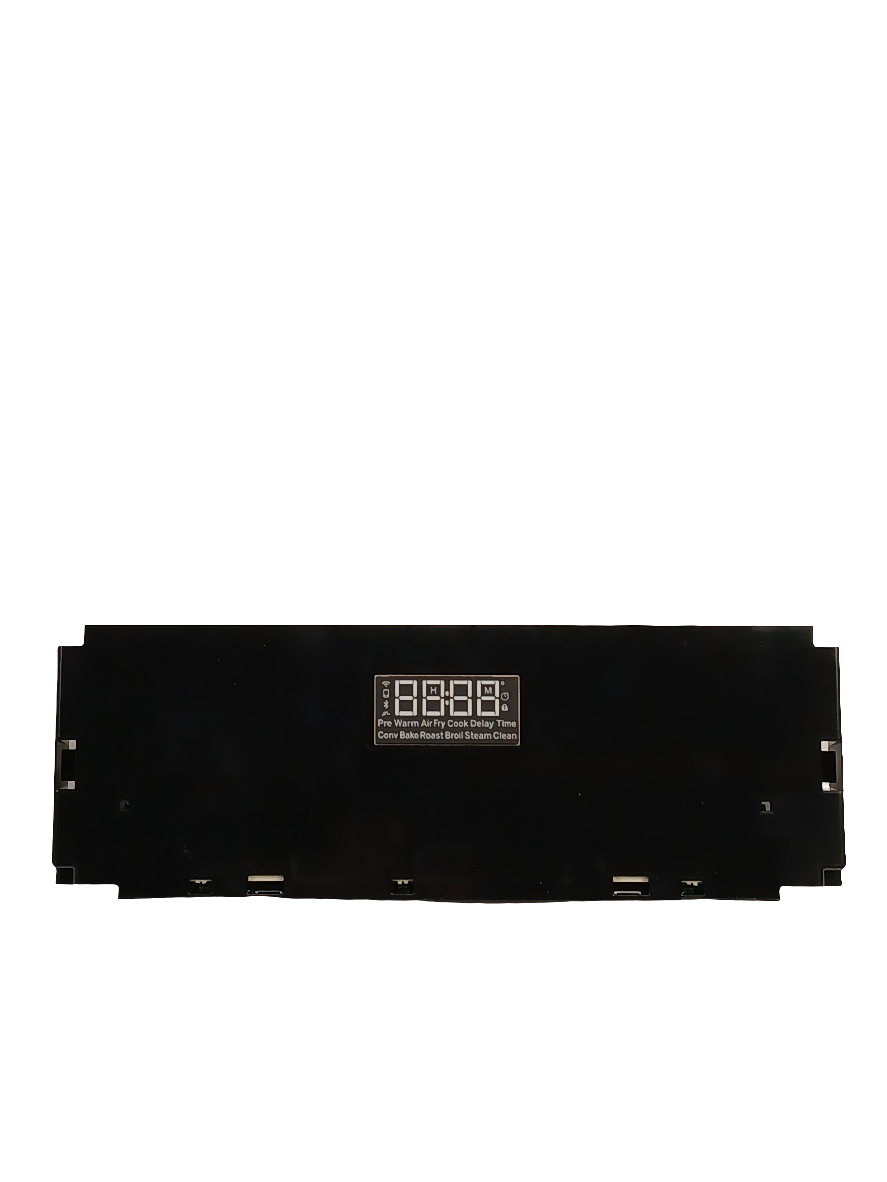
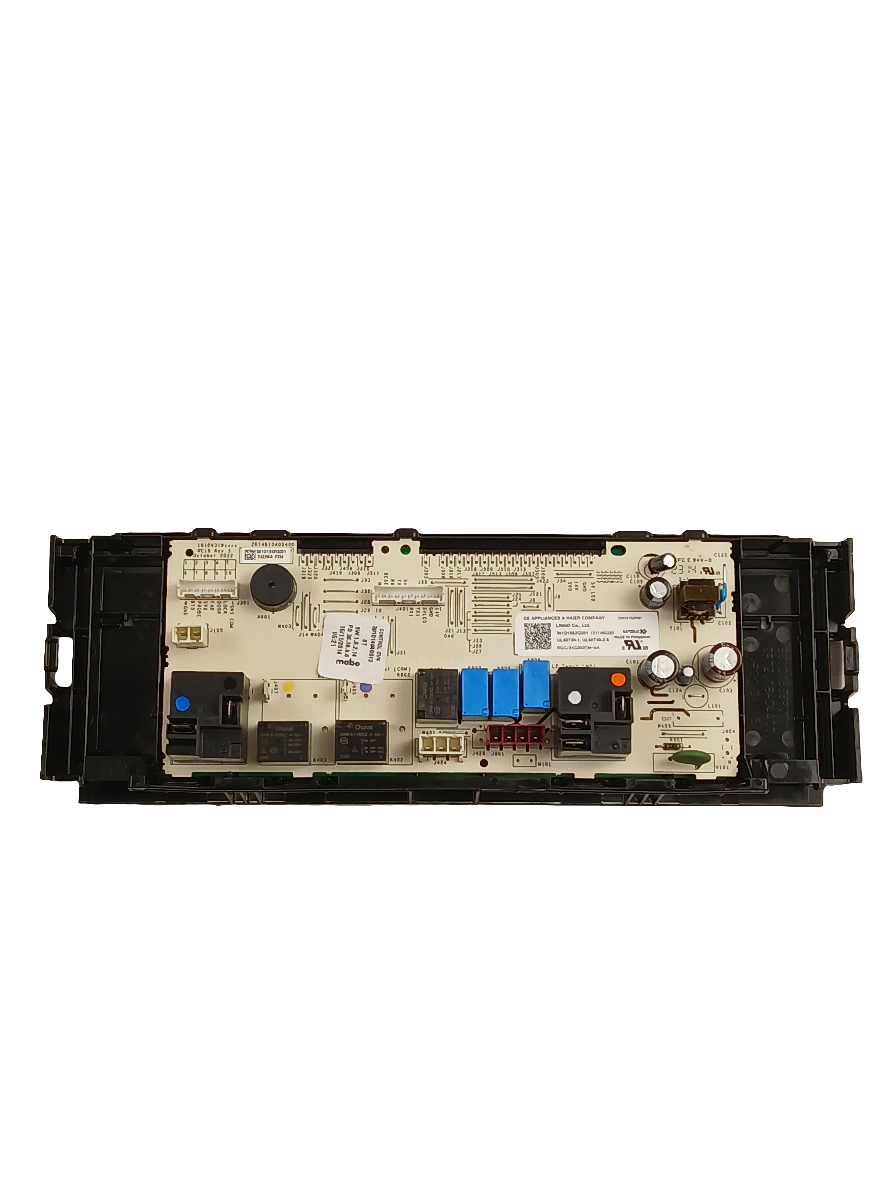


GE Gas Range Oven Not Heating Correctly? Oven Control Assembly WS01F10717 – Fix Temperature and Ignition Fast
A failed oven control assembly means your gas range can’t regulate temperature, ignite the oven burner, or respond to your settings — making it impossible to cook reliably. In most GE gas ranges, this is caused by a failed oven control assembly. When it fails, the oven won’t ignite, runs significantly hotter or cooler than set, or the control panel becomes unresponsive. ⚡ Common failure point in GE-built gas ranges. Part WS01F10717 is the genuine OEM replacement that restores accurate temperature control, proper ignition sequencing, and full panel function — exact factory fit, no modification required.
❓ Is This the Right Part?
This is the correct fix if ALL of the following are true:
- ✔ Your gas range powers on and the cooktop burners ignite normally
- ✔ The gas supply to the range is confirmed on and at correct pressure
- ✔ The oven igniter has been tested and is not the cause (or hasn’t been ruled out yet)
- ✔ ONLY problem is the oven — won’t heat, wrong temperature, or unresponsive controls
Not sure? Send us your model number — we’ll confirm before you order.
🔧 Common Symptoms
- Oven won’t ignite or heat at all
- Oven temperature is significantly off — too hot or too cold
- Oven shuts off mid-cycle or won’t maintain set temperature
- Control panel is unresponsive, displays error codes, or shows blank display
✔ If these symptoms match, this is the most likely failed component in the system.
✔ In most cases, replacing this oven control assembly restores normal operation immediately.
📦 Part Details
- Part Number: WS01F10717
- Type: Range Oven Control Assembly — Gas (electronic control board with panel interface)
- Replaces: WS01F10717 (current OEM — no known superseded numbers on record; verify via model label)
- Brands: GE, Cafe, Monogram (verify by model number)
While the control assembly is out, inspect the oven igniter — if it’s glowing orange instead of bright blue-white, or taking more than 90 seconds to ignite, it’s weak and will fail soon. Replacing both at the same time saves a second disassembly. Contact us for the correct igniter for your model.
⚙️ Installation
Skill Level: Advanced — 45–90 minutes. Disconnect power at the breaker before servicing — this is a 120V electronic control. Remove the back panel or control panel fascia (varies by model), disconnect the wiring harness connectors from the old board, transfer any mounting hardware, install the new assembly, reconnect all harness plugs, reassemble, restore power, and test all oven functions including bake, broil, and self-clean if equipped. Photograph all connectors before removal.
✓ Compatible Models
Confirmed compatible with JCGS760EP3ES, JCGS760EP4ES, JCGS760SP3SS, JCGS760SP4SS. Contact us to verify your model number before ordering.
💡 Pro Tip
Before ordering a control assembly, test the oven igniter with a multimeter — it’s the more common and less expensive failure. If the igniter draws the correct amperage (typically 3.2–3.6A) and the oven still won’t heat, the control board is the next suspect. Swapping the board when the igniter is actually weak wastes money and leaves the root cause unfixed.
JCGS760EP3ES, JCGS760EP4ES, JCGS760SP3SS, JCGS760SP4SS
✓ Model-Specific Repair Pages
✅Compatibility & Cross Reference
Not sure about your model number? Call 1-877-899-7278 and we’ll help you confirm. All brand names are the property of their respective owners and are used for compatibility reference only.
Buy Online Pick Up In-Store
Kitchener, Ontario N2E 1W8

- Choosing a selection results in a full page refresh.


