W11236887 Range Control Panel

XPart Supply Ltd.

Price
$1,332.50

Frequently Bought Together

Stock Notification

Get notified when this product is available again

Control Panel Assembly, Touchpad Control Panel, Display Control Panel, Range Control Panel, Oven Control Panel, Electronic Control Panel

W10887859, W11232095, W11236887, AP6263984, PS12578737, EAP12578737

Whirlpool, KitchenAid, Maytag, Jenn-Air, Amana, Inglis, Magic Chef

Fits Models: (Ctrl+F and Enter Your Model Number)

WhirlpoolWFE975H0HZ, WFE975H0HZ0, WFE975H0HZ1, WFE975H0HZ2, WFG975H0HZ, WFG975H0HZ0, WFG975H0HZ1, WFG975H0HZ2

KitchenAidKFEG500EBS, KFEG500EBS0, KFEG500EBS1, KFEG500EBS2, KFEG500ESS, KFEG500ESS0, KFEG500ESS1, KFEG500ESS2, KFGG500EBS, KFGG500EBS0, KFGG500EBS1, KFGG500EBS2, KFGG500ESS, KFGG500ESS0, KFGG500ESS1, KFGG500ESS2

MaytagMGR8800FZ, MGR8800FZ0, MGR8800FZ1, MGR8800FZ2

Jenn-AirJES1450DS, JES1450DS01, JES1450DS02, JES1450DS03, JGS1450DS, JGS1450DS01, JGS1450DS02, JGS1450DS03

AmanaAER6603SFS, AER6603SFS0, AER6603SFS1, AGR6603SFS, AGR6603SFS0, AGR6603SFS1

Professional Repair Time: 30-45 minutes
DIY Repair Time: 45-75 minutes
Difficulty Rating: Moderate-Advanced (3/5) — Requires intermediate mechanical and electrical skills, careful handling of electronic components, understanding of wire harness connections, range disassembly to access control panel, static electricity precautions, proper wire routing, attention to detail

  1. Turn off the circuit breaker that supplies power to the range at the main electrical panel. This is critical for safety when working with electrical systems.
  2. Unplug the range from the electrical outlet (if accessible) to ensure complete power disconnection.
  3. Verify power is off by attempting to turn on the range. The range should not respond and the display should be blank.
  4. Allow the cooktop and oven to cool completely before working on them. The cooktop surface and oven can remain extremely hot for several hours after use.
  5. Take multiple photos of the control panel installation, mounting position, wire connections, and how the panel attaches to the range before disassembly. Document from multiple angles. This is absolutely critical for proper reassembly. Use a camera or smartphone to capture high-quality images.
  6. Remove all control knobs from the control panel (if applicable) by pulling them straight off their shafts. The knobs typically friction-fit onto the shafts and should pull off with moderate force. Set the knobs aside in a safe location.
  7. Locate the control panel mounting screws (typically located at the top rear of the control panel, behind the panel, or underneath the front edge of the panel). The mounting method varies by model—refer to your range service manual or online parts diagram for your specific model.
  8. Remove the control panel mounting screws (typically 4-8 screws) using a Phillips screwdriver or nut driver. Set the screws aside in a safe location.
  9. Carefully lift or tilt the control panel away from the range to access the wire harness connections on the back of the panel. Caution: The control panel is still connected by wire harnesses—do not pull or force the panel, which can damage the wires or connectors.
  10. Take additional detailed photos of the wire harness connections on the back of the control panel before disconnecting. Note the connector positions, colors, and routing for proper reconnection.
  11. Label all wire harness connectors with masking tape or labels indicating their positions (e.g., "Main Control", "Display", "Touchpad", "Power") to ensure correct reconnection. This is critical for proper operation.
  12. Disconnect the wire harness connectors from the back of the control panel by pressing the release tabs and pulling the connectors straight out. Use needle-nose pliers to press the release tabs if they are difficult to access—do not pull on the wires.
  13. Carefully remove the old control panel from the range and place it on a clean, static-free work surface with adequate space for inspection. Important: Handle electronic components carefully to avoid damage from static electricity or physical impact.
  14. Inspect the old control panel for visible damage such as cracked or scratched display screen, damaged or unresponsive touchpad buttons, discolored or torn membrane overlay, burned or corroded electrical connectors, visible damage to the printed circuit board, or physical damage to the panel frame or mounting brackets. This confirms the diagnosis.
  15. Inspect the range mounting area for damage, corrosion, or debris. Clean the mounting area if necessary using a dry cloth.
  16. Inspect the wire harness connectors for corrosion, damage, or bent pins. Clean or straighten the connectors if necessary. Replace damaged connectors.
  17. Unpack the new W11236887 control panel assembly from its packaging. Handle carefully to avoid damaging the touchpad, display, or electronic components. Important: Avoid touching the display screen or touchpad surface—handle the panel by the edges or mounting frame.
  18. Remove any protective film or packaging material from the new control panel display and touchpad surface.
  19. Verify the control panel specifications match the old panel: dimensions approximately 30 inches width x 5.5 inches height, stainless steel finish, touchpad button layout and graphics, display type and size, wire harness connector types and positions, mounting hole locations.
  20. Compare the new control panel to the old one to verify the dimensions, button layout, display configuration, connector positions, mounting holes, and overall appearance match. Ensure you have the correct replacement part.
  21. Inspect the new control panel for any damage or defects before installation. The display screen should be intact with no visible cracks or scratches. The touchpad surface should be smooth and undamaged. The electrical connectors should be clean and undamaged. The mounting frame should be straight and undamaged.
  22. Ground yourself by touching a metal part of the range frame to discharge any static electricity before handling the new control panel. Static electricity can damage sensitive electronic components.
  23. Reconnect the wire harness connectors to the back of the new control panel by aligning the connectors and pushing them firmly into their sockets. Refer to your detailed photos and connector labels to ensure correct connections. Push the connectors until you hear or feel a click, indicating they are fully seated. Critical: Incorrect wire connections will cause the range to malfunction or prevent the control panel from working.
  24. Verify all electrical connections are secure by gently tugging on each wire harness connector. The connectors should not pull out—they should be firmly seated and locked in place.
  25. Position the new control panel on the range, aligning the mounting holes with the mounting points on the range frame or backsplash.
  26. Carefully route the wire harnesses to avoid pinching, crushing, or stretching the wires. Ensure the wires have adequate slack and are not trapped between the control panel and the range frame.
  27. Install the control panel mounting screws and tighten using a Phillips screwdriver or nut driver. Tighten firmly but do not overtighten, which can crack the panel frame or strip the mounting holes. Important: Tighten the screws evenly to ensure the panel sits flush and level.
  28. Verify the control panel is securely mounted and sits flush against the range backsplash or control console. The panel should not wobble or have gaps.
  29. Reinstall the control knobs (if applicable) by pushing them onto their shafts until they are fully seated. Align any flat spots or keyways on the shafts and knobs.
  30. Double-check all wire connections by comparing your installation to your detailed photos. Verify all connectors are properly seated and no wires are pinched or damaged.
  31. Restore power by plugging in the range (if applicable) and turning on the circuit breaker.
  32. Turn on the range and verify the control panel powers up. The display should light up and show the clock or default screen.
  33. Test all touchpad buttons by pressing each button and verifying the range responds correctly. Test temperature adjustments, cooking mode selections, timer functions, and all other controls.
  34. Verify the display shows correct information including temperature, time, cooking mode, and status indicators.
  35. Set the oven to bake mode at 350°F and verify the oven preheats properly. The display should show "Preheating" and the current temperature as it rises.
  36. Verify the oven reaches the set temperature and the display shows "Preheating Complete" or similar message.
  37. Test the timer function by setting a countdown timer and verifying it counts down correctly and beeps when complete.
  38. Test all cooking modes (bake, broil, convection, self-clean, etc.) to verify the control panel and range respond correctly to all inputs.
  39. Verify the clock displays the correct time and adjust if necessary using the clock setting function.
  40. Monitor the control panel for the first few uses to ensure it operates properly without issues.

Safety Notes: Always turn off the circuit breaker and unplug the range before working on it to prevent electrical shock. Handle electronic components carefully to avoid damage from static electricity—ground yourself before handling the control panel. Label all wire harness connectors before disconnecting to ensure correct reconnection. Do not overtighten mounting screws, which can crack the panel frame. Verify all wire connections are correct and secure before restoring power. This repair requires intermediate mechanical and electrical skills and careful attention to detail—most homeowners can complete this repair successfully with proper precautions and documentation.

  1. Take detailed photos of all wire harness connections before disconnecting. Document the connector positions, colors, and routing from multiple angles. These photos are critical for ensuring correct installation of the new control panel, especially since control panels have multiple wire harnesses for touchpad, display, main control, and power connections. Label each connector with its position before disconnecting.
  2. Ground yourself by touching a metal part of the range frame before handling the new control panel. Static electricity can damage sensitive electronic components on the control panel's printed circuit board. Avoid touching the display screen or touchpad surface—handle the panel by the edges or mounting frame only.
  3. Verify your range model number before ordering to ensure correct part compatibility. Control panels are model-specific and vary in dimensions, button layout, display configuration, and wire harness connectors. The W11236887 is designed for specific Whirlpool, KitchenAid, Maytag, Jenn-Air, and Amana range models. Installing an incorrect control panel will not fit or function properly.
  4. Remove any protective film or packaging material from the new control panel before installation. The display and touchpad surface typically have protective film that must be removed for proper operation and appearance. Failure to remove the film will affect touchpad sensitivity and display clarity.
  5. Verify all wire harness connectors are fully seated and locked in place. Push each connector firmly until you hear or feel a click, indicating the connector is fully seated and the locking tab is engaged. A partially seated connector will cause intermittent operation, communication errors, or complete control panel failure. After connecting, gently tug on each connector to verify it is secure and will not pull out.
  6. Route the wire harnesses carefully to avoid pinching, crushing, or stretching the wires. Ensure the wires have adequate slack and are not trapped between the control panel and the range frame when the panel is installed. Pinched or damaged wires will cause intermittent operation or control panel failure. Follow the original wire routing shown in your photos.
  7. Tighten the control panel mounting screws evenly to ensure the panel sits flush and level. Start all screws by hand, then tighten them gradually in a cross-pattern (alternating corners) to distribute pressure evenly. Do not overtighten, which can crack the panel frame or strip the mounting holes. The panel should sit flush against the range backsplash with no gaps or wobbling.
  8. The control panel assembly includes the touchpad, display, and mounting frame as a complete pre-assembled unit. You do not need to disassemble the control panel or transfer any components from the old panel. Simply disconnect the old panel and install the new panel as a complete assembly. This simplifies installation and ensures proper component integration.
  9. After installation, test all touchpad buttons and cooking modes to verify proper operation. Test temperature adjustments, cooking mode selections (bake, broil, convection, self-clean), timer functions, clock settings, and all other controls. Verify the display shows correct information and responds to all inputs. If any buttons or functions do not work, verify all wire harness connections are correct and secure.
  10. The control panel is a high-value component that typically fails after 8-12 years of regular use. With average use (daily cooking), the control panel typically lasts 10-12 years before failure. Touchpad sensors and display components wear from repeated use and exposure to heat and moisture. Replace the control panel promptly when failure is detected to restore reliable range operation. This repair is cost-effective compared to range replacement—the cost of control panel replacement ($300-500) is far less than the cost of a new range ($1,500-4,000+). Proper cleaning and careful use extend control panel life.
  • Touchpad buttons not responding or responding intermittently
  • Display not working or showing incorrect information (blank, dim, garbled)
  • Specific buttons not working while others function normally
  • Display flickering or fading
  • Visible damage to control panel surface (scratches, cracks, discoloration)
  • Range not responding to any control inputs
  • Error codes displayed indicating control panel communication failure
  • Control panel appearing physically damaged or worn
  • Touchpad sensor failure or damage
  • Display showing missing segments or characters
  • Control panel membrane or overlay torn or damaged
  • Electrical connector corrosion preventing proper communication
  • Printed circuit board failure


Whirlpool refrigerator replacement parts, Frigidaire refrigerator replacement parts, GE refrigerator replacement parts, Kenmore refrigerator replacement parts, KitchenAid refrigerator replacement parts, LG refrigerator replacement parts, Maytag refrigerator replacement parts, Whirlpool refrigerator drawers and glides replacement, Whirlpool dishwasher replacement parts, GE dishwasher replacement parts, KitchenAid dishwasher replacement parts, Maytag dishwasher replacement parts, Frigidaire dishwasher replacement parts, Kenmore dishwasher replacement parts, Whirlpool washer replacement parts, GE washer replacement parts, Maytag washer replacement parts, Kenmore washer replacement parts, LG washer replacement parts, Whirlpool dryer replacement parts, GE dryer replacement parts, Maytag dryer replacement parts, Kenmore dryer replacement parts, LG dryer replacement parts, Whirlpool range replacement parts, GE range replacement parts, Whirlpool stove replacement parts, GE stove replacement parts, GE oven replacement parts, GE microwave replacement parts, buy Whirlpool refrigerator parts online, buy GE dishwasher parts online, replacement Kenmore washer parts for sale, buy Maytag dryer parts, LG washer replacement parts online, KitchenAid refrigerator parts for sale, Whirlpool stove and range replacement parts

W11236887 Range Control Panel

The W11236887 is a genuine OEM range control panel assembly for Whirlpool, KitchenAid, Maytag, Jenn-Air, Amana, Inglis, and Magic Chef ranges. This control panel is a critical component that houses the touchpad buttons, electronic display, and user interface that allows users to control all range functions including oven temperature, cooking modes (bake, broil, convection, self-clean), timer, clock, and surface element controls (on some models). The control panel assembly is a complete, self-contained unit constructed from durable materials including a stainless steel front panel or overlay (providing a premium appearance and scratch resistance), a printed circuit board (PCB) with touchpad sensors and electronic components, an LCD or LED display screen (showing temperature, time, cooking mode, and status information), a protective membrane or overlay with printed button graphics and text, a mounting frame or bracket for secure attachment to the range, and electrical connectors for wire harness connections to the main control board, display, and user interface components. The assembly measures approximately 30 inches in width and 5.5 inches in height (standard range control panel size), with a depth of approximately 1-2 inches, weighing approximately 2-4 pounds. The control panel mounts to the range backsplash or control console at the rear of the cooktop surface, and connects to the range's electrical system via wire harness connections to the main electronic control board (EOC), display module, touchpad sensors, and power supply. The W11236887 replaces older part numbers including W10887859, W11232095, AP6263984, PS12578737, EAP12578737, and others with improved touchpad sensitivity, display clarity, and electronic component reliability. The control panel operates as the primary user interface for the range: (1) when the user presses a touchpad button, capacitive touch sensors detect the touch and send a signal to the control board; (2) the control board interprets the button press and executes the corresponding function (adjusting temperature, starting a cooking mode, setting the timer, etc.); (3) the display screen shows the current settings, temperature, time, and status information; (4) the control board sends commands to other range components (heating elements, igniters, fans, door lock) to execute the selected functions; (5) the display updates in real-time to show the current oven temperature, countdown timers, and status indicators (preheating, door locked, etc.); (6) when the user completes cooking or adjusts settings, the touchpad and display provide immediate feedback. The control panel typically operates at 120V AC and communicates with the main control board via digital signals (typically low-voltage DC signals for touchpad inputs and display outputs), providing intuitive, responsive control for all range functions. Over time, control panels can fail due to touchpad sensor failure or damage (buttons not responding or responding intermittently), display failure or damage (blank display, dim display, garbled text, or missing segments), printed circuit board failure (from electrical surge, moisture, or age), membrane or overlay damage (from scratches, tears, or discoloration), electrical connector corrosion or damage (preventing proper communication with control board), physical damage to the panel or frame (from impact or cleaning chemicals), or manufacturing defects. When the control panel fails, symptoms include the touchpad buttons not responding or responding intermittently (no response when pressed), the display not working or showing incorrect information (blank, dim, garbled, or error codes), specific buttons not working while others function normally (partial touchpad failure), the display flickering or fading, visible damage to the control panel surface (scratches, cracks, discoloration), the range not responding to any control inputs (complete control failure), error codes displayed on the screen indicating control panel communication failure, or the control panel appearing physically damaged or worn. The W11236887 is a complete replacement control panel assembly that restores full user interface functionality and eliminates all control panel-related problems. Replacing a faulty control panel eliminates all control and display problems and restores reliable, intuitive range operation. Important: Always turn off the circuit breaker and unplug the range before working on it to prevent electrical shock. This is a moderately advanced repair requiring careful handling of electronic components, range disassembly to access the control panel, and understanding of electrical connections and wire harness routing. Verify your range model number before ordering to ensure correct part compatibility. The control panel assembly includes the touchpad, display, and mounting frame as a complete pre-assembled unit. This repair can be completed by most homeowners with intermediate mechanical and electrical skills and careful attention to detail.

Key Features & Design

  • Compatibility: This control panel replaces part numbers W10713607, W10875275, W10876356, W10887859, W11102200, and W11232095, offering a versatile solution for various range models from trusted brands like Whirlpool and Maytag.
  • Durable Construction: Crafted with high-quality materials typical of OEM parts, it features a sturdy design that withstands daily kitchen use, providing long-lasting performance for your appliance.
  • User-Friendly Interface: The panel includes intuitive buttons and controls for easy operation, helping you manage cooking settings with precision.

Performance & Benefits

This range control panel solves common issues like unresponsive controls or faulty displays, restoring your appliance to optimal condition and enhancing your cooking experience. By choosing a genuine part from XPart Supply Ltd., you benefit from dependable quality and peace of mind, with free shipping ensuring quick delivery to get your kitchen back in action efficiently.

Part Number W11236887 replaces W10713607, W10875275, W10876356, W10887859, W11102200, W11232095

Hard to find parts? We've got them or we'll find them!

Over 10,000 New & Used Parts Ready for Pickup

Show this item number to our store staff to help locate the exact part you need
XPART GTIN/UPC NUMBER
9668047274273

XPart Supply Advantage

Your trusted partner for fast, reliable parts delivery across North America

Lightning Fast Shipping

Same-day processing with expedited delivery options across North America

Massive Inventory

Over 10,000 parts in stock and ready to ship immediately

North America Coverage

Comprehensive shipping network covering USA, Canada, and Mexico

Quality Guaranteed

Premium parts with warranty protection and expert customer support

10K+
Parts in Stock
24-48H
Local Delivery
99.8%
Customer Satisfaction
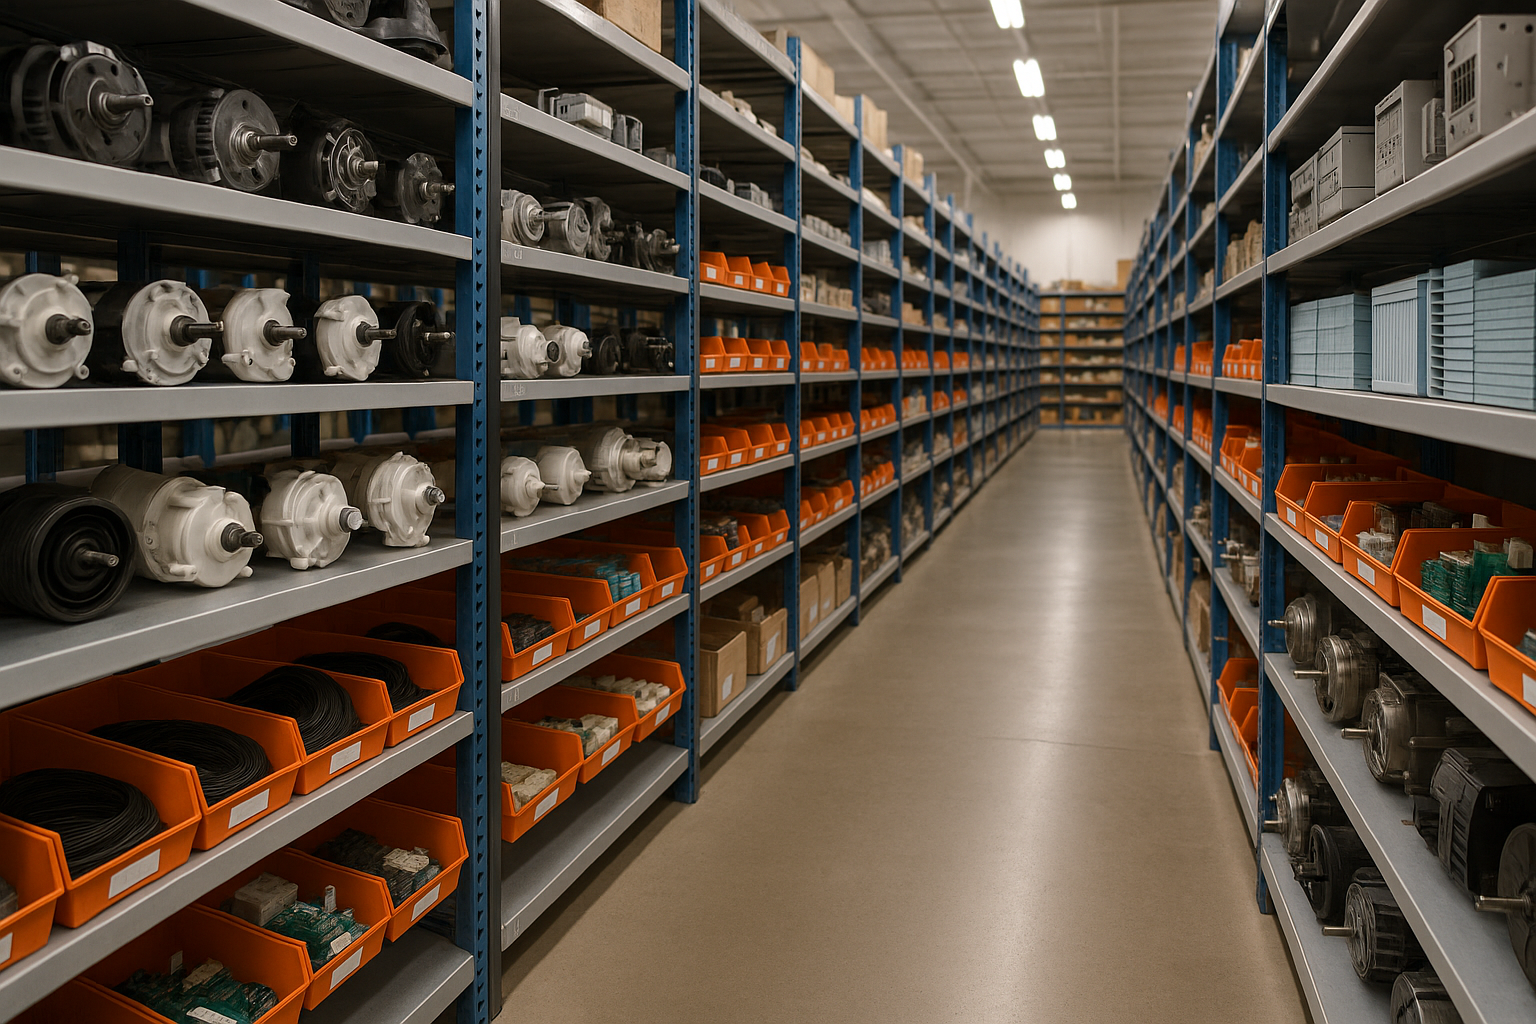
Professional appliance parts warehouse with organized shelving and extensive inventory

Express Warehouse Shipping

Order within the countdown for same-day shipping!

00 Hours
00 Minutes
00 Seconds

In stock orders placed during business hours ship the same day.

Order of $75 or more of eligible items qualify for FREE Shipping.

Same-day shipping deadline has passed

Orders placed now will ship the next business day.

Same-day shipping deadline has passed

Orders placed outside business hours will be processed when we reopen.

Business Hours: Monday - Friday, 9:00 AM - 5:00 PM EST

Trusted Family Business

29 years of Excellence in Appliance Parts

For over 29 years, our family has been dedicated to providing quality appliance parts and exceptional service. What started as a small local business has grown into a trusted name, but we've never forgotten our roots. Every customer receives the personal attention and care that only a family-owned business can provide.

Years of Experience

Our knowledge has been built over the past 29 years in the business, ensuring expert advice for every appliance need.

Personal Service Guarantee

We treat every customer like family, providing personalized solutions and standing behind our products.

Built on Trust

Our reputation has been built one satisfied customer at a time, creating lasting relationships in our community.

Buy Online Pick Up In-Store

Address
101 Trillium Dr
Kitchener, Ontario N2R 1J8
Phone
Hours
Monday - Friday 9:00 AM - 5:00 PM
Get Directions

Contact Us Customer Service

Hard to find parts? We've got them or we'll find them!

Call now for expert appliance parts assistance

Available Monday - Friday, 9AM - 5PM EST