


Premium WS01L17808 Oven Panel by XPart Supply Ltd.
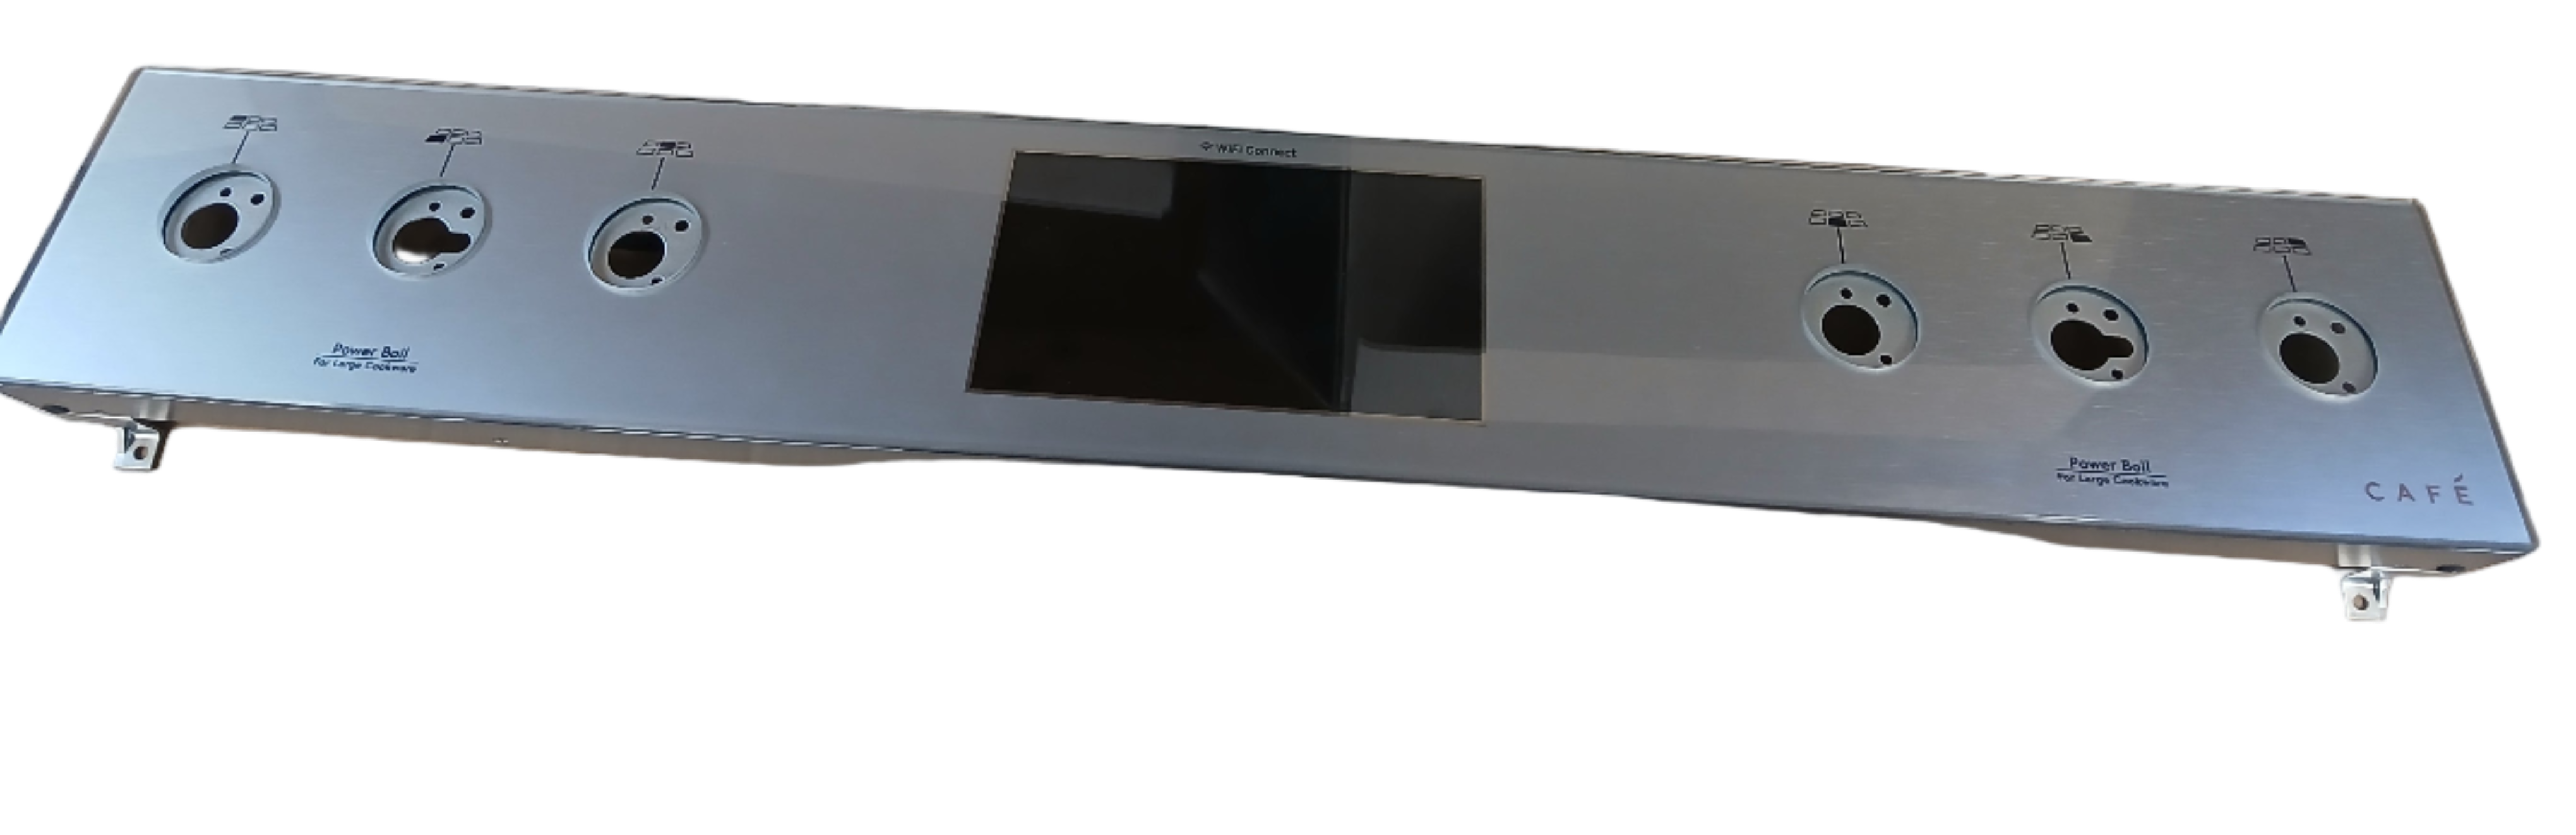
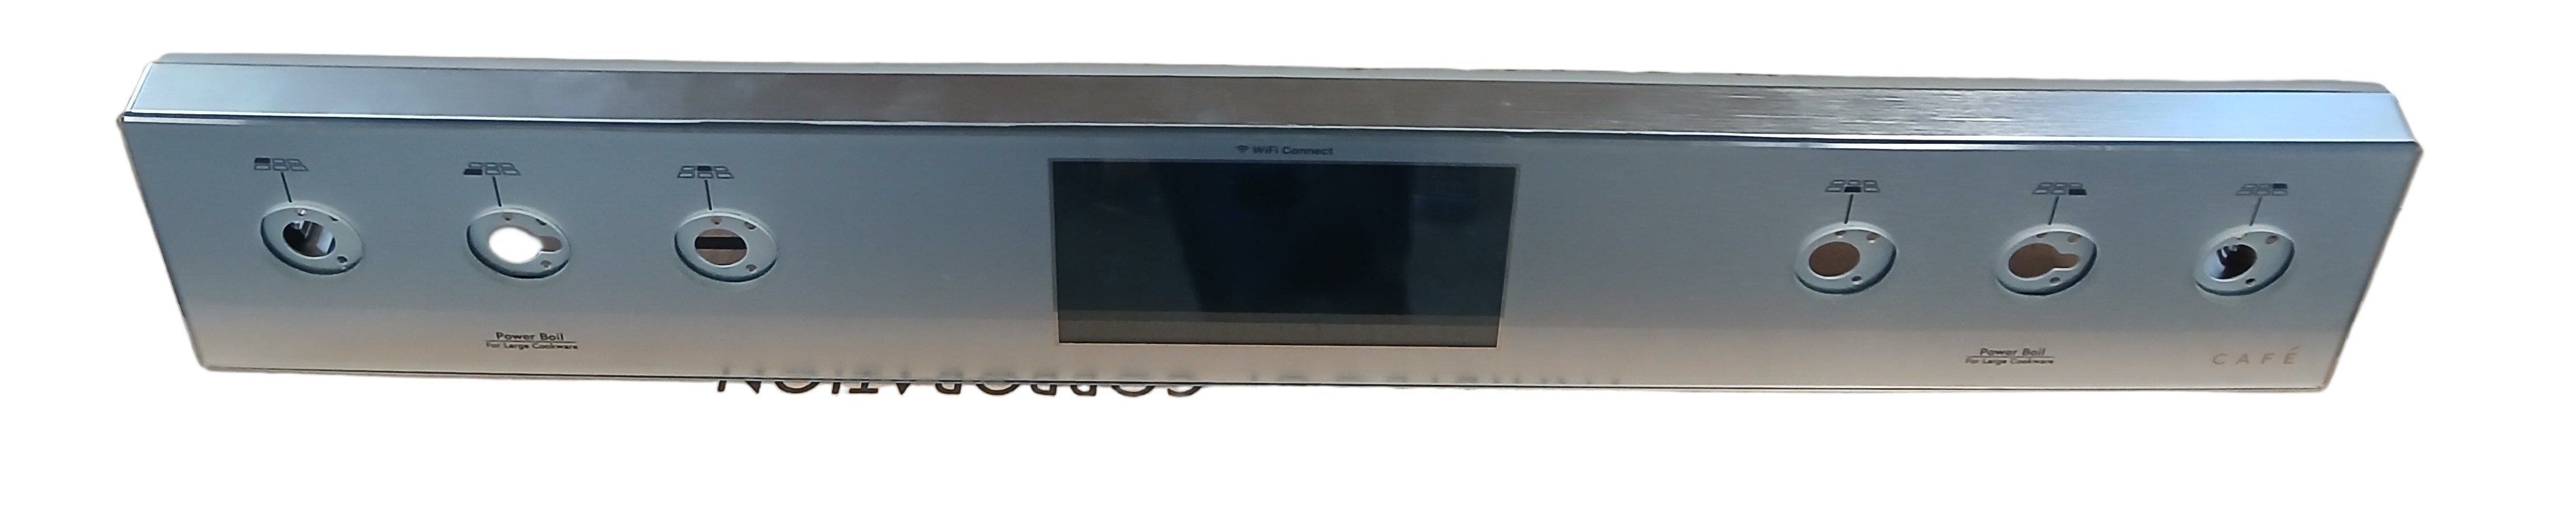
The WS01L17808 is a genuine OEM Electrolux oven door panel and gasket assembly designed for Electrolux, Frigidaire, Westinghouse, AEG, Zanussi, and other compatible oven and range models. This critical component creates an airtight seal between the oven door and the oven cavity, preventing heat loss during cooking and maintaining consistent oven temperature. The oven door gasket is essential for proper oven function—without a functioning gasket, heat escapes from the oven, causing temperature fluctuations, longer preheat times, uneven cooking, and increased energy consumption. The WS01L17808 is a high-temperature gasket assembly rated for continuous operation up to 250-300°C (480-570°F) and is designed to provide reliable, long-lasting sealing performance. The oven door gasket assembly is a complete assembly that includes all components necessary for installation. The oven door gasket assembly is constructed from premium materials including a high-temperature rubber or silicone compound (provides flexible sealing and heat resistance), reinforced fiberglass or steel core (provides structural strength and durability), mounting clips or fasteners (secure gasket to door panel), and protective backing material (prevents gasket deterioration). The WS01L17808 features a continuous gasket design that runs around the entire perimeter of the oven door opening, typically measuring 80-100 inches in total length depending on oven size. The gasket is mounted in a groove or channel on the door panel using spring clips or adhesive backing. The gasket creates a compression seal when the door is closed, with the gasket material compressing slightly against the oven cavity opening to create an airtight seal. The WS01L17808 replaces older gasket assembly part numbers and features improved rubber or silicone compound formulation for better heat resistance and longer lifespan (50% longer than previous generation), reinforced core material for superior strength and durability, improved mounting clips for easier installation and better retention, enhanced sealing properties for better temperature maintenance and energy efficiency, and optimized gasket profile for better compression and seal quality across all compatible oven models. The oven door gasket operates through mechanical compression sealing: when the oven door is closed, the gasket material contacts the oven cavity opening; the door latch mechanism pulls the door closed, compressing the gasket material; the compressed gasket creates an airtight seal that prevents heat from escaping; the seal is maintained throughout the cooking cycle; when the door is opened, the gasket relaxes and returns to its original shape; the gasket is ready for the next cycle. Common failure causes include normal wear from age and repeated use (typical gasket lifespan 8-15 years with average use), thermal degradation from continuous high-temperature exposure, mechanical wear from repeated door opening and closing, gasket material hardening or cracking from age and heat stress, loss of gasket elasticity preventing proper compression seal, physical damage from impact or improper cleaning, manufacturing defects, or premature failure from low-quality replacement gaskets. When the oven door gasket fails, symptoms include visible cracks or deterioration on gasket surface (mechanical wear, most common symptom), gasket material hardened or brittle (thermal degradation), gasket not compressing properly when door closes (loss of elasticity), heat escaping from around door during cooking (poor seal), oven door not closing properly or sealing tightly (gasket too thin or damaged), longer preheat times (heat loss from poor seal), uneven cooking or temperature fluctuations (inconsistent heat retention), visible gaps between door and oven cavity (gasket failure), or complete gasket failure (gasket missing or severely damaged). The WS01L17808 is a direct replacement oven door gasket assembly that provides reliable, consistent sealing for efficient oven operation and long service life. IMPORTANT: This gasket assembly is specific to certain Electrolux/Frigidaire oven models—verify your oven model is compatible before ordering. CRITICAL: Always turn off power to the oven and allow it to cool completely before working on the door gasket to prevent burn injury.
✅Compatibility & Cross Reference
Not sure about your model number? Call 1-877-899-7278 and we’ll help you confirm. All brand names are the property of their respective owners and are used for compatibility reference only.
Buy Online Pick Up In-Store
Address
101 Trillium Dr
Kitchener, Ontario N2E 1W8
Kitchener, Ontario N2E 1W8
Phone
Hours
Mon–Fri 9 AM–5 PM • Sat 9 AM–1 PM

- Choosing a selection results in a full page refresh.


