203768 Kit Transmission Lip Seal

XPart Supply Ltd.

Sale price
$699.99
Regular price
$1,007.19
You save
$307.20 (31%)

Frequently Bought Together

Transmission Seal Kit, Lip Seal Assembly, Shaft Seal Kit

WP203768, AP6008107, PS11741239, EAP11741239, 203768VP, 203769, 203770, 8540017, 8540018

Whirlpool, Kenmore

Fits Models: (Ctrl+F and Enter Your Model Number)

WhirlpoolLSQ9549LW0, LSQ9549LW1, LSQ9549LW2, LSQ9549LW3, LSQ9549PG0, LSQ9549PG1, LSQ9549PG2, LSQ9549PG3, LSQ9549PW0, LSQ9549PW1, LSQ9549PW2, LSQ9549PW3, LSQ9549JQ0, LSQ9549JQ1, LSQ9549JQ2, LSQ9549JQ3, LSQ9549JT0, LSQ9549JT1, LSQ9549JT2, LSQ9549JT3, LSQ9549JZ0, LSQ9549JZ1, LSQ9549JZ2, LSQ9549JZ3, LSQ9549KQ0, LSQ9549KQ1, LSQ9549KQ2, LSQ9549KQ3, LSQ9549KT0, LSQ9549KT1, LSQ9549KT2, LSQ9549KT3, LSQ9549LG0, LSQ9549LG1, LSQ9549LG2, LSQ9549LG3, LSQ9549LQ0, LSQ9549LQ1, LSQ9549LQ2, LSQ9549LQ3, LSQ9549LT0, LSQ9549LT1, LSQ9549LT2, LSQ9549LT3, LSQ9549LZ0, LSQ9549LZ1, LSQ9549LZ2, LSQ9549LZ3, LSQ9549MG0, LSQ9549MG1, LSQ9549MG2, LSQ9549MG3, LSQ9549MQ0, LSQ9549MQ1, LSQ9549MQ2, LSQ9549MQ3, LSQ9549MT0, LSQ9549MT1, LSQ9549MT2, LSQ9549MT3, LSQ9549MZ0, LSQ9549MZ1, LSQ9549MZ2, LSQ9549MZ3, WTW5090HW0, WTW5090HW1, WTW5090HW2, WTW5090HW3, WTW5090HZ0, WTW5090HZ1, WTW5090HZ2, WTW5090HZ3, WTW5090JW0, WTW5090JW1, WTW5090JW2, WTW5090JW3

Kenmore110.22722100, 110.22722101, 110.22722102, 110.22722103, 110.22722200, 110.22722201, 110.22722202, 110.22722203, 110.22722300, 110.22722301, 110.22722302, 110.22722303, 110.22722400, 110.22722401, 110.22722402, 110.22722403, 110.22722500, 110.22722501, 110.22722502, 110.22722503, 110.22722600, 110.22722601, 110.22722602, 110.22722603, 110.22722700, 110.22722701, 110.22722702, 110.22722703, 110.22722800, 110.22722801, 110.22722802, 110.22722803, 110.22722900, 110.22722901, 110.22722902, 110.22722903, 110.45092100, 110.45092101, 110.45092102, 110.45092103, 110.45092200, 110.45092201, 110.45092202, 110.45092203, 110.45092300, 110.45092301, 110.45092302, 110.45092303, 110.45092400, 110.45092401, 110.45092402, 110.45092403

Professional Repair Time: 90-120 minutes
DIY Repair Time: 120-180 minutes
Difficulty Rating: Advanced (4/5) — Requires transmission removal, seal removal and installation, and careful shaft inspection; significant mechanical skill and specialized tools required

  1. Unplug the washer from the electrical outlet to ensure complete power disconnection.
  2. Close the water supply valves at the wall to prevent water discharge during disassembly.
  3. Empty the washer of any clothes or items inside.
  4. Remove the top panel of the washer by unscrewing the fasteners along the back edge (typically 2-4 screws) and lifting the panel up and away from the cabinet.
  5. Take multiple photos of the transmission location, mounting position, and the area around the transmission shaft seal before disassembly. Document the seal location, shaft orientation, and any visible components from multiple angles. This is critical for proper reassembly.
  6. Remove the agitator by locating the set screw or bolt at the top center of the agitator, removing it with the appropriate wrench or screwdriver, then pulling the agitator straight up and out of the washer.
  7. Remove the basket nut or bolt at the center of the washer basket using a large socket wrench. Support the basket as you remove the nut.
  8. Carefully lift the washer basket straight up and out of the washer cabinet.
  9. Set the basket aside in a safe location where it won't be damaged.
  10. Locate the transmission assembly at the bottom center of the washer cabinet. Identify the transmission shaft where it exits the transmission housing—this is where the lip seal is located.
  11. Disconnect all wire harness connectors from the transmission area. Label each connector with masking tape.
  12. Disconnect the motor from the transmission by removing the mounting bolts and carefully pulling the motor away.
  13. Support the transmission with a jack or block to prevent it from falling during removal.
  14. Remove the mounting bolts that secure the transmission to the washer cabinet base. Support the transmission with your hand or jack as you remove the last bolt.
  15. Carefully lower the transmission out of the washer cabinet. The transmission is very heavy—use proper lifting techniques or get assistance.
  16. Place the transmission on a clean work surface with adequate space for seal replacement work.
  17. Inspect the transmission shaft where the seal is located. Look for grooves, wear marks, or corrosion on the shaft surface. A worn or corroded shaft may need to be resurfaced or the transmission may need replacement.
  18. Take a photo of the old seal and its position on the shaft before removal.
  19. Remove the old lip seal by carefully prying it off the transmission shaft using a flathead screwdriver or seal removal tool. Be careful not to damage the shaft surface during removal.
  20. Inspect the seal cavity on the transmission housing for damage, cracks, or corrosion. Clean the cavity with a clean cloth if necessary.
  21. Inspect the transmission shaft where the seal sits. The shaft surface should be smooth and free of grooves or damage. If the shaft is damaged, it may need resurfacing or the transmission may need replacement.
  22. Clean the seal cavity and shaft thoroughly with a clean, lint-free cloth. Remove any dirt, debris, or old seal material.
  23. Unpack the new 203768 transmission lip seal kit from its packaging. Handle carefully to avoid damaging the seal or components.
  24. Verify all components are included in the kit: main lip seal, backup rings, springs, and any mounting hardware.
  25. Compare the new seal to the old one to verify the size, shape, and configuration match. Ensure you have the correct replacement kit.
  26. Inspect the new seal for any damage or defects before installation.
  27. Apply a thin coat of transmission oil or seal lubricant to the transmission shaft where the seal will sit. This helps the seal slide onto the shaft and seat properly. Use only the lubricant specified in the kit instructions.
  28. Carefully slide the new lip seal onto the transmission shaft, aligning it with the seal cavity. The seal should slide smoothly onto the shaft without forcing.
  29. Verify the seal is properly positioned by comparing it to your photos. The seal should be at the same position as the old seal was.
  30. Ensure the seal lip is facing the correct direction. The flexible lip should face inward toward the transmission fluid, not outward. Incorrect orientation will cause immediate seal failure.
  31. Install any backup rings or springs included in the kit, following the kit instructions carefully. These components help maintain seal pressure and prevent leakage.
  32. Verify the seal is fully seated in the seal cavity. The seal should not wobble or shift when gently pushed.
  33. Manually rotate the transmission shaft to verify the seal rotates smoothly without binding or resistance. The seal should move freely with the shaft.
  34. Inspect the seal installation to ensure no part of the seal is pinched, twisted, or misaligned.
  35. Reinstall the transmission into the washer cabinet by carefully lowering it into position and aligning the mounting holes.
  36. Secure the transmission with the mounting bolts, tightening firmly but not over-tightening. Tighten bolts in a cross pattern to ensure even pressure.
  37. Reconnect the motor to the transmission by aligning it and securing the mounting bolts.
  38. Reconnect all wire harness connectors to the transmission area, matching the labels you applied earlier.
  39. Reinstall the washer basket by carefully lowering it onto the transmission shaft.
  40. Reinstall the basket nut or bolt and tighten firmly with the large socket wrench. Torque to manufacturer's specification.
  41. Reinstall the agitator by aligning it with the transmission shaft and pushing it down firmly. Secure with the set screw or bolt.
  42. Reinstall the top panel by aligning it with the washer and securing all fasteners.
  43. Restore the water supply by opening the supply valves.
  44. Plug the washer back in and restore power.
  45. Run a test cycle (without clothes) on a full wash cycle to verify the seal is functioning properly.
  46. Monitor for water leaks throughout the test cycle. Check the floor around the washer, the bottom of the washer cabinet, and the area under the transmission for any water leakage.
  47. Verify the washer fills with water during the test cycle. Water should flow into the tub within 10-15 seconds.
  48. Verify the washer drains properly at the end of the wash cycle. Water should drain within 1-2 minutes.
  49. Verify the basket spins during the spin cycle without unusual vibrations.
  50. If water leaks during the test cycle, stop immediately and verify the seal is properly installed. The seal may be misaligned, facing the wrong direction, or not fully seated.
  51. If leaking continues, the transmission shaft may be damaged or worn, requiring shaft resurfacing or transmission replacement.
  52. Run a full wash cycle with a typical load of clothes to confirm the seal is functioning properly.
  53. Monitor the washer for 24-48 hours of normal use to ensure the seal holds properly without leaks.
  54. Check the area under the washer periodically for signs of water leakage. Any leaks must be addressed immediately.

Safety Notes: Always unplug the washer before working on it. Close the water supply valves to prevent accidental water discharge. The transmission is very heavy—use proper lifting techniques or get assistance. Never operate the washer without the transmission installed. Ensure the seal is properly oriented before installation—incorrect orientation will cause immediate failure. This is a major repair requiring significant mechanical skill and specialized tools—if you're uncomfortable with the process, consult a professional technician.

Always inspect the transmission shaft for damage before installing the new seal. A worn or corroded shaft will prevent the new seal from sealing properly, causing immediate failure. Inspect the shaft surface carefully for grooves, wear marks, or corrosion. If the shaft is damaged, it may need to be resurfaced with fine sandpaper (400-600 grit) or the transmission may need replacement.

Verify the seal is facing the correct direction. The flexible lip of the seal must face inward toward the transmission fluid, not outward. Incorrect orientation will cause the seal to fail immediately and allow water to leak into the transmission. Compare the new seal to your photos to ensure correct orientation.

Apply seal lubricant sparingly. A thin coat of transmission oil or seal lubricant helps the seal slide onto the shaft and seat properly. However, excessive lubricant can cause the seal to slip or fail to seat properly. Use only the amount specified in the kit instructions.

This seal kit is model-specific. The 203768 is designed for specific Whirlpool and Kenmore top-load washers. Always verify your washer model number matches one of the compatible models before ordering. Using an incorrect seal kit can result in non-fit or improper sealing.

This is a complete seal kit. The 203768 includes all necessary components (main seal, backup rings, springs, and mounting hardware) for proper installation. Do not attempt to install only part of the kit—all components must be installed for proper sealing.

Transmission seal replacement requires transmission removal. This repair requires significant mechanical skill, specialized tools (socket sets, torque wrench, seal removal tools), and extensive knowledge of washer mechanics. If you're uncomfortable with the process, consult a professional technician.

Monitor the first few wash cycles after installation. After installing the new seal, run several wash cycles and monitor carefully for any water leakage. Check the floor under the washer, the transmission area, and the motor area for signs of leakage. Address any leaks immediately.

Seal failure can have multiple causes. If the new seal doesn't prevent leakage, the transmission shaft may be damaged, the seal may be installed incorrectly, or the transmission housing may be cracked. Further diagnosis may be required to identify the root cause.

Keep the transmission dry during installation. Water intrusion into the transmission during seal replacement can cause internal corrosion and damage. Ensure the transmission area is dry before beginning work and keep water away from the transmission during installation.

This repair prevents catastrophic transmission failure. Water intrusion into the transmission causes internal corrosion, bearing failure, and complete transmission failure. Replacing the lip seal before water damage occurs prevents the need for expensive transmission replacement. A failed seal can lead to $400-600 transmission replacement costs.

Test the seal installation before reassembling the washer. Before reinstalling the transmission into the washer, manually rotate the transmission shaft to verify the seal rotates smoothly without binding or resistance. The seal should move freely with the shaft. If resistance is felt, the seal may be misaligned or facing the wrong direction.

Inspect the transmission housing for cracks. If the transmission housing is cracked or damaged, the new seal will not prevent water leakage. Inspect the housing carefully for cracks, especially around the seal cavity. If cracks are present, the transmission may need replacement.

Check the seal cavity for debris. Any dirt, debris, or old seal material left in the seal cavity can prevent the new seal from seating properly. Clean the cavity thoroughly with a lint-free cloth before installing the new seal.

This seal kit is a preventive maintenance item. If water is already leaking from the transmission, internal water damage may have already occurred. Even after seal replacement, inspect the transmission for signs of internal corrosion or damage. If internal damage is present, the transmission may need replacement.

Never reuse an old transmission seal. Old seals are worn and cannot provide a proper seal. Always replace with a new OEM seal kit. Reusing an old seal will result in continued leakage and potential transmission damage.

Verify all backup rings and springs are installed. The kit includes backup rings and springs that help maintain seal pressure and prevent leakage. All components must be installed in the correct order and orientation. Consult the kit instructions carefully and verify each component is properly installed.

Monitor for gradual leakage after installation. Some minor weeping or slow dripping may occur immediately after installation as the seal settles and the shaft lubricant distributes. However, heavy leaking should not occur. If heavy leaking continues after 1-2 wash cycles, the seal may be installed incorrectly.

This repair extends transmission life significantly. A properly installed transmission seal prevents water intrusion and extends transmission life by 5-10 years or more. The cost of seal replacement ($150-300) is far less than the cost of transmission replacement ($400-600).

Keep detailed records of seal replacement. Document the date of seal replacement and monitor the washer for any future leaking. If leaking recurs within a few months, there may be an underlying problem causing seal failure. Further diagnosis may be required.


  • Water leaking from bottom of washer (especially during spin cycles)
  • Visible water pooling under the washer
  • Wet or damp area around transmission area
  • Detergent smell coming from under the washer
  • Rust or corrosion visible on transmission housing or motor
  • Transmission making grinding noises (indicating internal water damage)
  • Water dripping from transmission area during or after wash cycles
  • Musty or moldy smell from washer cabinet
  • Visible water stains on floor under washer
  • Transmission leaking oil or fluid
  • Water visible on motor or electrical components
  • Washer leaving water puddles on floor


Whirlpool refrigerator replacement parts, Frigidaire refrigerator replacement parts, GE refrigerator replacement parts, Kenmore refrigerator replacement parts, KitchenAid refrigerator replacement parts, LG refrigerator replacement parts, Maytag refrigerator replacement parts, Whirlpool refrigerator drawers and glides replacement, Whirlpool dishwasher replacement parts, GE dishwasher replacement parts, KitchenAid dishwasher replacement parts, Maytag dishwasher replacement parts, Frigidaire dishwasher replacement parts, Kenmore dishwasher replacement parts, Whirlpool washer replacement parts, GE washer replacement parts, Maytag washer replacement parts, Kenmore washer replacement parts, LG washer replacement parts, Whirlpool dryer replacement parts, GE dryer replacement parts, Maytag dryer replacement parts, Kenmore dryer replacement parts, LG dryer replacement parts, Whirlpool range replacement parts, GE range replacement parts, Whirlpool stove replacement parts, GE stove replacement parts, GE oven replacement parts, GE microwave replacement parts, buy Whirlpool refrigerator parts online, buy GE dishwasher parts online, replacement Kenmore washer parts for sale, buy Maytag dryer parts, LG washer replacement parts online, KitchenAid refrigerator parts for sale, Whirlpool stove and range replacement parts

Premium Transmission Lip Seal Kit

The 203768 is a genuine OEM transmission lip seal kit for Whirlpool and Kenmore top-load washers. This seal kit is a critical component that prevents water and detergent from leaking out of the transmission assembly and prevents dirt and debris from entering the transmission. The transmission lip seal is a precision-engineered seal that wraps around the transmission shaft where it exits the transmission housing. The seal creates a watertight barrier using a flexible rubber or elastomer lip that maintains contact with the rotating shaft. As the shaft rotates during wash and spin cycles, the lip seal maintains its seal while allowing the shaft to rotate freely. The kit typically includes the main lip seal, backup rings, springs, and any necessary mounting hardware for installation. Over time, transmission lip seals can fail due to normal wear from thousands of wash cycles, shaft wear creating grooves that prevent proper sealing, water and detergent degradation of the seal material, thermal cycling causing seal hardening or cracking, contamination from dirt or debris, or manufacturing defects. When the transmission lip seal fails, symptoms include water leaking from the bottom of the washer (especially during spin cycles when pressure is highest), visible water pooling under the washer, a wet or damp area around the transmission area, detergent smell coming from under the washer, rust or corrosion visible on the transmission housing or motor, or the transmission making grinding noises (indicating internal water damage). If water continues to leak into the transmission, it will cause internal corrosion, bearing failure, and complete transmission failure. The 203768 is a complete seal kit that restores the watertight integrity of the transmission. Replacing a faulty transmission lip seal prevents water damage to the transmission and extends transmission life significantly. Important: Transmission seal replacement requires transmission removal and is a major repair. Professional installation is strongly recommended.

Key Features and Design

Crafted with durable, precision-engineered materials, this transmission lip seal kit is built to withstand the rigors of daily use in motor vehicle applications. Its compact design allows for seamless integration, providing a secure fit that enhances overall transmission efficiency. As part of XPart Supply Ltd.'s reputation for expertise in vehicle parts, this kit features a robust construction that reflects the brand's commitment to quality and longevity.

  • High-quality materials: Engineered for superior durability and resistance to wear, ensuring long-lasting performance.
  • Precision craftsmanship: Meticulously designed to prevent fluid leakage and maintain smooth operation in transmission systems.
  • SKU: 203768: Easily identifiable for quick replacements in motor vehicle transmission and drivetrain parts.

Performance and Benefits

This transmission lip seal kit solves common issues like fluid leaks, which can lead to costly repairs and reduced vehicle efficiency. By providing a dependable seal, it enhances your transmission's lifespan, delivering smoother gear shifts and improved overall driving experience. Trust XPart Supply Ltd. for parts that keep your vehicle running reliably, backed by their established expertise in the automotive industry.

Recommended additional items 203767 kit hub, 735P3 brake pad kit.

This kit contains transmission lip seal 203768 to ensure proper seal and prevent leakage. Made with high-quality materials for durability and precision, this seal is designed to provide smooth and efficient performance, prolonging the lifespan of your transmission. Trust in our expertise for optimal results.

Hard to find parts? We've got them or we'll find them!

Over 10,000 New & Used Parts Ready for Pickup

Show this item number to our store staff to help locate the exact part you need
XPART GTIN/UPC NUMBER
9899573215521

XPart Supply Advantage

Your trusted partner for fast, reliable parts delivery across North America

Lightning Fast Shipping

Same-day processing with expedited delivery options across North America

Massive Inventory

Over 10,000 parts in stock and ready to ship immediately

North America Coverage

Comprehensive shipping network covering USA, Canada, and Mexico

Quality Guaranteed

Premium parts with warranty protection and expert customer support

10K+
Parts in Stock
24-48H
Local Delivery
99.8%
Customer Satisfaction
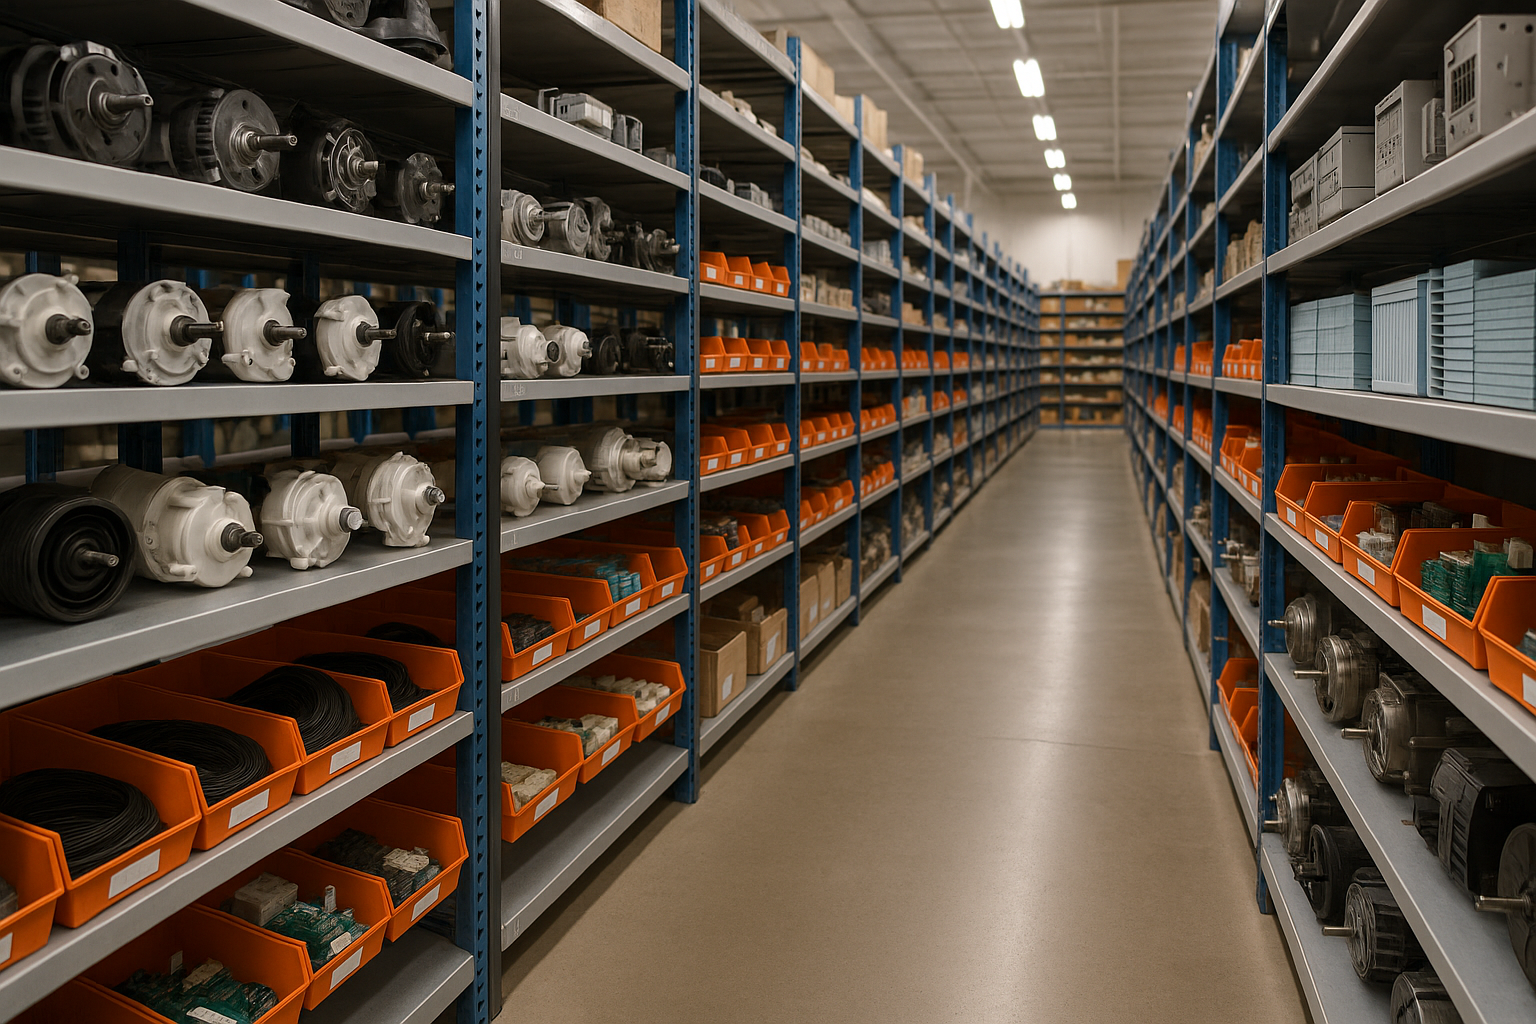
Professional appliance parts warehouse with organized shelving and extensive inventory

Express Warehouse Shipping

Order within the countdown for same-day shipping!

00 Hours
00 Minutes
00 Seconds

In stock orders placed during business hours ship the same day.

Order of $75 or more of eligible items qualify for FREE Shipping.

Same-day shipping deadline has passed

Orders placed now will ship the next business day.

Same-day shipping deadline has passed

Orders placed outside business hours will be processed when we reopen.

Business Hours: Monday - Friday, 9:00 AM - 5:00 PM EST

Trusted Family Business

29 years of Excellence in Appliance Parts

For over 29 years, our family has been dedicated to providing quality appliance parts and exceptional service. What started as a small local business has grown into a trusted name, but we've never forgotten our roots. Every customer receives the personal attention and care that only a family-owned business can provide.

Years of Experience

Our knowledge has been built over the past 29 years in the business, ensuring expert advice for every appliance need.

Personal Service Guarantee

We treat every customer like family, providing personalized solutions and standing behind our products.

Built on Trust

Our reputation has been built one satisfied customer at a time, creating lasting relationships in our community.

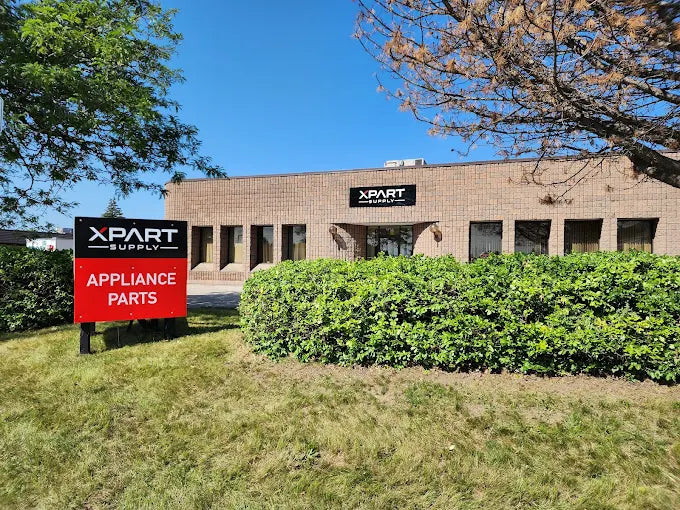
Buy Online Pick Up In-Store

Address
101 Trillium Dr
Kitchener, Ontario N2R 1J8
Phone
Hours
Monday - Friday 9:00 AM - 5:00 PM
Get Directions

Contact Us Customer Service

Hard to find parts? We've got them or we'll find them!

Call now for expert appliance parts assistance

Available Monday - Friday, 9AM - 5PM EST