280140 Dryer Drum Felt Seal Kit

XPart Supply Ltd. 883049280140

Price
$108.30

Frequently Bought Together

3348655, 3957769, 280213, 3363394, 285753A, AP3094499, PS334244, 279234, 3388229, 697813, AH334244, EA334244, EAP334244

Whirlpool, Maytag, Kenmore, Roper, Estate, Inglis, Admiral, Crosley, Amana

Fits Models: (Ctrl+F and Enter Your Model Number)

WhirlpoolLER4634EQ0, LER4634EQ1, LER4634EZ0, LER4634EZ1, LER4634JQ0, LER4634JQ1, LER4634JZ0, LER4634JZ1, LER5636KQ0, LER5636KQ1, LER5636KZ0, LER5636KZ1, LER5638JQ0, LER5638JQ1, LER5638JZ0, LER5638JZ1, LER5644EQ0, LER5644EQ1, LER5644EZ0, LER5644EZ1, LER5644JQ0, LER5644JQ1, LER5644JZ0, LER5644JZ1, LER6636PQ0, LER6636PQ1, LER6636PZ0, LER6636PZ1, LER6638AN0, LER6638AN1, LER6638AW0, LER6638AW1, LER6638PQ0, LER6638PQ1, LER6638PW0, LER6638PW1, LER7646EQ0, LER7646EQ1, LER7646EZ0, LER7646EZ1, LER7646JQ0, LER7646JQ1, LER7646JZ0, LER7646JZ1, LER8620PW0, LER8620PW1, LER8620PZ0, LER8620PZ1, WED4616FW0, WED4616FW1, WED4616FW2, WED4616FW3, WED5100VQ0, WED5100VQ1, WED5100VQ2, WED5100VQ3, WED5200VQ0, WED5200VQ1, WED5200VQ2, WED5200VQ3, WED5300VW0, WED5300VW1, WED5300VW2, WED5300VW3, WED5620HW0, WED5620HW1, WED5620HW2, WED5620HW3, WED5800BW0, WED5800BW1, WED5800BW2, WED5800BW3, WED5840SW0, WED5840SW1, WED5840SW2, WED5840SW3

MaytagMEDB755DW0, MEDB755DW1, MEDB755DW2, MEDB755DW3, MEDB755DW4, MEDB755DW5, MEDB755DW6, MEDB755DW7, MEDB755DW8, MEDB755DW9, MEDB755DWA, MEDB755DWB, MEDB755DWC, MEDB755DWD, MEDB755DWE, MEDB755DWF, MEDB755DWG, MEDB755DWH, MEDB755DWI, MEDB755DWJ, MEDB755DWK, MEDB755DWL, MEDB755DWM, MEDB755DWN, MEDB755DWO, MEDB755DWP, MEDB755DWQ, MEDB755DWR, MEDB755DWS, MEDB755DWT, MEDB755DWU, MEDB755DWV, MEDB755DWW, MEDB755DWX, MEDB755DWY, MEDB755DWZ, MEDC465HW0, MEDC465HW1, MEDC465HW2, MEDC465HW3, MEDC465HW4, MEDC465HW5, MEDC465HW6, MEDC465HW7, MEDC465HW8, MEDC465HW9, MEDC465HWA, MEDC465HWB, MEDC465HWC, MEDC465HWD, MEDC465HWE, MEDC465HWF, MEDC465HWG, MEDC465HWH, MEDC465HWI, MEDC465HWJ, MEDC465HWK, MEDC465HWL, MEDC465HWM, MEDC465HWN, MEDC465HWO, MEDC465HWP, MEDC465HWQ, MEDC465HWR, MEDC465HWS, MEDC465HWT, MEDC465HWU, MEDC465HWV, MEDC465HWW, MEDC465HWX, MEDC465HWY, MEDC465HWZ

Kenmore110.60132410, 110.60132411, 110.60132412, 110.60132413, 110.60132414, 110.60132415, 110.60132416, 110.60132417, 110.60132418, 110.60132419, 110.60142410, 110.60142411, 110.60142412, 110.60142413, 110.60142414, 110.60142415, 110.60142416, 110.60142417, 110.60142418, 110.60142419, 110.60152410, 110.60152411, 110.60152412, 110.60152413, 110.60152414, 110.60152415, 110.60152416, 110.60152417, 110.60152418, 110.60152419, 110.60162410, 110.60162411, 110.60162412, 110.60162413, 110.60162414, 110.60162415, 110.60162416, 110.60162417, 110.60162418, 110.60162419, 110.60172410, 110.60172411, 110.60172412, 110.60172413, 110.60172414, 110.60172415, 110.60172416, 110.60172417, 110.60172418, 110.60172419, 110.60182410, 110.60182411, 110.60182412, 110.60182413, 110.60182414, 110.60182415, 110.60182416, 110.60182417, 110.60182418, 110.60182419

RoperRED4516FW0, RED4516FW1, RED4516FW2, RED4516FW3, RED4516FW4, RED4516FW5, RED4516FW6, RED4516FW7, RED4516FW8, RED4516FW9, RED4516FWA, RED4516FWB, RED4516FWC, RED4516FWD, RED4516FWE, RED4516FWF, RED4516FWG, RED4516FWH, RED4516FWI, RED4516FWJ, RED4516FWK, RED4516FWL, RED4516FWM, RED4516FWN, RED4516FWO, RED4516FWP, RED4516FWQ, RED4516FWR, RED4516FWS, RED4516FWT, RED4516FWU, RED4516FWV, RED4516FWW, RED4516FWX, RED4516FWY, RED4516FWZ

EstateEEDC427FW0, EEDC427FW1, EEDC427FW2, EEDC427FW3, EEDC427FW4, EEDC427FW5, EEDC427FW6, EEDC427FW7, EEDC427FW8, EEDC427FW9, EEDC427FWA, EEDC427FWB, EEDC427FWC, EEDC427FWD, EEDC427FWE, EEDC427FWF, EEDC427FWG, EEDC427FWH, EEDC427FWI, EEDC427FWJ, EEDC427FWK, EEDC427FWL, EEDC427FWM, EEDC427FWN, EEDC427FWO, EEDC427FWP, EEDC427FWQ, EEDC427FWR, EEDC427FWS, EEDC427FWT, EEDC427FWU, EEDC427FWV, EEDC427FWW, EEDC427FWX, EEDC427FWY, EEDC427FWZ

InglisIED4000, IED4100, IED4200, IED4300, IED4400, IED4500, IED4600, IED4700, IED4800, IED4900, IED5000, IED5100, IED5200, IED5300, IED5400, IED5500, IED5600, IED5700, IED5800, IED5900

AdmiralNED4516FW0, NED4516FW1, NED4516FW2, NED4516FW3, NED4516FW4, NED4516FW5, NED4516FW6, NED4516FW7, NED4516FW8, NED4516FW9, NED4516FWA, NED4516FWB, NED4516FWC, NED4516FWD, NED4516FWE, NED4516FWF, NED4516FWG, NED4516FWH, NED4516FWI, NED4516FWJ, NED4516FWK, NED4516FWL, NED4516FWM, NED4516FWN, NED4516FWO, NED4516FWP, NED4516FWQ, NED4516FWR, NED4516FWS, NED4516FWT, NED4516FWU, NED4516FWV, NED4516FWW, NED4516FWX, NED4516FWY, NED4516FWZ

CrosleyCED427FW0, CED427FW1, CED427FW2, CED427FW3, CED427FW4, CED427FW5, CED427FW6, CED427FW7, CED427FW8, CED427FW9, CED427FWA, CED427FWB, CED427FWC, CED427FWD, CED427FWE, CED427FWF, CED427FWG, CED427FWH, CED427FWI, CED427FWJ, CED427FWK, CED427FWL, CED427FWM, CED427FWN, CED427FWO, CED427FWP, CED427FWQ, CED427FWR, CED427FWS, CED427FWT, CED427FWU, CED427FWV, CED427FWW, CED427FWX, CED427FWY, CED427FWZ

AmanaNED4655EW0, NED4655EW1, NED4655EW2, NED4655EW3, NED4655EW4, NED4655EW5, NED4655EW6, NED4655EW7, NED4655EW8, NED4655EW9, NED4655EWA, NED4655EWB, NED4655EWC, NED4655EWD, NED4655EWE, NED4655EWF, NED4655EWG, NED4655EWH, NED4655EWI, NED4655EWJ, NED4655EWK, NED4655EWL, NED4655EWM, NED4655EWN, NED4655EWO, NED4655EWP, NED4655EWQ, NED4655EWR, NED4655EWS, NED4655EWT, NED4655EWU, NED4655EWV, NED4655EWW, NED4655EWX, NED4655EWY, NED4655EWZ

Professional Repair Time: 45-60 minutes
DIY Repair Time: 60-90 minutes
Difficulty Rating: Moderate (3/5) — Requires drum removal and reassembly; some mechanical skill recommended

  1. Unplug the dryer from the electrical outlet to ensure complete power disconnection. For gas dryers, also turn off the gas supply valve.
  2. Pull the dryer away from the wall to provide adequate working space. Disconnect the vent hose from the back of the dryer.
  3. Remove the lint screen from the lint trap housing.
  4. Remove the top panel by locating the two screws or clips at the top front corners (beneath the lint trap area or along the top edge). Use a putty knife to release spring clips if applicable, then lift the top panel up and back.
  5. Disconnect the door switch wires if the top panel is hinged and needs to be fully removed.
  6. Remove the front panel by locating and removing the screws that secure it to the dryer cabinet (typically 2-4 screws along the top edge beneath the top panel, and sometimes along the bottom edge).
  7. Disconnect the door switch wiring harness from the front panel (if not already done).
  8. Carefully pull the front panel forward and away from the dryer cabinet, setting it aside in a safe location.
  9. Support the drum to prevent it from falling forward. You can use a wooden block or have a helper hold it in place.
  10. Locate the drum belt wrapped around the drum, idler pulley, and motor pulley at the bottom rear of the dryer.
  11. Take a photo of the belt routing for reassembly reference.
  12. Release tension on the belt by pushing the idler pulley toward the motor, then slip the belt off the motor pulley.
  13. Lift the front of the drum up and out of the dryer cabinet, tilting it forward to clear the rear bearing and support.
  14. Set the drum on a clean, flat surface with the front (seal side) facing up.
  15. Inspect the old front drum felt seal for wear, compression, gaps, or damage.
  16. Remove the old felt seal by carefully peeling it away from the drum rim. It may be glued or clipped in place. Use a putty knife if necessary, but avoid scratching the drum surface.
  17. Clean the drum rim thoroughly with a damp cloth to remove all adhesive residue, lint, and debris. Allow it to dry completely.
  18. Inspect the front bulkhead (the stationary ring where the seal sits) for cracks, warping, or damage. If damaged, it may need replacement.
  19. Take the new felt seal from the 280140 kit and position it around the front of the drum where it meets the bulkhead.
  20. Press the felt seal firmly into place, ensuring it sits evenly and completely around the entire circumference of the drum.
  21. If the seal is adhesive-backed, peel the backing and press it down firmly, working your way around the drum to avoid wrinkles or gaps.
  22. If the seal requires clipping, secure it with the provided clips or fasteners, spacing them evenly around the circumference.
  23. Verify the seal sits flush against the drum and bulkhead with no gaps or air pockets.
  24. Reinstall the drum by carefully tilting it back into the dryer cabinet, aligning the rear bearing support.
  25. Lower the front of the drum until it rests on the front bulkhead.
  26. Reinstall the drum belt by routing it around the drum, idler pulley, and motor pulley in the correct sequence (refer to your photo from step 11).
  27. Tension the belt by releasing the idler pulley, which should snap back into place and create proper belt tension.
  28. Spin the drum by hand to verify smooth rotation without binding or unusual resistance.
  29. Reinstall the front panel by aligning it with the cabinet and securing all screws.
  30. Reconnect the door switch wiring to the front panel if it was disconnected.
  31. Reinstall the top panel by aligning it with the cabinet and securing all screws or clips.
  32. Reconnect the vent hose to the back of the dryer.
  33. Push the dryer back into position against the wall.
  34. Plug the dryer back in and restore power. For gas dryers, turn the gas supply valve back on.
  35. Run a test cycle (without clothes) for 10-15 minutes to verify proper operation and ensure no lint is escaping from the drum area.
  36. Listen for any unusual noises such as squeaking, thumping, or grinding, which may indicate improper seal installation.
  37. Check the door seal area for any visible lint or air leakage during the test cycle.
  38. If all checks pass, load the dryer normally and run a full cycle to confirm the repair is complete.

Safety Notes: The drum can be heavy—use proper lifting techniques or get a helper. High-voltage capacitors may be present in electric dryers; discharge them before working on the unit. For gas dryers, ensure the gas supply is completely shut off before beginning work.

Always replace the drum rollers and idler pulley at the same time. If the felt seal has worn down, the drum has likely been rubbing against the bulkhead, which accelerates wear on the front rollers and idler pulley. Replacing all three components together prevents a return service call and ensures optimal dryer performance. The combined cost is minimal compared to a second trip.

Check the rear drum bearing for wear. While you have the drum out, inspect the rear bearing (the metal or plastic ring at the back of the drum). If it's cracked, worn, or loose, replace it now. A failing rear bearing will cause the drum to wobble and accelerate seal wear on the front.

Inspect the blower wheel for lint accumulation. With the drum removed, check the blower wheel (fan) at the bottom rear of the dryer. Lint buildup restricts airflow and reduces drying efficiency. Clean it thoroughly with a vacuum and brush.

Verify proper belt tension. A loose drum belt can cause the drum to slip and misalign, accelerating seal wear. After reinstalling the belt, it should have about 1/2" of deflection when pressed midway between pulleys. Too loose or too tight both cause problems.

Don't reuse the old felt seal. Even if the old seal looks partially intact, it's compressed and won't create a proper air-tight barrier. Always install a new seal to restore full efficiency.

Check the front bulkhead for cracks. If the bulkhead is cracked or warped, the new seal won't seat properly and will fail prematurely. Inspect it carefully before reinstalling the drum. A cracked bulkhead requires replacement.

Lint filter maintenance prevents seal failure. A clogged lint filter forces the dryer to work harder, increasing heat and friction on the seal. Remind customers to clean the lint filter before every load to extend seal life.

This kit may include additional components. Depending on the manufacturer's packaging, the 280140 kit may include the front felt seal only, or it may also include rear bearing slides or other sealing components. Check the kit contents before installation to ensure you have all necessary parts.

  • Excessive lint buildup inside the dryer cabinet or around the drum
  • Longer drying times despite clean lint filter
  • Hot air escaping from around the dryer door
  • Squeaking or thumping noises during the drying cycle
  • Visible gaps between the drum and front bulkhead
  • Drum wobbling or shifting during operation
  • Reduced airflow and poor drying performance
  • Lint accumulating on clothes after drying
  • Front bulkhead overheating due to friction from worn seal
  • Premature wear on drum rollers and bearings caused by drum misalignment


Whirlpool refrigerator replacement parts, Frigidaire refrigerator replacement parts, GE refrigerator replacement parts, Kenmore refrigerator replacement parts, KitchenAid refrigerator replacement parts, LG refrigerator replacement parts, Maytag refrigerator replacement parts, Whirlpool refrigerator drawers and glides replacement, Whirlpool dishwasher replacement parts, GE dishwasher replacement parts, KitchenAid dishwasher replacement parts, Maytag dishwasher replacement parts, Frigidaire dishwasher replacement parts, Kenmore dishwasher replacement parts, Whirlpool washer replacement parts, GE washer replacement parts, Maytag washer replacement parts, Kenmore washer replacement parts, LG washer replacement parts, Whirlpool dryer replacement parts, GE dryer replacement parts, Maytag dryer replacement parts, Kenmore dryer replacement parts, LG dryer replacement parts, Whirlpool range replacement parts, GE range replacement parts, Whirlpool stove replacement parts, GE stove replacement parts, GE oven replacement parts, GE microwave replacement parts, buy Whirlpool refrigerator parts online, buy GE dishwasher parts online, replacement Kenmore washer parts for sale, buy Maytag dryer parts, LG washer replacement parts online, KitchenAid refrigerator parts for sale, Whirlpool stove and range replacement parts

Premium 280140 Dryer Drum Felt Seal Kit by XPart Supply Ltd.

Discover the ultimate solution for maintaining your dryer's efficiency with the 280140 Dryer Drum Felt Seal Kit from XPart Supply Ltd. This essential replacement part is designed to seal the dryer drum effectively, preventing lint buildup, reducing energy loss, and extending the lifespan of your appliance. Crafted with high-quality materials, this kit ensures a perfect fit for compatible dryer models, making it a reliable choice for hassle-free repairs.

What sets the 280140 Dryer Drum Felt Seal Kit apart is XPart Supply Ltd.'s commitment to excellence and innovation in aftermarket parts. As a trusted brand known for its durability and precision engineering, XPart Supply Ltd. delivers components that outperform many competitors by offering superior heat resistance and long-lasting performance. Whether you're a DIY enthusiast or a professional technician, this kit's easy installation process saves time and effort, helping you avoid costly service calls.

Why choose this product? With XPart Supply Ltd.'s reputation for quality and affordability, you're investing in a part that restores your dryer's optimal operation while providing peace of mind. Say goodbye to noisy operations and uneven drying—experience the difference of a seal that keeps your appliance running smoothly for years to come.

  • Key Features: Includes a durable felt seal for enhanced insulation and reduced wear.
  • Easy Compatibility: Fits major dryer brands, ensuring a seamless upgrade.
  • Expert-Backed Reliability: Backed by XPart Supply Ltd.'s industry expertise for trusted results.

Hard to find parts? We've got them or we'll find them!

Over 10,000 New & Used Parts Ready for Pickup

Show this item number to our store staff to help locate the exact part you need
XPART GTIN/UPC NUMBER
10175022989601

XPart Supply Advantage

Your trusted partner for fast, reliable parts delivery across North America

Lightning Fast Shipping

Same-day processing with expedited delivery options across North America

Massive Inventory

Over 10,000 parts in stock and ready to ship immediately

North America Coverage

Comprehensive shipping network covering USA, Canada, and Mexico

Quality Guaranteed

Premium parts with warranty protection and expert customer support

10K+
Parts in Stock
24-48H
Local Delivery
99.8%
Customer Satisfaction
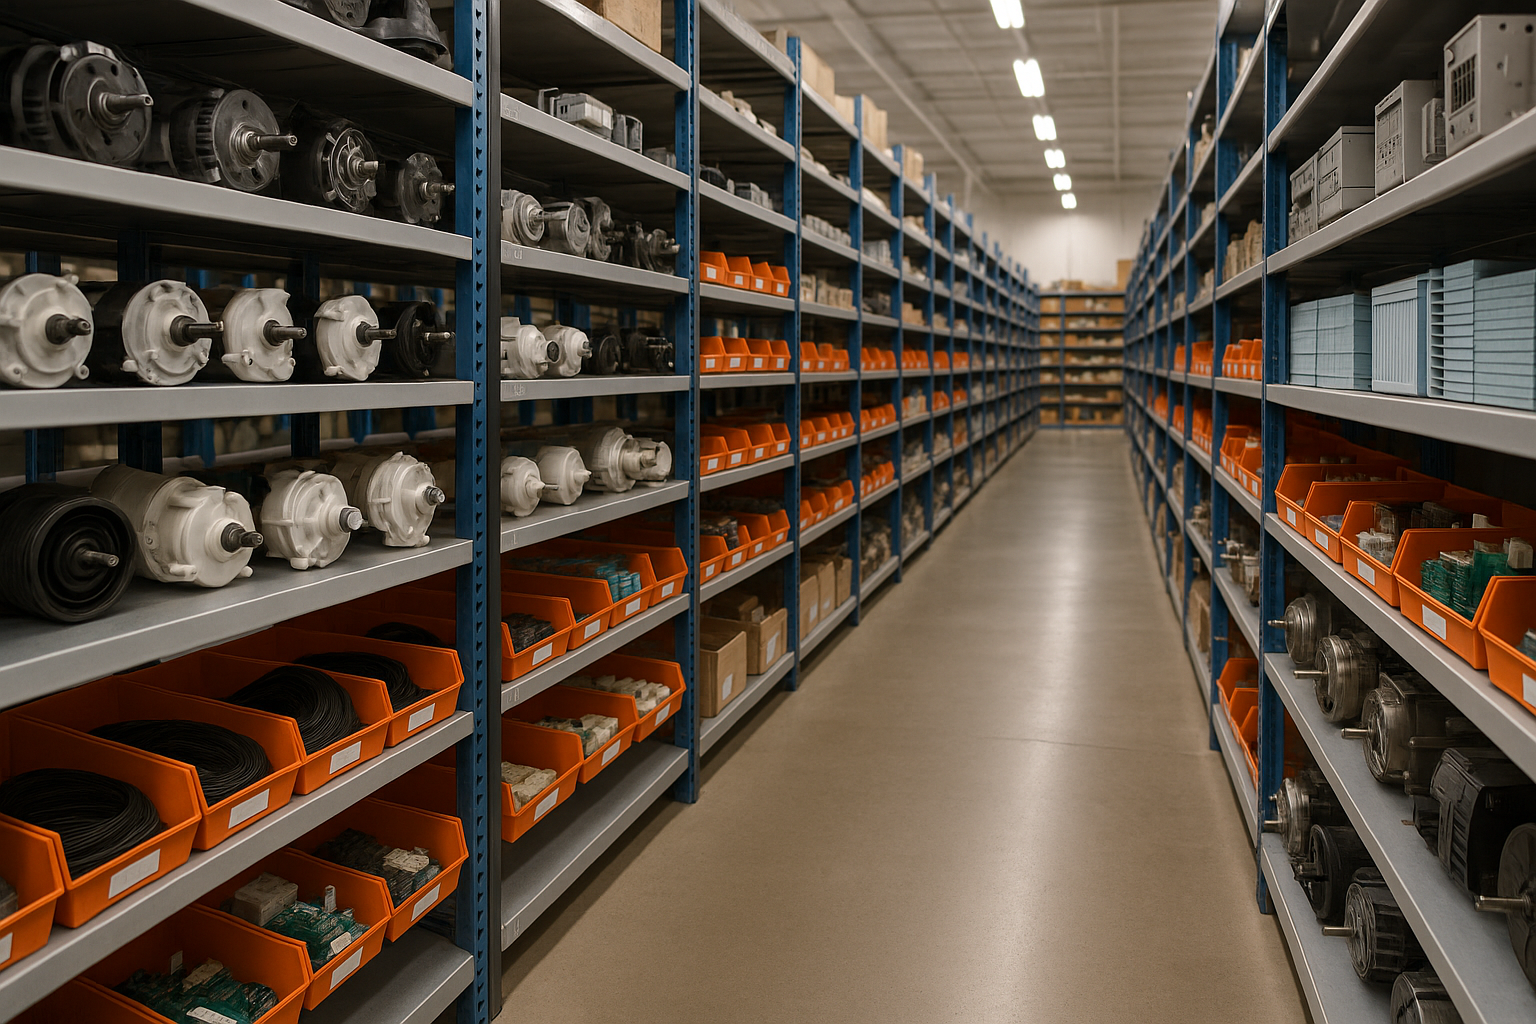
Professional appliance parts warehouse with organized shelving and extensive inventory

Express Warehouse Shipping

Order within the countdown for same-day shipping!

00 Hours
00 Minutes
00 Seconds

In stock orders placed during business hours ship the same day.

Order of $75 or more of eligible items qualify for FREE Shipping.

Same-day shipping deadline has passed

Orders placed now will ship the next business day.

Same-day shipping deadline has passed

Orders placed outside business hours will be processed when we reopen.

Business Hours: Monday - Friday, 9:00 AM - 5:00 PM EST

Trusted Family Business

29 years of Excellence in Appliance Parts

For over 29 years, our family has been dedicated to providing quality appliance parts and exceptional service. What started as a small local business has grown into a trusted name, but we've never forgotten our roots. Every customer receives the personal attention and care that only a family-owned business can provide.

Years of Experience

Our knowledge has been built over the past 29 years in the business, ensuring expert advice for every appliance need.

Personal Service Guarantee

We treat every customer like family, providing personalized solutions and standing behind our products.

Built on Trust

Our reputation has been built one satisfied customer at a time, creating lasting relationships in our community.

Buy Online Pick Up In-Store

Address
101 Trillium Dr
Kitchener, Ontario N2R 1J8
Phone
Hours
Monday - Friday 9:00 AM - 5:00 PM
Get Directions

Contact Us Customer Service

Hard to find parts? We've got them or we'll find them!

Call now for expert appliance parts assistance

Available Monday - Friday, 9AM - 5PM EST