AEQ72910414 Refrigerator Ice Maker Assembly

XPart Supply Ltd. 8801031329311

Sale price
$388.59
Regular price
$447
You save
$58.41 (13%)

Frequently Bought Together

AEQ72910409, AEQ72910413, AEQ36756912, AEQ36756935, 5989JA1005A, 5989JA1005G, PS11728282, AP5986201

Fits Models: (Ctrl+F and Enter Your Model Number)

LG: LFXS26973S, LFXS26973D, LFXS27566S, LFXS27566D, LFXS28968S, LFXS28968D, LFXS29626S, LFXS29626D, LFXS30726S, LFXS30726D, LFXC22526S, LFXC22526D

LG (continued): LFX25974ST, LFX25974SB, LFX28968ST, LFX28968SB, LFX28979ST, LFX28979SB, LFX31925ST, LFX31925SB, LFX31945ST, LFX31995ST, LMXS27626S, LMXS27626D

LG (continued): LMXS30776S, LMXS30776D, LMXC23746S, LMXC23746D, LRMVS3006S, LRMVS3006D, LRFVS3006S, LRFVS3006D

Kenmore: 795.72052.110, 795.72053.110, 795.72059.110, 795.72062.110, 795.72063.110, 795.72069.110, 795.79272.900, 795.79273.900, 795.79279.900

Note: This is a partial list. This ice maker is used in many LG French door and bottom-freezer refrigerators manufactured between 2010-2020. Verify your specific model number for compatibility before ordering.

Professional: 20-30 minutes
DIY: 30-45 minutes
Difficulty Level: Small to medium repair (straightforward installation with minimal disassembly)

Required Tools:

  • Phillips screwdriver
  • Flathead screwdriver
  • Adjustable wrench or 1/4" nut driver
  • Towel or sponge (for water cleanup)
  • Small container (to catch water)
  • Work gloves

Step-by-Step Installation:

  1. Disconnect Power: Unplug the refrigerator from the electrical outlet or turn off the circuit breaker. Never work on the refrigerator with power connected.
  2. Shut Off Water Supply: Locate the water supply valve behind or beneath the refrigerator and turn it clockwise to shut off water flow to the ice maker.
  3. Empty Ice Bin: Remove the ice bin from the freezer and empty all ice cubes. Set the bin aside.
  4. Locate Ice Maker: Open the freezer door. The ice maker is mounted on the left side wall of the freezer compartment.
  5. Remove Ice Maker Cover (if applicable): Some models have a plastic cover or shield over the ice maker. Remove any screws securing the cover and lift it off.
  6. Disconnect Wire Harness: Locate the wire harness connector at the back or side of the ice maker assembly. Press the release tab and carefully pull the connector apart. The connector may be tight—gently wiggle while pulling. Do not pull on the wires themselves.
  7. Disconnect Water Line: Locate the water fill tube or water line connection at the back of the ice maker. This is typically a push-fit or compression fitting. For push-fit connections, press the release collar and pull the tube out. For compression fittings, use an adjustable wrench to loosen the nut and disconnect the line. Have a towel ready—some water will drip out.
  8. Remove Mounting Screws: The ice maker is secured to the freezer wall with 2-3 mounting screws (typically Phillips head). Remove all mounting screws. Keep these screws—you may need to reuse them if the new ice maker doesn't include them.
  9. Remove Old Ice Maker: Once the screws are removed, carefully pull the ice maker assembly straight out from the freezer wall. Tilt it slightly to clear any mounting tabs or brackets. Set the old ice maker aside.
  10. Inspect Mounting Area: Check the freezer wall mounting area for ice buildup, frost, or debris. Wipe clean with a dry towel. Inspect the water line connection point for damage or mineral buildup.
  11. Prepare New Ice Maker: Remove the new ice maker from its packaging. Verify it includes all necessary components: ice maker module, mounting bracket, wire harness, and fill cup. Some replacement ice makers come with new mounting screws—use these if provided.
  12. Position New Ice Maker: Align the new ice maker assembly with the mounting holes on the freezer wall. Ensure the fill cup is positioned correctly to receive water from the fill tube. The ice maker should sit flush against the freezer wall.
  13. Install Mounting Screws: Insert and tighten the mounting screws to secure the ice maker to the freezer wall. Tighten firmly but do not overtighten—the plastic mounting brackets can crack.
  14. Reconnect Water Line: Connect the water fill tube to the back of the new ice maker. For push-fit connections, push the tube firmly into the fitting until it clicks and seats fully. For compression fittings, hand-tighten the nut, then use a wrench to tighten an additional 1/4 turn. Do not overtighten or you'll crack the fitting.
  15. Reconnect Wire Harness: Plug the wire harness connector back together. Ensure it clicks securely into place and is fully seated.
  16. Verify Installation: Gently tug on the ice maker to ensure it's securely mounted. Check that the water line connection is tight and the wire harness is properly connected.
  17. Reinstall Ice Maker Cover (if applicable): If your model has a cover or shield, reinstall it and secure with screws.
  18. Reinstall Ice Bin: Slide the ice bin back into position in the freezer.
  19. Restore Water Supply: Turn on the water supply valve behind or beneath the refrigerator by turning it counterclockwise.
  20. Restore Power: Plug the refrigerator back into the electrical outlet or turn on the circuit breaker.
  21. Prime the Ice Maker: Press and hold the TEST button on the ice maker for 3 seconds (if equipped) to initiate a test cycle. You should hear the ice maker fill with water and begin cycling. If there's no test button, the ice maker will automatically begin its cycle within 24 hours.
  22. Check for Leaks: Monitor the water line connection and fill cup area for any water leaks during the first fill cycle. If leaks occur, turn off water supply immediately and retighten connections.
  23. Discard First Batches: The first 2-3 batches of ice should be discarded as they may contain impurities or taste from the new plastic components.
  24. Monitor Operation: Allow 24 hours for the ice maker to produce its first full batch of ice. Normal production is 8-10 cubes every 90-120 minutes once the freezer reaches proper temperature (0°F or -18°C).

Verify freezer temperature before blaming the ice maker. Ice makers require a freezer temperature of 0°F to 5°F (-18°C to -15°C) to function properly. If your freezer is too warm, the ice maker will produce small, hollow, or soft cubes—or no ice at all. Use a freezer thermometer to verify temperature before replacing the ice maker. Adjust the freezer temperature control and wait 24 hours. An estimated 30% of "ice maker failures" are actually temperature problems.

Check water pressure and supply line. Ice makers require a minimum water pressure of 20 PSI to fill properly. Low water pressure causes small cubes, slow production, or no ice. Also inspect the water supply line for kinks, frozen sections, or clogged filters. Replace the refrigerator water filter if it hasn't been changed in 6+ months—a clogged filter restricts water flow and mimics ice maker failure.

Test the old ice maker before replacing. Many LG ice makers have a TEST button on the front. Press and hold for 3 seconds to initiate a manual harvest cycle. If the ice maker fills, freezes, and ejects ice during the test cycle, the ice maker itself is fine—the problem is likely the temperature sensor, control board, or water inlet valve. Testing saves you from replacing a $150 ice maker that isn't actually broken.

Inspect the ice maker fill cup and tube. The fill cup (where water enters the ice mold) can crack or become misaligned, causing water to spray into the freezer instead of filling the mold. Also check the water fill tube for ice blockages—a frozen fill tube prevents water from reaching the ice maker. Use a hair dryer on low heat to thaw a frozen fill tube (never use high heat or open flame).

Arm position and bin sensor matter. LG ice makers have a shutoff arm or optical sensor that detects when the ice bin is full. If the arm is stuck in the UP position or the sensor is blocked by frost, the ice maker thinks the bin is full and won't produce ice. Clean the sensor lens with a soft cloth and ensure the shutoff arm moves freely. Verify the ice bin is properly installed—an incorrectly positioned bin can trigger the shutoff sensor.First batch timing expectations. After installing a new ice maker, it takes 6-12 hours for the freezer to reach proper temperature and the first batch of ice to freeze completely. Don't expect immediate ice production. The ice maker will produce 8-10 cubes every 90-120 minutes once it's fully operational. If no ice appears after 24 hours, recheck water supply, freezer temperature, and electrical connections.

Mineral buildup and water quality. Hard water causes mineral deposits that clog the fill tube and damage ice maker components over time. If your water is hard (high mineral content), consider installing an inline water filter or using a water softener. This extends ice maker life and improves ice quality. Clean the fill cup and tube annually with a vinegar solution to remove mineral buildup.

  • Ice maker stops producing ice completely
  • Ice maker produces small, hollow, or malformed cubes
  • Ice maker cycles continuously but doesn't eject ice
  • Ice maker fills with water but doesn't freeze or harvest
  • Water leaks from ice maker into freezer compartment
  • Ice maker makes loud grinding or clicking noises
  • Ice cubes stuck in ice maker mold (won't eject)
  • Ice maker arm stuck in up position (won't lower)
  • Ice maker overfills and water overflows into bin
  • Ice maker produces ice very slowly (less than 1 batch per day)
  • Ice tastes bad or has odor (due to old plastic components)
  • Ice maker motor runs but doesn't rotate ejector blades
  • Visible cracks or damage in ice maker housing
  • Ice maker worked intermittently before failing completely
  • Freezer temperature normal but ice maker doesn't work


Whirlpool refrigerator replacement parts, Frigidaire refrigerator replacement parts, GE refrigerator replacement parts, Kenmore refrigerator replacement parts, KitchenAid refrigerator replacement parts, LG refrigerator replacement parts, Maytag refrigerator replacement parts, Whirlpool refrigerator drawers and glides replacement, Whirlpool dishwasher replacement parts, GE dishwasher replacement parts, KitchenAid dishwasher replacement parts, Maytag dishwasher replacement parts, Frigidaire dishwasher replacement parts, Kenmore dishwasher replacement parts, Whirlpool washer replacement parts, GE washer replacement parts, Maytag washer replacement parts, Kenmore washer replacement parts, LG washer replacement parts, Whirlpool dryer replacement parts, GE dryer replacement parts, Maytag dryer replacement parts, Kenmore dryer replacement parts, LG dryer replacement parts, Whirlpool range replacement parts, GE range replacement parts, Whirlpool stove replacement parts, GE stove replacement parts, GE oven replacement parts, GE microwave replacement parts, buy Whirlpool refrigerator parts online, buy GE dishwasher parts online, replacement Kenmore washer parts for sale, buy Maytag dryer parts, LG washer replacement parts online, KitchenAid refrigerator parts for sale, Whirlpool stove and range replacement parts

AEQ72910414 Refrigerator Ice Maker Assembly

Discover the AEQ72910414 Refrigerator Ice Maker Assembly from XPart Supply Ltd., a dependable replacement part designed for homeowners and appliance enthusiasts seeking to restore seamless ice production in their refrigerators. Crafted with precision, this assembly ensures your fridge operates efficiently, providing a hassle-free solution for everyday cooling needs.

Key Features & Design

  • Durable Construction: Built with high-quality materials like robust plastic and metal components, this ice maker assembly is engineered for longevity and reliable performance in standard refrigerator models.
  • Compact and Compatible Design: Its standard size allows for easy integration into various refrigerator brands, featuring a straightforward layout that includes essential parts like the ice mold and water inlet for optimal functionality.
  • From a Trusted Brand: XPart Supply Ltd. specializes in quality replacement parts, ensuring this assembly meets rigorous standards for home appliance repairs.

Performance & Benefits

This ice maker assembly effectively solves the common issue of malfunctioning or broken ice production in refrigerators, helping you maintain a steady supply of ice for drinks and food storage. By enhancing your appliance's efficiency, it reduces the need for costly professional repairs and extends the lifespan of your fridge, offering a simple, cost-effective way to enjoy refreshed convenience in your daily routine.

PAST PART NUMBERS (SUPERSEDED)

AEQ72910409, AEQ72910413, AEQ36756912, AEQ36756935, 5989JA1005A, 5989JA1005G, PS11728282, AP5986201

Hard to find parts? We've got them or we'll find them!

Over 10,000 New & Used Parts Ready for Pickup

Show this item number to our store staff to help locate the exact part you need
XPART GTIN/UPC NUMBER
9667982786849

XPart Supply Advantage

Your trusted partner for fast, reliable parts delivery across North America

Lightning Fast Shipping

Same-day processing with expedited delivery options across North America

Massive Inventory

Over 10,000 parts in stock and ready to ship immediately

North America Coverage

Comprehensive shipping network covering USA, Canada, and Mexico

Quality Guaranteed

Premium parts with warranty protection and expert customer support

10K+
Parts in Stock
24-48H
Local Delivery
99.8%
Customer Satisfaction
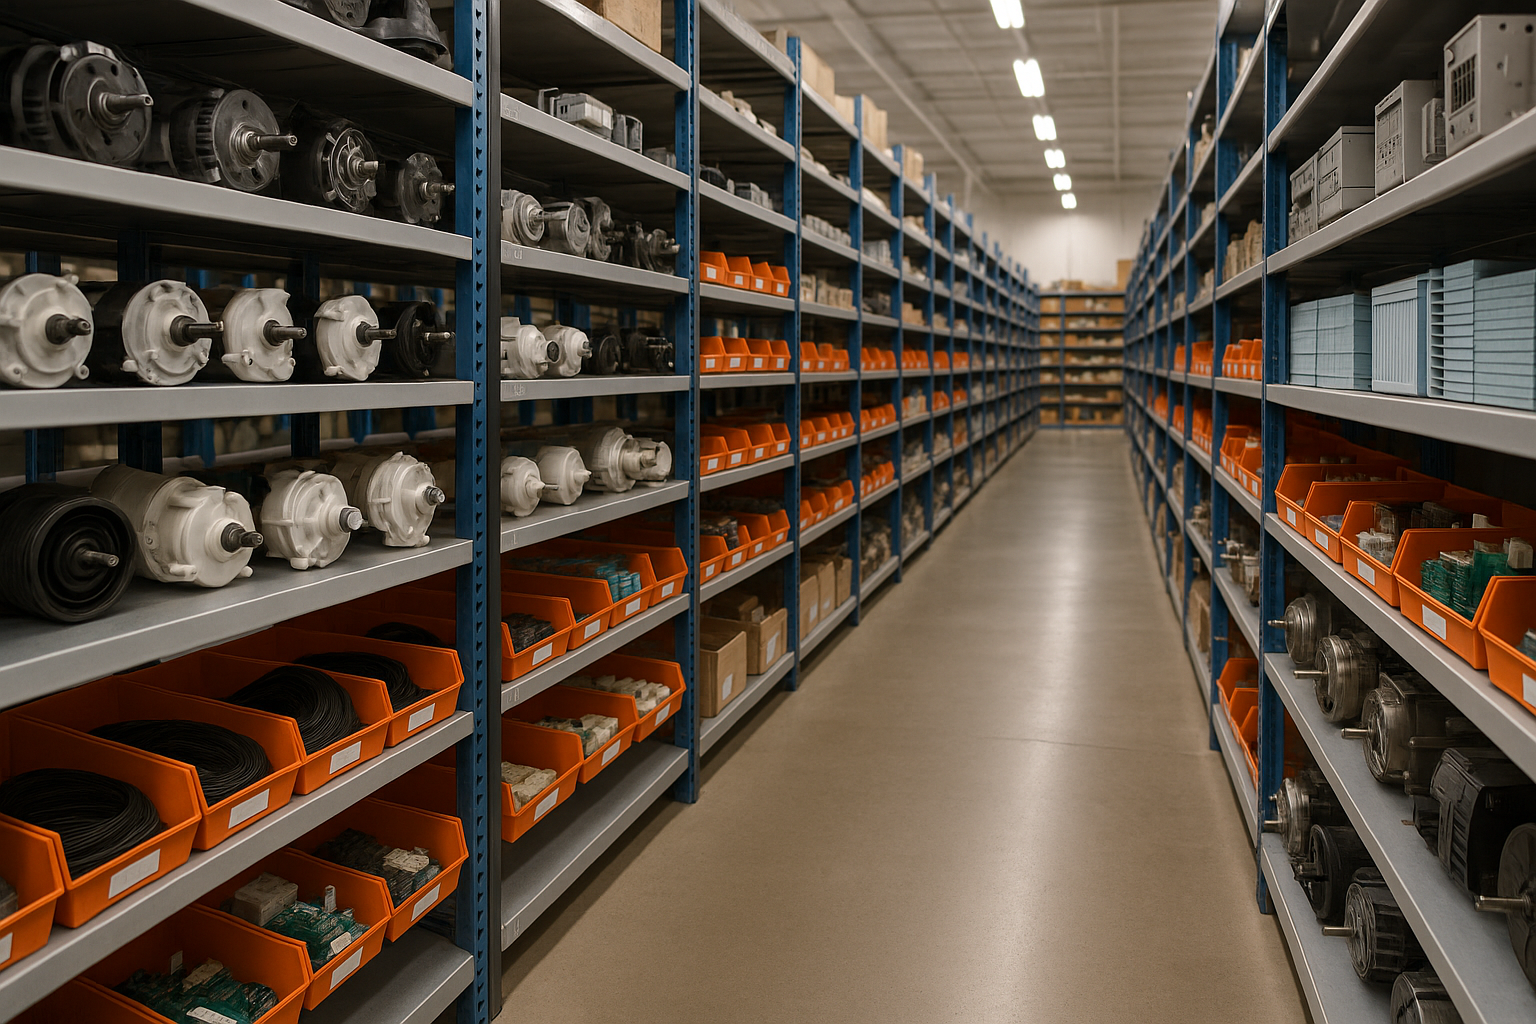
Professional appliance parts warehouse with organized shelving and extensive inventory

Express Warehouse Shipping

Order within the countdown for same-day shipping!

00 Hours
00 Minutes
00 Seconds

In stock orders placed during business hours ship the same day.

Order of $75 or more of eligible items qualify for FREE Shipping.

Same-day shipping deadline has passed

Orders placed now will ship the next business day.

Same-day shipping deadline has passed

Orders placed outside business hours will be processed when we reopen.

Business Hours: Monday - Friday, 9:00 AM - 5:00 PM EST

Trusted Family Business

29 years of Excellence in Appliance Parts

For over 29 years, our family has been dedicated to providing quality appliance parts and exceptional service. What started as a small local business has grown into a trusted name, but we've never forgotten our roots. Every customer receives the personal attention and care that only a family-owned business can provide.

Years of Experience

Our knowledge has been built over the past 29 years in the business, ensuring expert advice for every appliance need.

Personal Service Guarantee

We treat every customer like family, providing personalized solutions and standing behind our products.

Built on Trust

Our reputation has been built one satisfied customer at a time, creating lasting relationships in our community.

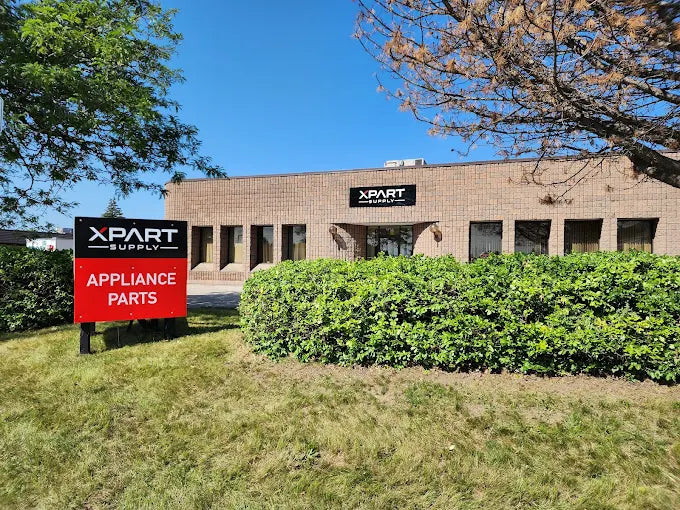
Buy Online Pick Up In-Store

Address
101 Trillium Dr
Kitchener, Ontario N2R 1J8
Phone
Hours
Monday - Friday 9:00 AM - 5:00 PM
Get Directions

Contact Us Customer Service

Hard to find parts? We've got them or we'll find them!

Call now for expert appliance parts assistance

Available Monday - Friday, 9AM - 5PM EST