S97020971 Exhaust Fan Blower Assembly, For Broan QTRE110C

XPart Supply Ltd. 026715254323

Price
$159.99

Frequently Bought Together

Blower Assembly, Fan Motor Assembly, Ventilation Blower Unit

S97020048, S97018218, S97009796

Broan, NuTone

Fits Models: (Ctrl+F and Enter Your Model Number)

BroanQTRE110C, QTRE110, QTRE110S, QTRE110D, QTRE110F, QTR070, QTR070L, QTR070S, QTR070D, QTR070F, QTR080, QTR080L, QTR080S, QTR080D, QTR080F, QTXE110, QTXE110S, QTXE110D, QTXE110F, QTXE110FLT

NuToneQTXEN110, QTXEN110-A, QTXEN110S, QTXEN110D, QTXEN110F, QTXEN110FLT, QTR070, QTR070L, QTR070S, QTR070D, QTR070F, QTR080, QTR080L, QTR080S, QTR080D, QTR080F, QTXE110, QTXE110S, QTXE110D, QTXE110F, QTXE110FLT

Professional Repair Time: 30-45 minutes
DIY Repair Time: 45-75 minutes
Difficulty Rating: Moderate (3/5) — Requires ceiling access, blower assembly removal and installation, and electrical wire connections; moderate mechanical skill and electrical knowledge required

  1. Turn off power to the exhaust fan at the circuit breaker to ensure complete power disconnection.
  2. Verify power is off by attempting to turn on the fan switch. The fan should not operate.
  3. Use a non-contact voltage tester to verify no power is present at the fan housing before proceeding.
  4. Set up a stable ladder or step stool to safely access the ceiling-mounted exhaust fan.
  5. Take multiple photos of the fan grille, housing, blower assembly position, and wire connections before disassembly. Document the assembly orientation and any visible components from multiple angles. This is critical for proper reassembly.
  6. Remove the fan grille from the ceiling. Most grilles are held in place by spring clips or mounting screws. Gently pull the grille down and release the spring clips, or remove the mounting screws.
  7. Set the grille aside in a safe location.
  8. Locate the blower assembly inside the fan housing. It's typically a rectangular unit with a motor and blower wheel visible.
  9. Take a photo of all wire connections to the blower assembly motor before disconnecting.
  10. Disconnect the wire connectors from the blower assembly motor. The motor typically has two wires (black and white) that connect to the house wiring via wire nuts or quick-connect terminals.
  11. Label each wire with masking tape indicating its color and connection point (e.g., "black wire - motor," "white wire - motor").
  12. Locate the blower assembly mounting hardware. The assembly is typically secured to the fan housing with mounting screws, clips, or a mounting plate.
  13. Remove the mounting screws or clips that secure the blower assembly to the fan housing (typically 2-4 fasteners).
  14. Carefully lower the blower assembly out of the fan housing. Support the assembly as you remove it to prevent it from falling.
  15. Place the old blower assembly on a clean work surface with adequate space for inspection.
  16. Inspect the old blower assembly for visible damage such as broken blower wheel blades, burnt motor windings, seized motor bearings, or damaged mounting plate. This confirms the diagnosis.
  17. Inspect the fan housing for dust, lint, or debris accumulation. Clean the housing thoroughly with a vacuum or damp cloth.
  18. Inspect the ductwork connection for blockages or damage. Verify the duct is properly connected and not crushed or kinked.
  19. Unpack the new S97020971 exhaust fan blower assembly from its packaging. Handle carefully to avoid damaging the motor, blower wheel, or mounting plate.
  20. Verify the assembly specifications match the old assembly: 0.19 amps, 120 volts, 60Hz, 10-3/8" x 11-1/4" mounting plate, 7-5/8" x 2-7/8" blower wheel.
  21. Compare the new assembly to the old one to verify the mounting plate size, motor position, blower wheel size, and wire configuration match. Ensure you have the correct replacement part.
  22. Inspect the new assembly for any damage or defects before installation. The blower wheel should spin freely without binding or rubbing.
  23. Verify the blower wheel rotates in the correct direction. The wheel should rotate clockwise (CW) when viewed from the motor side. The rotation direction is typically marked on the motor housing.
  24. Position the new blower assembly in the fan housing, aligning the mounting plate with the housing mounting holes.
  25. Verify the assembly is properly oriented by comparing it to your photos. The blower wheel outlet must align with the ductwork connection.
  26. Secure the blower assembly with the mounting screws or clips. Tighten firmly but not over-tightening (which can crack the mounting plate or strip threads).
  27. Verify the assembly is properly seated and does not wobble or shift when gently pushed.
  28. Verify the blower wheel does not contact the housing at any point. Spin the wheel by hand to verify it rotates freely without rubbing or binding.
  29. Reconnect the wire connectors to the blower assembly motor, matching the labels you applied earlier. Connect black wire to black wire and white wire to white wire using wire nuts or quick-connect terminals.
  30. Verify all connections are secure by gently tugging on each wire. None should pull loose.
  31. Tuck the wires neatly into the fan housing to prevent them from contacting the blower wheel or motor.
  32. Reinstall the fan grille by aligning it with the ceiling opening and securing it with spring clips or mounting screws.
  33. Verify the grille is properly seated and flush with the ceiling.
  34. Restore power at the circuit breaker.
  35. Turn on the fan using the wall switch to verify proper operation.
  36. Verify the blower motor runs and the blower wheel rotates smoothly.
  37. Verify proper airflow by holding a tissue or piece of paper near the grille. The tissue should be drawn toward the grille, indicating proper suction.
  38. Listen for unusual noises during operation. The fan should operate quietly with only normal airflow sounds. No grinding, squealing, or rattling noises should be present.
  39. Monitor for vibrations during operation. The fan should operate smoothly without excessive shaking or vibration.
  40. If the fan does not run, verify all wire connections are secure and power is present at the fan housing. Check the wall switch is functioning properly.
  41. If the fan runs but produces little airflow, verify the ductwork is not blocked or crushed and the blower wheel is rotating in the correct direction.
  42. If the fan makes unusual noises, verify the blower wheel does not contact the housing and all mounting screws are tight.
  43. If the fan vibrates excessively, verify the blower assembly is properly secured and the blower wheel is not damaged or imbalanced.
  44. Run the fan for 10-15 minutes to verify proper operation and monitor for any issues.
  45. Verify the motor does not overheat during extended operation. The motor should run cool to warm but not hot to the touch.
  46. Monitor the fan for 24-48 hours of normal use to ensure it operates properly without unusual noises, vibrations, or performance issues.

Safety Notes: Always turn off power at the circuit breaker before working on the exhaust fan. Use a non-contact voltage tester to verify power is off before touching any wires. Never operate the fan with the grille removed or the blower assembly exposed. Ensure all wire connections are secure and correct before restoring power. Use a stable ladder or step stool and work with a helper if needed for safety. This repair requires electrical knowledge and working at heights—if you're uncomfortable with the process, consult a professional electrician or HVAC technician.

Always clean the fan housing and ductwork before installing the new blower assembly. Dust and lint accumulation in the housing or ductwork restricts airflow and causes the new motor to work harder and fail prematurely. Vacuum the housing thoroughly and verify the ductwork is clear before installing the new assembly.

Verify the ductwork is properly connected and not crushed or kinked. Restricted ductwork reduces airflow and causes the motor to overheat and fail prematurely. Inspect the entire duct run from the fan to the outside vent cap and repair any damage before installing the new assembly.

This blower assembly is model-specific. The S97020971 is designed as a direct replacement for specific Broan and NuTone fan models. Always verify your fan model number matches one of the compatible models before ordering. Using an incorrect assembly can result in non-fit or improper airflow performance.

This is a complete replacement blower assembly. The S97020971 includes the motor, blower wheel, and mounting plate pre-assembled and ready for installation. You cannot replace individual components—the entire assembly must be replaced if any part fails.

The new assembly uses a more energy-efficient PSC motor. The S97020971 features a permanent split capacitor (PSC) motor rated at 0.19 amps, which is more energy-efficient than older shaded-pole motors. This reduces energy consumption and operating costs while maintaining the same airflow performance (110 CFM).

Monitor the first few hours of operation after installation. After installing the new blower assembly, run the fan for extended periods and monitor for proper airflow, quiet operation, and proper performance. Address any issues immediately before they affect ventilation performance.

Blower assembly failure can have multiple causes. If the new assembly doesn't solve the problem, the issue may be with the wall switch, wiring, circuit breaker, or ductwork blockage. Further diagnosis may be required to identify the root cause.

Verify proper blower wheel rotation direction. The blower wheel must rotate clockwise (CW) when viewed from the motor side. If the wheel rotates counterclockwise, the motor wiring may be incorrect or the motor may be defective.

This repair restores proper bathroom ventilation. A properly functioning exhaust fan is essential for removing moisture, preventing mold growth, and maintaining indoor air quality. Replacing a faulty blower assembly restores effective ventilation and prevents moisture damage.

Check the wall switch for proper operation. A faulty wall switch can prevent the fan from running even with a new blower assembly. Test the switch and replace if necessary before operating the fan.

Verify all wire connections are correct before restoring power. Incorrect wire connections can cause motor failure, electrical fires, or electrical shock. Double-check all connections before restoring power.

The mounting plate dimensions are critical for proper fit. The S97020971 mounting plate measures 10-3/8" x 11-1/4" and is designed to fit specific Broan and NuTone fan housings. Verify your fan housing accepts this mounting plate size before ordering.

This repair prevents moisture damage and mold growth. A properly functioning exhaust fan removes moisture from bathrooms, preventing mold growth, paint peeling, and structural damage. Replace the blower assembly promptly when failure is detected to prevent moisture-related damage.

Keep the fan grille clean. Dust accumulation on the grille restricts airflow and causes the motor to work harder. Clean the grille monthly with a vacuum or damp cloth to maintain optimal airflow and extend motor life.

Never operate the fan with the grille removed. The grille protects the blower assembly from debris and provides proper airflow direction. Operating the fan without the grille can cause motor damage or reduced airflow performance.

This repair is cost-effective compared to complete fan replacement. The cost of blower assembly replacement ($150-250) is far less than the cost of a complete new fan unit ($300-600+). Replace the blower assembly promptly when failure is detected to prevent the need for expensive complete fan replacement.

Monitor for circuit breaker trips after installation. If the fan trips the circuit breaker when turned on, the motor may be shorted or a wire connection may be incorrect. Stop immediately and verify all wire connections are correct.

  • Fan does not run when switched on
  • Fan runs but produces little or no airflow
  • Fan makes loud grinding, squealing, or rattling noises
  • Fan runs intermittently or shuts off unexpectedly
  • Motor overheats and shuts off due to thermal protection
  • Visible damage to blower wheel or motor housing
  • Fan vibrates excessively during operation
  • Fan runs slower than normal
  • Fan does not exhaust moisture or odors effectively
  • Motor hums but blower wheel doesn't spin
  • Fan trips circuit breaker when turned on
  • Burning smell from fan motor


Whirlpool refrigerator replacement parts, Frigidaire refrigerator replacement parts, GE refrigerator replacement parts, Kenmore refrigerator replacement parts, KitchenAid refrigerator replacement parts, LG refrigerator replacement parts, Maytag refrigerator replacement parts, Whirlpool refrigerator drawers and glides replacement, Whirlpool dishwasher replacement parts, GE dishwasher replacement parts, KitchenAid dishwasher replacement parts, Maytag dishwasher replacement parts, Frigidaire dishwasher replacement parts, Kenmore dishwasher replacement parts, Whirlpool washer replacement parts, GE washer replacement parts, Maytag washer replacement parts, Kenmore washer replacement parts, LG washer replacement parts, Whirlpool dryer replacement parts, GE dryer replacement parts, Maytag dryer replacement parts, Kenmore dryer replacement parts, LG dryer replacement parts, Whirlpool range replacement parts, GE range replacement parts, Whirlpool stove replacement parts, GE stove replacement parts, GE oven replacement parts, GE microwave replacement parts, buy Whirlpool refrigerator parts online, buy GE dishwasher parts online, replacement Kenmore washer parts for sale, buy Maytag dryer parts, LG washer replacement parts online, KitchenAid refrigerator parts for sale, Whirlpool stove and range replacement parts

S97020971 Exhaust Fan Blower Assembly for Broan QTRE110C

The S97020971 is a genuine OEM exhaust fan blower assembly for Broan and NuTone bathroom ventilation fans. This blower assembly is a critical component that provides the airflow necessary to ventilate bathrooms, removing moisture, odors, and airborne contaminants. The assembly is a complete replacement unit that includes the motor, blower wheel (fan blade), and mounting plate pre-assembled and ready for installation. The motor is a permanent split capacitor (PSC) style motor rated at 0.19 amps, 120 volts, 60Hz, offering energy-efficient operation with low power consumption. The blower wheel is a centrifugal-style fan that draws air from the bathroom and exhausts it through the ductwork to the outside. The mounting plate measures 10-3/8" x 11-1/4" and provides secure attachment to the fan housing. The blower wheel measures approximately 7-5/8" x 2-7/8" and is designed for optimal airflow performance at 110 CFM (cubic feet per minute). This assembly is designed as a direct replacement for the obsolete original QTRE110C blower assembly and can also be used as a substitute for QTXEN110 Series, QTR070, QTR080, and QTXE110 Series exhaust fans. Over time, exhaust fan blower assemblies can fail due to motor bearing wear from continuous operation, motor winding failure from electrical surges or overheating, blower wheel imbalance or damage from debris, dust and lint accumulation causing motor overheating, moisture intrusion into the motor housing, or manufacturing defects. When the blower assembly fails, symptoms include the fan not running when switched on, the fan running but producing little or no airflow, the fan making loud grinding, squealing, or rattling noises, the fan running intermittently or shutting off unexpectedly, the motor overheating and shutting off due to thermal protection, visible damage to the blower wheel or motor housing, or the fan vibrating excessively during operation. The S97020971 is a complete replacement blower assembly that restores full ventilation functionality. Replacing a faulty blower assembly eliminates all motor and airflow-related problems and restores reliable bathroom ventilation. Important: This assembly is designed for specific Broan and NuTone fan models. Always verify your fan model number matches one of the compatible models before ordering.

Key Features and Design

  • Durable Construction: Built with robust materials for long-lasting performance, ensuring this blower assembly withstands everyday use in household environments.
  • Precise Engineering: Expertly crafted for seamless compatibility with the Broan QTRE110C, featuring a powerful motor that delivers consistent airflow.
  • Versatile Compatibility: Replaces multiple part numbers, including S99080569, S99080582, 99080569, 99080582, 97016622, S97018218, 97018218, S97020048, and S97020048, making it a convenient upgrade option for your ventilation system.

Performance and Benefits

This exhaust fan blower assembly effectively removes stale, odorous air from bathrooms, kitchens, or other spaces, improving indoor air quality and reducing moisture buildup to prevent mold. From XPart Supply Ltd., it offers dependable efficiency that enhances your home's climate control, providing a quieter and more comfortable environment without the need for frequent replacements.

Hard to find parts? We've got them or we'll find them!

Over 10,000 New & Used Parts Ready for Pickup

Show this item number to our store staff to help locate the exact part you need
XPART GTIN/UPC NUMBER
9665599504673

XPart Supply Advantage

Your trusted partner for fast, reliable parts delivery across North America

Lightning Fast Shipping

Same-day processing with expedited delivery options across North America

Massive Inventory

Over 10,000 parts in stock and ready to ship immediately

North America Coverage

Comprehensive shipping network covering USA, Canada, and Mexico

Quality Guaranteed

Premium parts with warranty protection and expert customer support

10K+
Parts in Stock
24-48H
Local Delivery
99.8%
Customer Satisfaction
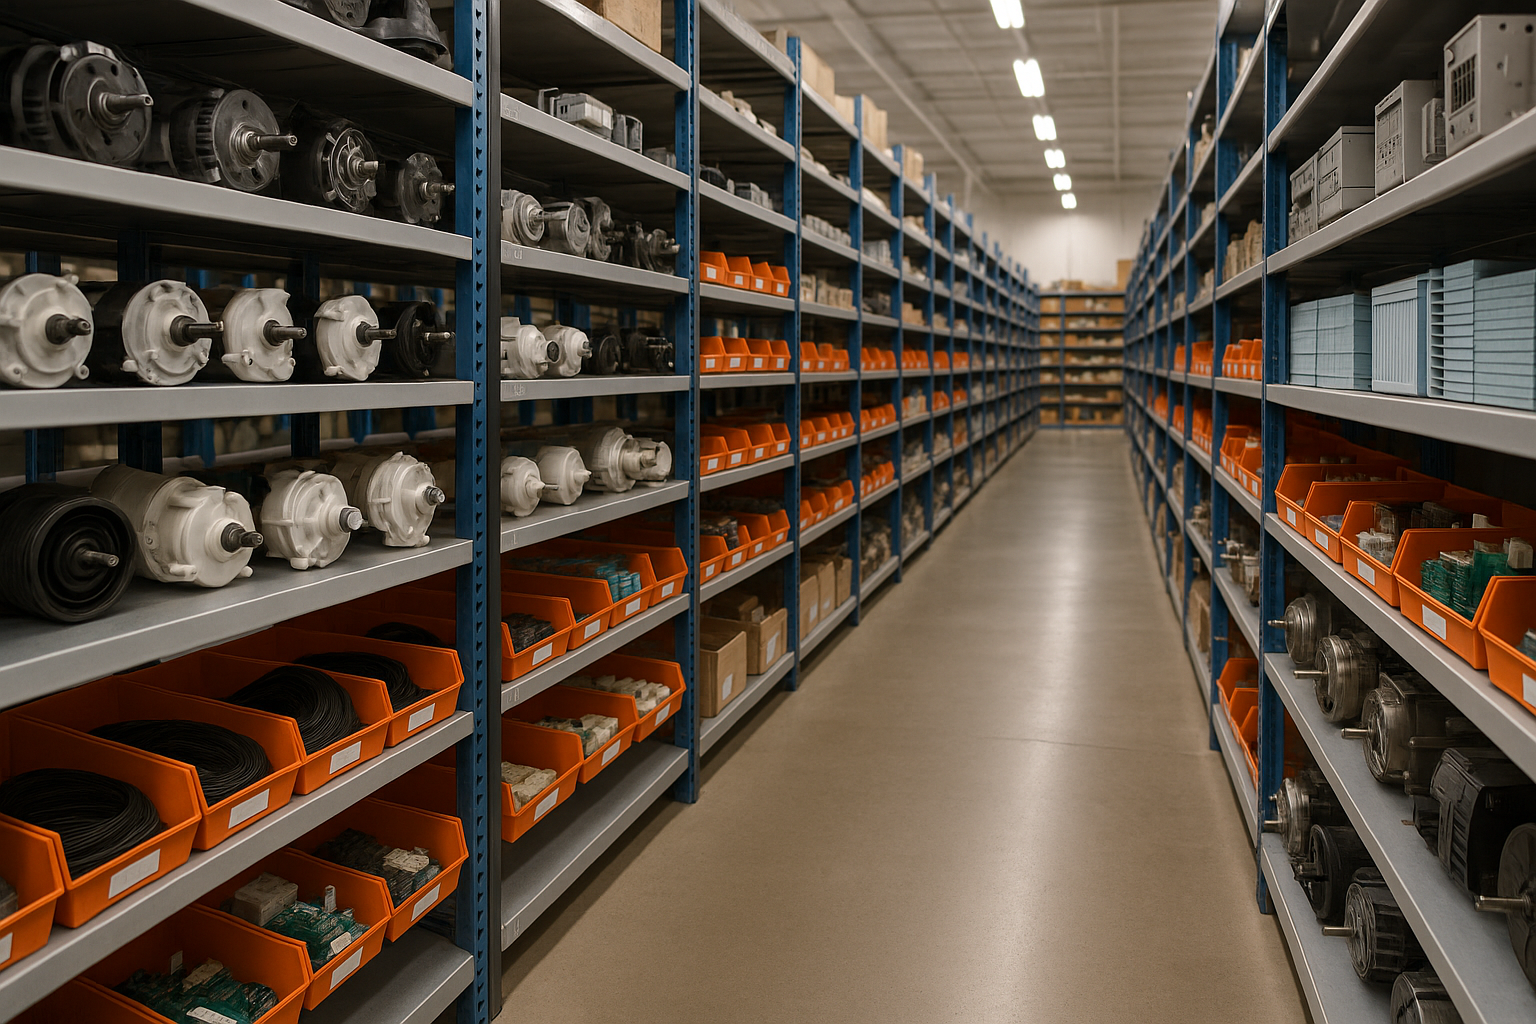
Professional appliance parts warehouse with organized shelving and extensive inventory

Express Warehouse Shipping

Order within the countdown for same-day shipping!

00 Hours
00 Minutes
00 Seconds

In stock orders placed during business hours ship the same day.

Order of $75 or more of eligible items qualify for FREE Shipping.

Same-day shipping deadline has passed

Orders placed now will ship the next business day.

Same-day shipping deadline has passed

Orders placed outside business hours will be processed when we reopen.

Business Hours: Monday - Friday, 9:00 AM - 5:00 PM EST

Trusted Family Business

29 years of Excellence in Appliance Parts

For over 29 years, our family has been dedicated to providing quality appliance parts and exceptional service. What started as a small local business has grown into a trusted name, but we've never forgotten our roots. Every customer receives the personal attention and care that only a family-owned business can provide.

Years of Experience

Our knowledge has been built over the past 29 years in the business, ensuring expert advice for every appliance need.

Personal Service Guarantee

We treat every customer like family, providing personalized solutions and standing behind our products.

Built on Trust

Our reputation has been built one satisfied customer at a time, creating lasting relationships in our community.

Buy Online Pick Up In-Store

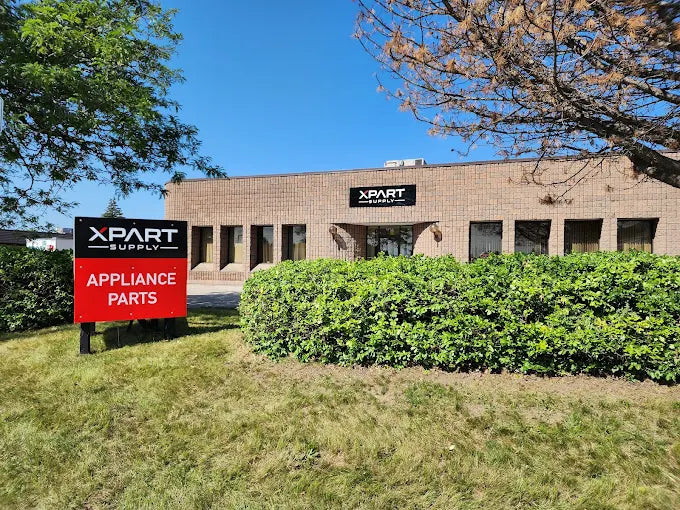
Address
101 Trillium Dr
Kitchener, Ontario N2R 1J8
Phone
Hours
Monday - Friday 9:00 AM - 5:00 PM
Get Directions

Contact Us Customer Service

Hard to find parts? We've got them or we'll find them!

Call now for expert appliance parts assistance

Available Monday - Friday, 9AM - 5PM EST