W11742939 Washer Control Board

XPart Supply Ltd.

Sale price
$294.54
Regular price
$390.10
You save
$95.56 (24%)

Frequently Bought Together

W11458251, W11396033, W11126119, W10916683, W10812422, PS11770521, AP6047956

Fits Models: (Ctrl+F and Enter Your Model Number)

Whirlpool: WTW5000DW0, WTW5000DW1, WTW5000DW2, WTW5100HW0, WTW5100HW1, WTW5105HW0, WTW6120HW0, WTW6120HC0, WTW7120HW0, WTW7120HC0

Maytag: MVW6230HW0, MVW6230HC0, MVW7230HW0, MVW7230HC0, MVW8230HW0, MVW8230HC0, MVWB765FW0, MVWB765FC0, MVWB835DW0, MVWB835DC0

Amana: NTW4516FW0, NTW4516FW1, NTW4516FW2, NTW4519JW0, NTW4605EW0, NTW4650YQ0, NTW4750YQ0

Kenmore: 110.28002791, 110.28002792, 110.28132791, 110.28132792, 110.29002791, 110.29132791, 110.29132792

Note: This is a partial list. Verify your specific model number for compatibility before ordering. Control boards are model-specific—using an incorrect board will cause malfunction.

Professional: 30-45 minutes
DIY: 60-90 minutes
Difficulty Level: Medium repair (requires careful wire management and attention to detail)

Required Tools:

  • Phillips screwdriver
  • Flathead screwdriver
  • 1/4" nut driver
  • Needle-nose pliers
  • Camera or smartphone (for reference photos)
  • Masking tape and marker (for labeling wires)
  • Work gloves
  • Anti-static wrist strap (recommended)

Step-by-Step Installation:

  1. Disconnect Power: Unplug the washer from the electrical outlet. Never work on the washer with power connected. Wait 5 minutes for capacitors to discharge.
  2. Shut Off Water Supply: Turn off both hot and cold water supply valves behind the washer (optional but recommended for safety).
  3. Remove Dispenser Drawer (if applicable): Pull out the detergent/bleach/fabric softener dispenser drawer completely. Press the release tab and remove it from the washer.
  4. Access Control Panel: Remove the screws securing the control panel (typically 2-4 screws on top or sides of the panel, or hidden under the dispenser drawer area). The control panel may tilt forward or lift up depending on the model.
  5. Support Control Panel: Carefully tilt or prop the control panel forward to access the back side where the control board is mounted. Do not let it hang by the wires—support it with towels or have a helper hold it.
  6. Locate Control Board: The main control board is mounted on the back of the control panel. It's a green circuit board with multiple wire harness connectors attached.
  7. Document Wire Connections: CRITICAL STEP: Before disconnecting anything, take multiple clear photos of the control board from different angles showing all wire harness positions, colors, and connector orientations. Use masking tape to label each connector with its position (e.g., "J1", "J2", "Motor", "Display", etc.). Incorrect wiring will cause malfunction or damage.
  8. Disconnect Wire Harnesses: Press the release tab on each wire harness connector and carefully pull straight off the control board. Some connectors may be tight—gently wiggle while pulling. Do not pull on the wires themselves, only the connector housings. Count the connectors as you remove them (typically 6-12 connectors depending on model).
  9. Remove Mounting Hardware: Remove the screws or clips securing the control board to the control panel mounting bracket (typically 2-4 screws). Note the position of any grounding wires or brackets.
  10. Remove Old Control Board: Carefully lift the old control board away from the mounting bracket. Handle by the edges only—avoid touching electronic components or circuit traces.
  11. Inspect for Damage: Examine the old board for visible signs of failure: burned components, melted areas, corrosion, or damaged connectors. This helps confirm the diagnosis.
  12. Prepare New Control Board: Remove the new control board from its anti-static packaging. Handle by the edges only. Do not touch circuit components or connector pins.
  13. Install New Control Board: Position the new control board onto the mounting bracket, aligning the mounting holes and connector positions. Ensure any grounding tabs or brackets are properly positioned.
  14. Secure Control Board: Install the mounting screws or clips to secure the board to the bracket. Tighten firmly but do not overtighten—circuit boards can crack under excessive pressure.
  15. Reconnect Wire Harnesses: Using your photos and labels as reference, reconnect each wire harness to the correct connector on the new control board. Push each connector straight onto the board until you hear or feel a click. Verify each connector is fully seated and locked. Double-check every connection—incorrect wiring can damage the new board immediately.
  16. Verify All Connections: Compare your installation to your reference photos. Ensure every connector is attached and no wires are pinched or stressed.
  17. Reinstall Control Panel: Carefully position the control panel back into place on the washer. Secure with the mounting screws.
  18. Reinstall Dispenser Drawer: Slide the dispenser drawer back into its housing until it clicks into place.
  19. Restore Water Supply: Turn on both hot and cold water supply valves (if you turned them off).
  20. Restore Power: Plug the washer back into the electrical outlet.
  21. Test Control Board: Turn on the washer and verify the display lights up. Select different cycles and options to verify all buttons and controls respond properly. Run a short RINSE/SPIN cycle without clothes to verify the washer fills, agitates/tumbles, drains, and spins correctly.
  22. Full Test Cycle: Run a complete NORMAL wash cycle with a small load of towels to verify all functions operate correctly throughout the entire cycle.

Test other components before replacing the control board. Control boards are expensive, and they're often misdiagnosed. Before ordering, verify the washer has proper power (120V at the outlet), check the door/lid switch for continuity, test the motor and drain pump for proper resistance, and inspect all wire harnesses for damage or corrosion. An estimated 40% of "control board failures" are actually caused by failed sensors, switches, or motors that send incorrect signals to a perfectly good board.Static electricity kills control boards instantly. Always use an anti-static wrist strap when handling the new control board, or at minimum, touch a grounded metal surface before touching the board. Never work on carpet or in low-humidity conditions. Keep the new board in its anti-static bag until you're ready to install it. One static discharge can destroy a $200+ control board before you even install it.

Connector orientation matters. Most wire harness connectors are keyed and can only connect one way, but some smaller connectors can be forced on backwards or offset by one pin. Always compare your installation to your reference photos. An incorrectly connected harness can send voltage to the wrong circuits and destroy the new board instantly when power is applied.

Check for voltage spikes and power issues. If your old control board failed due to a power surge or voltage spike, the new board will fail the same way unless you address the root cause. Consider installing a surge protector specifically rated for washing machines (available at hardware stores). Also verify your home's electrical system provides stable 120V power—voltage that's too high or too low damages control boards.

Inspect all wire harnesses and connectors. Before installing the new board, carefully examine every wire harness connector for corrosion, bent pins, melted plastic, or burn marks. Damaged connectors create poor electrical contact, which causes arcing, overheating, and premature board failure. Replace any damaged connectors or harnesses before installing the expensive new control board.Board programming and compatibility. Most modern control boards come pre-programmed for specific model ranges. However, some boards require configuration or calibration after installation. Consult your model's service manual to determine if any setup procedures are required. Using a control board from a different model series—even if it physically fits—will cause malfunction.

Break-in period and error code clearing: After installation, the washer may display old error codes stored in memory or behave slightly erratically for the first 1-2 cycles as the new board calibrates sensors and learns system parameters. This is normal. If error codes persist beyond 2 cycles, the board may not be compatible, or another component may be faulty.

  • Washer won't start or turn on (dead display)
  • Control panel display is blank or dim
  • Washer displays error codes (various codes depending on model)
  • Washer stops mid-cycle and won't restart
  • Cycle selector buttons don't respond or work intermittently
  • Washer won't advance through wash cycles
  • Washer fills but won't agitate or spin
  • All lights flash or blink erratically
  • Washer starts then immediately stops
  • Incorrect cycle times (too short or too long)
  • Temperature settings don't work correctly
  • Spin speed options don't function
  • Washer runs but won't drain or spin
  • Display shows random characters or gibberish
  • Washer worked intermittently before failing completely
  • Burning smell from control panel area
  • Washer trips circuit breaker when started


Whirlpool refrigerator replacement parts, Frigidaire refrigerator replacement parts, GE refrigerator replacement parts, Kenmore refrigerator replacement parts, KitchenAid refrigerator replacement parts, LG refrigerator replacement parts, Maytag refrigerator replacement parts, Whirlpool refrigerator drawers and glides replacement, Whirlpool dishwasher replacement parts, GE dishwasher replacement parts, KitchenAid dishwasher replacement parts, Maytag dishwasher replacement parts, Frigidaire dishwasher replacement parts, Kenmore dishwasher replacement parts, Whirlpool washer replacement parts, GE washer replacement parts, Maytag washer replacement parts, Kenmore washer replacement parts, LG washer replacement parts, Whirlpool dryer replacement parts, GE dryer replacement parts, Maytag dryer replacement parts, Kenmore dryer replacement parts, LG dryer replacement parts, Whirlpool range replacement parts, GE range replacement parts, Whirlpool stove replacement parts, GE stove replacement parts, GE oven replacement parts, GE microwave replacement parts, buy Whirlpool refrigerator parts online, buy GE dishwasher parts online, replacement Kenmore washer parts for sale, buy Maytag dryer parts, LG washer replacement parts online, KitchenAid refrigerator parts for sale, Whirlpool stove and range replacement parts

W11742939 Washer Control Board

Restore seamless operation to your washing machine with the W11742939 Washer Control Board from XPart Supply Ltd., a trusted provider of high-quality appliance parts. Designed for technicians and DIY enthusiasts, this reliable replacement ensures precise control of wash cycles for efficient and consistent performance.

Key Features and Design

  • Engineered with durable materials for long-lasting reliability, this control board is specifically designed to replace part W11725661 and fit compatible models like CAW45125LW1, CWW4512RW0, WTW5010LW1, WTW5015LW1, and WTW5057LW1.
  • Its compact design integrates seamlessly into your washing machine, featuring precise electronic components that handle cycle management with accuracy and ease.

Performance and Benefits

This control board solves common issues like inconsistent wash cycles or machine malfunctions, helping to extend the lifespan of your appliance and minimize downtime. By ensuring efficient operation, it enhances your laundry routine, making it a smart choice for maintaining home appliances in the kitchen and beyond, while offering peace of mind through XPart Supply Ltd.'s commitment to quality. For those in the market for reliable kitchen appliance accessories, this part delivers dependable results without unnecessary complications.

The W11742939 Washer Control Board is a reliable replacement part designed to restore optimal functionality to your washing machine. Engineered for precise control of wash cycles, this board ensures efficient operation and consistent performance. Ideal for technicians and professionals seeking a durable and compatible solution, it helps maintain appliance longevity and reduces downtime.

Part Number W11742939 replaces W11725661

Supported Models:

CAW45125LW1, CWW4512RW0, WTW5010LW1, WTW5015LW1, WTW5057LW1

Hard to find parts? We've got them or we'll find them!

Over 10,000 New & Used Parts Ready for Pickup

Show this item number to our store staff to help locate the exact part you need
XPART GTIN/UPC NUMBER
10062902755617

XPart Supply Advantage

Your trusted partner for fast, reliable parts delivery across North America

Lightning Fast Shipping

Same-day processing with expedited delivery options across North America

Massive Inventory

Over 10,000 parts in stock and ready to ship immediately

North America Coverage

Comprehensive shipping network covering USA, Canada, and Mexico

Quality Guaranteed

Premium parts with warranty protection and expert customer support

10K+
Parts in Stock
24-48H
Local Delivery
99.8%
Customer Satisfaction
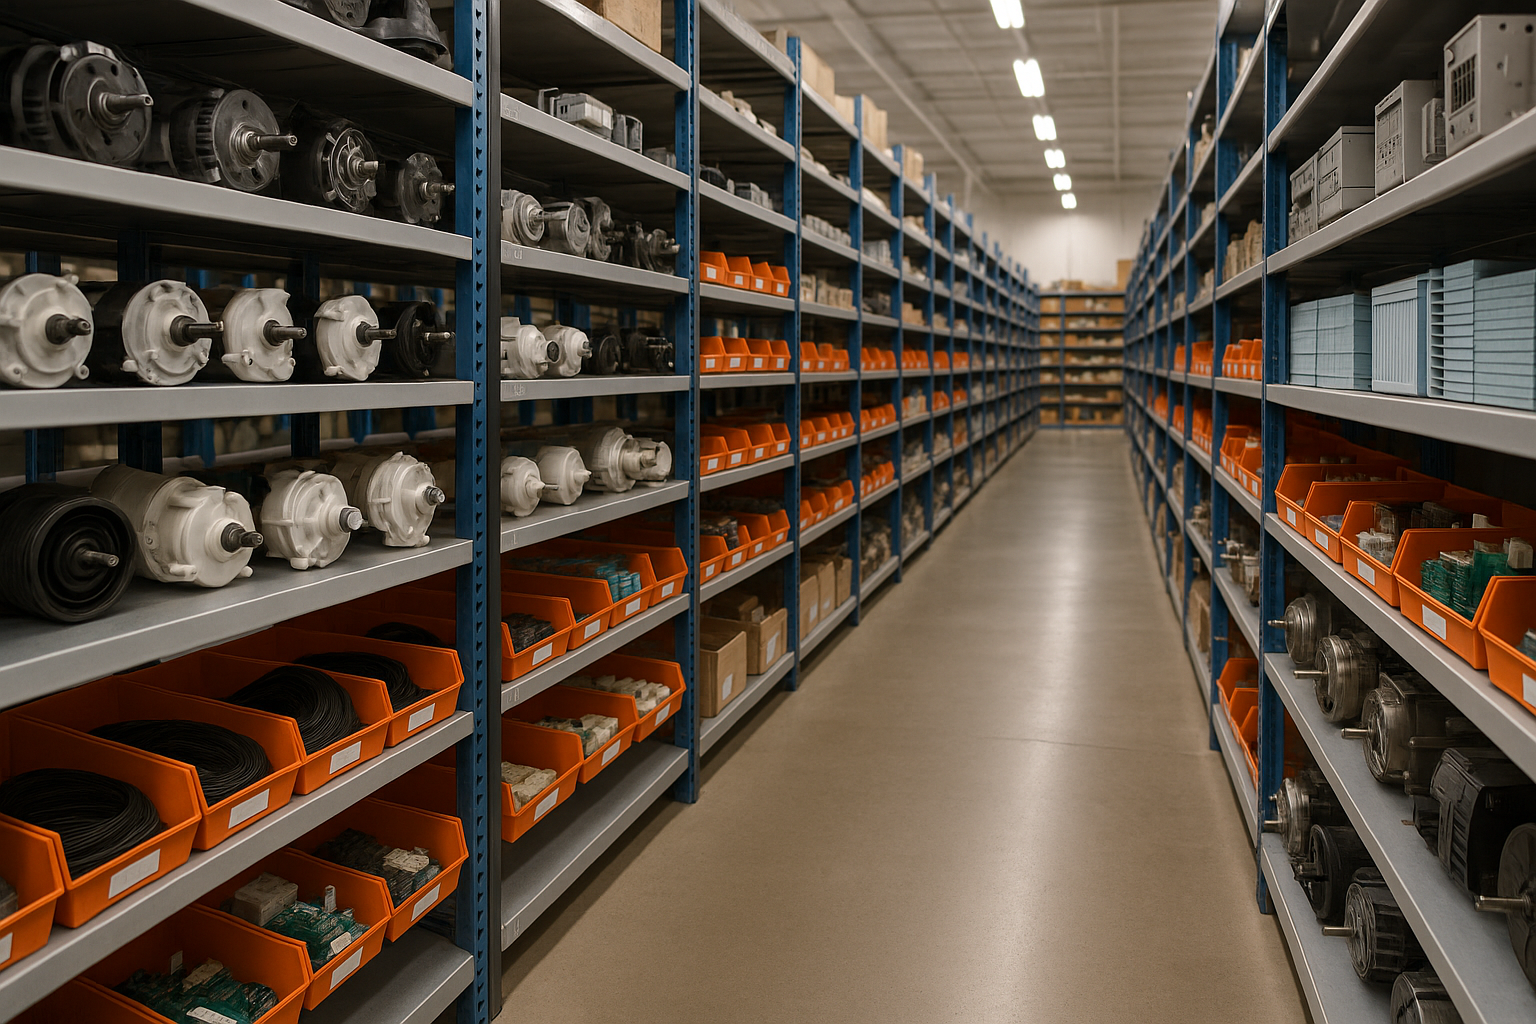
Professional appliance parts warehouse with organized shelving and extensive inventory

Express Warehouse Shipping

Order within the countdown for same-day shipping!

00 Hours
00 Minutes
00 Seconds

In stock orders placed during business hours ship the same day.

Order of $75 or more of eligible items qualify for FREE Shipping.

Same-day shipping deadline has passed

Orders placed now will ship the next business day.

Same-day shipping deadline has passed

Orders placed outside business hours will be processed when we reopen.

Business Hours: Monday - Friday, 9:00 AM - 5:00 PM EST

Trusted Family Business

29 years of Excellence in Appliance Parts

For over 29 years, our family has been dedicated to providing quality appliance parts and exceptional service. What started as a small local business has grown into a trusted name, but we've never forgotten our roots. Every customer receives the personal attention and care that only a family-owned business can provide.

Years of Experience

Our knowledge has been built over the past 29 years in the business, ensuring expert advice for every appliance need.

Personal Service Guarantee

We treat every customer like family, providing personalized solutions and standing behind our products.

Built on Trust

Our reputation has been built one satisfied customer at a time, creating lasting relationships in our community.

Buy Online Pick Up In-Store

Address
101 Trillium Dr
Kitchener, Ontario N2R 1J8
Phone
Hours
Monday - Friday 9:00 AM - 5:00 PM
Get Directions

Contact Us Customer Service

Hard to find parts? We've got them or we'll find them!

Call now for expert appliance parts assistance

Available Monday - Friday, 9AM - 5PM EST