WPW10204679 Range Surface Element

"Once Sold Out, No Longer Available"

Price
$199.99
Buying Options: XPart
Condition: New

Product variant with selected options does not exist!

Frequently Bought Together

Radiant Surface Element, Heating Element, Cooktop Element, Burner Element, Electric Element, Smoothtop Element

W10204679, 8286136, 8286137, WPW10204679, AP6014009, PS11746337, EAP11746337

Whirlpool, Maytag, KitchenAid, Jenn-Air, Amana, Magic Chef, Admiral, Norge, Roper, Kenmore, Sears

Fits Models: (Ctrl+F and Enter Your Model Number)

WhirlpoolWFE510S0AS, WFE510S0AS0, WFE510S0AS1, WFE510S0AS2, WFE510S0AW, WFE510S0AW0, WFE510S0AW1, WFE510S0AW2, WFE515S0ES, WFE515S0ES0, WFE515S0ES1, WFE515S0ES2, WFE525S0HS, WFE525S0HS0, WFE525S0HS1, WFE525S0HS2, WFE540H0ES, WFE540H0ES0, WFE540H0ES1, WFE540H0ES2

MaytagMER6600FZ, MER6600FZ0, MER6600FZ1, MER6600FZ2, MER7700DS, MER7700DS0, MER7700DS1, MER7700DS2, MER8800FZ, MER8800FZ0, MER8800FZ1, MER8800FZ2

KitchenAidKERS505XSS, KERS505XSS0, KERS505XSS1, KERS505XSS2, KERS505XWH, KERS505XWH0, KERS505XWH1, KERS505XWH2, KESS907XSS, KESS907XSS0, KESS907XSS1, KESS907XSS2

Jenn-AirJES9800CAS, JES9800CAS0, JES9800CAS1, JES9800CAS2, JES9800CAW, JES9800CAW0, JES9800CAW1, JES9800CAW2

AmanaAER6603SFS, AER6603SFS0, AER6603SFS1, AER6603SFS2, AER6603SFW, AER6603SFW0, AER6603SFW1, AER6603SFW2

Magic ChefMCES5000W, MCES5000W0, MCES5000W1, MCES5000W2, MCES5000S, MCES5000S0, MCES5000S1, MCES5000S2

AdmiralAES6000W, AES6000W0, AES6000W1, AES6000W2, AES6000S, AES6000S0, AES6000S1, AES6000S2

NorgeNES6000W, NES6000W0, NES6000W1, NES6000W2, NES6000S, NES6000S0, NES6000S1, NES6000S2

RoperRES6000W, RES6000W0, RES6000W1, RES6000W2, RES6000S, RES6000S0, RES6000S1, RES6000S2

Kenmore790.91312013, 790.91312014, 790.91312015, 790.91312016, 790.91313013, 790.91313014, 790.91313015, 790.91313016

Sears790.91312013, 790.91312014, 790.91312015, 790.91312016, 790.91313013, 790.91313014, 790.91313015, 790.91313016

Professional Repair Time: 45-60 minutes
DIY Repair Time: 60-90 minutes
Difficulty Rating: Moderate-Advanced (3.5/5) — Requires basic electrical knowledge, careful handling of glass cooktop (heavy and fragile), wire connection skills, attention to detail, understanding of 240V electrical systems

CRITICAL WARNING: This repair involves working with 240-volt electrical connections and requires removing the glass cooktop. If you are not comfortable working with high-voltage electrical connections or do not have the required tools, hire a professional appliance repair technician. Improper installation can cause electrical shock, fire, or glass cooktop damage.

  1. Turn off power to the range at the circuit breaker to ensure complete power disconnection. Turn off both breakers if your range has a double-pole breaker.
  2. Verify power is off by attempting to turn on the range. The range should not respond, the display should be blank, and the burners should not heat.
  3. Allow the cooktop to cool completely before beginning work. Wait at least 60 minutes after the last use to ensure the glass and elements are cool to the touch.
  4. Take multiple photos of the cooktop surface, element locations, and wiring connections before disassembly. Document from multiple angles. This is absolutely critical for proper reassembly. Use a camera or smartphone to capture high-quality images.
  5. Remove all cookware, burner grates, and accessories from the cooktop surface.
  6. Open the oven door and locate the cooktop mounting screws inside the oven cavity (typically 2-4 screws along the front edge of the cooktop frame).
  7. Remove the cooktop mounting screws using a Phillips screwdriver or nut driver.
  8. Carefully lift the front edge of the glass cooktop approximately 6-12 inches to access the underside. Support the cooktop with one hand while working. Important: The glass cooktop is heavy (20-40 pounds) and fragile. Use caution to avoid dropping or cracking the glass.
  9. Locate the surface element beneath the glass cooktop at the burner location that is not heating properly.
  10. Take additional detailed photos of the element wiring connections, terminal positions, and element mounting before disconnecting.
  11. Disconnect the electrical wires from the surface element terminals by pulling the wire connectors straight off the terminals. Do not pull on the wires—grasp the connector bodies. Some elements may have screw terminals that require loosening with a screwdriver.
  12. Verify the wires are disconnected by attempting to gently move the element. The element should not be attached to any wires.
  13. Remove the element mounting clips or screws that secure the element to the cooktop frame (typically 2-4 mounting clips or screws around the element perimeter).
  14. Carefully lift the old surface element out from beneath the glass cooktop and place it on a clean work surface with adequate space for inspection.
  15. Inspect the old surface element for visible damage such as cracks, breaks, burned areas, warped sections, or corroded terminals. This confirms the diagnosis.
  16. Inspect the element receptacle and wiring for damage, corrosion, or burned connections. Clean or replace the receptacle if necessary.
  17. Inspect the glass cooktop for cracks or damage around the burner area. If the glass is cracked, the cooktop must be replaced before installing the new element.
  18. Clean the element mounting area beneath the glass cooktop to remove any debris, food residue, or corrosion. Use a damp cloth and ensure the area is dry before installation.
  19. Unpack the new WPW10204679 surface element from its packaging. Handle carefully to avoid damaging the heating wire or terminals.
  20. Verify the surface element specifications match the old element: diameter approximately 8-10 inches, heating pattern (circular or oval), terminal type and positions (2-4 terminals), mounting clip or screw locations, power rating (1,200-3,000 watts).
  21. Compare the new surface element to the old one to verify the dimensions, heating pattern, terminal positions, mounting points, and overall appearance match. Ensure you have the correct replacement part.
  22. Inspect the new surface element for any damage or defects before installation. The element should be intact with no visible cracks, breaks, or damage to the heating wire or terminals.
  23. Position the new surface element beneath the glass cooktop, aligning the element with the burner location and orienting the terminals toward the wiring connections.
  24. Install the element mounting clips or screws to secure the element to the cooktop frame. Tighten gently but firmly—do not overtighten, which can crack the glass or damage the element.
  25. Verify the surface element is securely mounted and positioned correctly beneath the glass. The element should be centered under the burner marking on the glass surface.
  26. Reconnect the electrical wires to the surface element terminals by pushing the wire connectors straight onto the terminals until they are fully seated, or by tightening the screw terminals with a screwdriver. Use your detailed photos to ensure correct wire placement.
  27. Verify each wire connection is secure by gently tugging on each wire connector. The connectors should not pull off—they should be firmly seated on the terminals.
  28. Double-check all wire connections by comparing your installation to your detailed photos. Verify all wires are in the correct positions and fully secured.
  29. Carefully lower the glass cooktop back into place, ensuring it is properly aligned with the range frame.
  30. Reinstall the cooktop mounting screws inside the oven cavity to secure the cooktop to the range frame.
  31. Verify the glass cooktop is securely mounted and sits flush with the range frame.
  32. Restore power at the circuit breaker. Turn on both breakers if your range has a double-pole breaker.
  33. Turn on the range and set the repaired burner to medium heat.
  34. Verify the surface element heats properly by observing the element glow red through the glass cooktop within 30-60 seconds. The element should heat evenly across the entire heating pattern.
  35. Test the heat transfer by placing a pot of water on the burner. The water should begin to heat and eventually boil, confirming proper heat transfer through the glass to the cookware.
  36. Test all heat settings (low, medium, high) to verify the element operates properly at all power levels.
  37. Test all other burners to verify they were not affected by the repair and continue to operate properly.
  38. Monitor the range for 24-48 hours to ensure the surface element operates properly without issues.

Safety Notes: Always turn off power at the circuit breaker before working on the range to prevent electrical shock. The glass cooktop is heavy and fragile—use caution when lifting and lowering it to avoid dropping or cracking the glass. Handle electrical connections carefully and ensure all wires are fully secured before restoring power. This repair requires moderately advanced electrical knowledge and careful attention to detail—most homeowners with basic electrical skills can complete this repair successfully with proper precautions and documentation.

  1. Document the glass cooktop lifting process and element wiring connections with detailed photos before disassembly. Take high-quality photos of the cooktop mounting screws, element wiring connections, terminal positions, and element mounting from multiple angles. This documentation is critical for ensuring correct reassembly and avoiding mistakes.
  2. Use extreme caution when lifting and lowering the glass cooktop. The glass is heavy (20-40 pounds) and fragile. Support the cooktop with both hands and lift slowly and evenly. Do not allow the cooktop to drop or slam down, which can crack the glass. Consider having a helper assist with lifting and supporting the cooktop during the repair.
  3. Test the element receptacle and wiring before replacing the surface element. Use a multimeter set to voltage mode to test for 240V AC at the element terminals with the burner control turned on. If no voltage is present, the problem may be the element receptacle, wiring, or control board rather than the element itself. Replace the receptacle or repair the wiring if necessary before replacing the element.
  4. Inspect the glass cooktop for cracks or damage before installing the new element. A cracked glass cooktop must be replaced before installing a new element. Operating a range with a cracked cooktop is dangerous and can cause electrical shock or fire. If the glass is cracked, order a new cooktop and install it along with the new element.
  5. Verify the new surface element matches the power rating of the old element. Surface elements are available in different wattages (1,200W, 1,500W, 2,000W, 2,500W, 3,000W) depending on the burner size. Installing an element with the wrong wattage will cause improper heating performance. Check the old element label or your range manual to verify the correct wattage.
  6. Clean the element mounting area and glass underside before installing the new element. Food residue, grease, or debris beneath the glass can cause odors, smoke, or poor heat transfer. Wipe the glass underside and element mounting area with a damp cloth and ensure the area is completely dry before installation.
  7. Ensure all wire connections are fully seated and secure before restoring power. Loose or partially connected wires can cause arcing, overheating, or fire. Gently tug on each wire connector after connection to verify it is firmly seated on the terminal.
  8. **The surface element should be centered beneath the burner marking on the glass cooktop.** Misaligned elements will cause uneven heating and poor heat transfer to cookware. Verify the element is properly positioned before securing the mounting clips or screws.
  9. Test the element at all heat settings (low, medium, high) after installation. The element should respond to all control settings and heat evenly at each level. If the element only heats on high or does not respond to control changes, the problem may be the infinite switch or control board rather than the element.
  10. This repair is cost-effective compared to range replacement. The cost of surface element replacement ($60-120) is far less than the cost of a new range ($800-3,000+). Replace the surface element promptly when failure is detected to prevent the need for expensive range replacement and to restore reliable cooking performance.
  • Burner not heating at all (no heat)
  • Burner heating unevenly or only partially
  • Burner taking longer than normal to heat up
  • Burner glowing brightly but not transferring heat to cookware
  • Visible cracks or breaks in element visible through glass
  • Burner tripping circuit breaker
  • Glass cooktop cracking around burner area
  • Burner not responding to control settings
  • Burner heating on high only (no low or medium heat)
  • Burner making buzzing or humming sounds
  • Burner element burned out
  • Terminal connections corroded or burned


Whirlpool refrigerator replacement parts, Frigidaire refrigerator replacement parts, GE refrigerator replacement parts, Kenmore refrigerator replacement parts, KitchenAid refrigerator replacement parts, LG refrigerator replacement parts, Maytag refrigerator replacement parts, Whirlpool refrigerator drawers and glides replacement, Whirlpool dishwasher replacement parts, GE dishwasher replacement parts, KitchenAid dishwasher replacement parts, Maytag dishwasher replacement parts, Frigidaire dishwasher replacement parts, Kenmore dishwasher replacement parts, Whirlpool washer replacement parts, GE washer replacement parts, Maytag washer replacement parts, Kenmore washer replacement parts, LG washer replacement parts, Whirlpool dryer replacement parts, GE dryer replacement parts, Maytag dryer replacement parts, Kenmore dryer replacement parts, LG dryer replacement parts, Whirlpool range replacement parts, GE range replacement parts, Whirlpool stove replacement parts, GE stove replacement parts, GE oven replacement parts, GE microwave replacement parts, buy Whirlpool refrigerator parts online, buy GE dishwasher parts online, replacement Kenmore washer parts for sale, buy Maytag dryer parts, LG washer replacement parts online, KitchenAid refrigerator parts for sale, Whirlpool stove and range replacement parts

WPW10204679 Range Surface Element

The WPW10204679 is a genuine OEM range radiant surface element for Whirlpool and affiliated brand electric ranges with smooth glass cooktops. This surface element is a critical heating component that supplies heat to a cooking area on top of the range, allowing you to boil, simmer, fry, and cook food. The radiant surface element is constructed from a coiled resistance heating wire (typically nichrome alloy) encased in a metal sheath, formed into a circular or oval heating pattern, and mounted beneath the glass cooktop surface. The element measures approximately 8-10 inches in diameter (depending on the specific burner size) and weighs approximately 1-2 pounds. The surface element has electrical terminals (typically 2-4 terminal connections) for connecting to the range's power supply through the element receptacle. The WPW10204679 replaces older part numbers including W10204679, 8286136, 8286137, and others with improved reliability and heating efficiency. The surface element operates on 240 volts AC, 60 Hz and typically has a power rating of 1,200-3,000 watts depending on the burner size (small burners 1,200-1,500W, medium burners 1,500-2,000W, large burners 2,000-3,000W). The element operates by converting electrical energy into heat through resistance heating. When the range control is turned on, electrical current flows through the resistance wire inside the element, generating heat. The heat radiates upward through the glass cooktop surface to the cookware. The range control regulates the power to the element to control the heat level (low, medium, high). Over time, range surface elements can fail due to heating wire burnout (from age or overheating), element cracking or breaking (from thermal stress or impact), terminal connection corrosion or failure, element warping or deformation (from overheating), glass cooktop damage (from element failure), or manufacturing defects. When the surface element fails, symptoms include the burner not heating at all (no heat), the burner heating unevenly or only partially (some areas hot, others cold), the burner taking longer than normal to heat up, the burner glowing brightly but not transferring heat to cookware, visible cracks or breaks in the element visible through the glass, the burner tripping the circuit breaker, or the glass cooktop cracking around the burner area. The WPW10204679 is a complete replacement surface element that restores full heating performance. Replacing a faulty surface element eliminates all heating problems and restores reliable, efficient cooking performance. Important: Always turn off power at the circuit breaker before working on the range. This is a moderately advanced repair requiring careful handling of electrical connections and glass cooktop removal. Verify your range model number before ordering. Test the element receptacle and wiring before replacing the element. This repair can be completed by most homeowners with basic electrical knowledge and careful attention to detail.

Key Features

  • High-quality construction with durable materials for long-lasting use in everyday cooking environments.
  • Efficient design that ensures even heat distribution across the cooking surface, compatible with models like MER6755AAB24 and MES5752BAS17.
  • Easy installation process, allowing for a straightforward swap without the need for professional tools.
  • OEM authenticity as a "Once Sold Out, No Longer Available" part, backed by trusted manufacturing standards.
  • Universal compatibility reference (OVT2), ensuring it fits specific range configurations for optimal performance.

Benefits

This surface element solves uneven heating issues, providing uniform cooking results that enhance your meal preparation efficiency and reduce the risk of burnt or undercooked food. By offering a simple, dependable upgrade, it extends the life of your range, saving you time and money on repairs while delivering a seamless cooking experience for everyday use.

The WPW10204679 Range Surface Element is a high-quality, durable addition to any kitchen. With its efficient design and powerful performance, this element will evenly heat your cooking surface, making meal prep a breeze. Plus, with its easy installation process, upgrading your stove has never been easier. Trust in the expertise and reliability of WPW10204679.

Supported Models:

MER6755AAB24, MER6755AAQ25, MER6755AAS26, MER6755AAW25, MER6755ABW25, MER6755ACB24, MER6755ACS26, MES5752BAB16, MES5752BAS17, MES5752BAW16

Hard to find parts? We've got them or we'll find them!

Over 10,000 New & Used Parts Ready for Pickup

Show this item number to our store staff to help locate the exact part you need
XPART GTIN/UPC NUMBER
9669087265057

XPart Supply Advantage

Your trusted partner for fast, reliable parts delivery across North America

Lightning Fast Shipping

Same-day processing with expedited delivery options across North America

Massive Inventory

Over 10,000 parts in stock and ready to ship immediately

North America Coverage

Comprehensive shipping network covering USA, Canada, and Mexico

Quality Guaranteed

Premium parts with warranty protection and expert customer support

10K+
Parts in Stock
24-48H
Local Delivery
99.8%
Customer Satisfaction
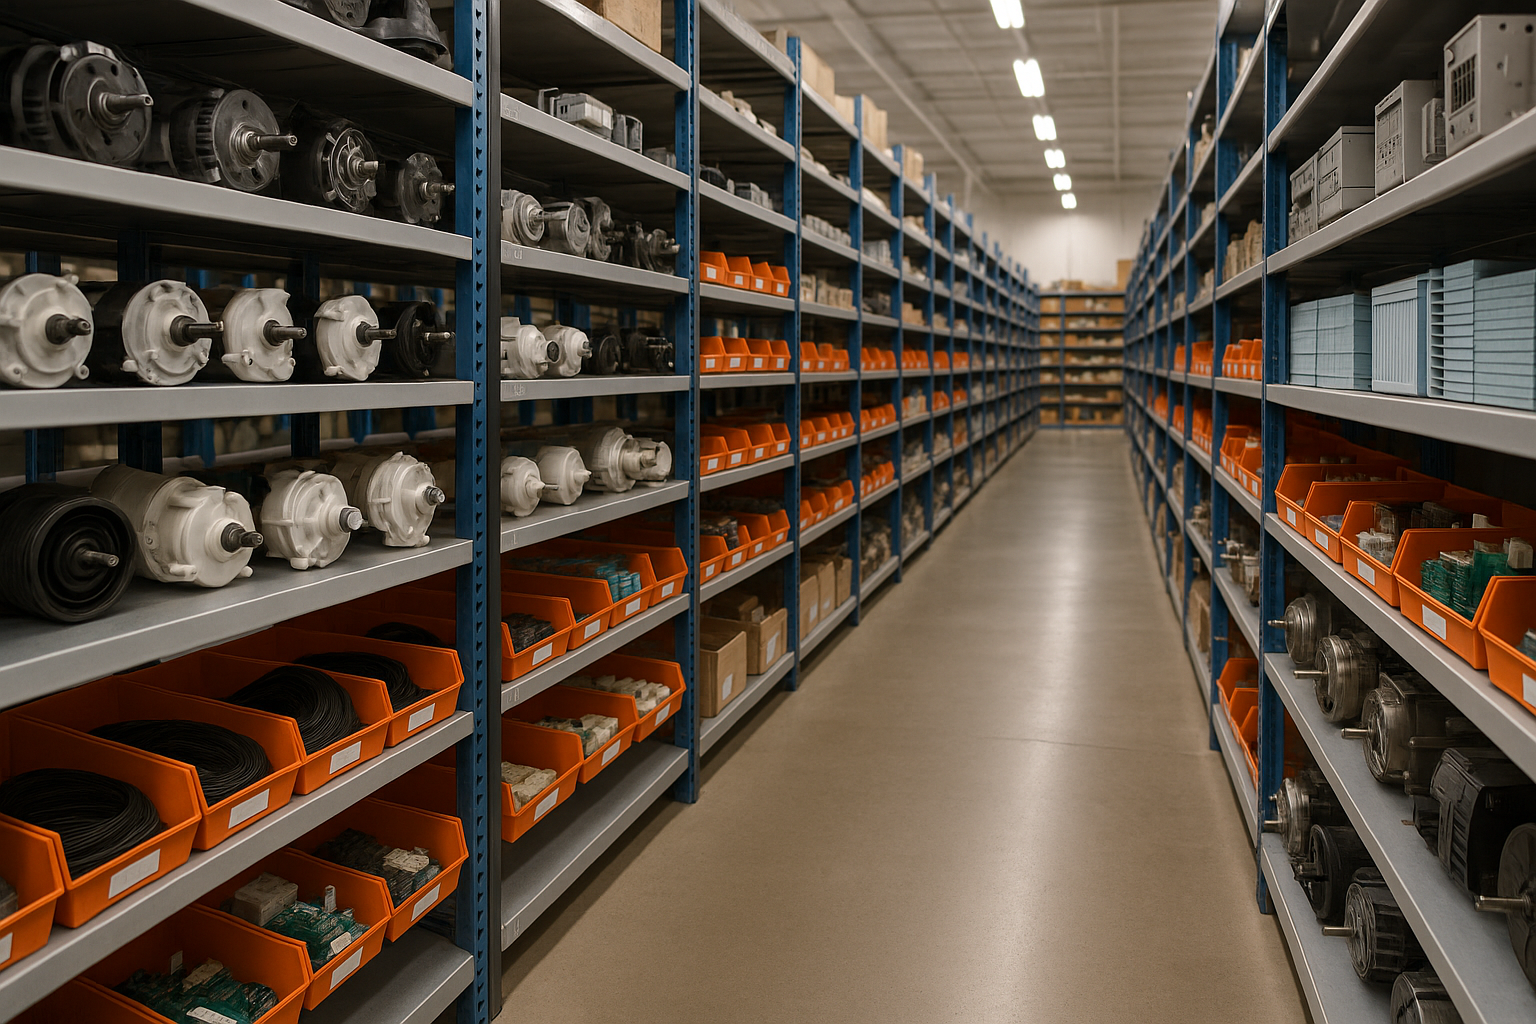
Professional appliance parts warehouse with organized shelving and extensive inventory

Express Warehouse Shipping

Order within the countdown for same-day shipping!

00 Hours
00 Minutes
00 Seconds

In stock orders placed during business hours ship the same day.

Order of $75 or more of eligible items qualify for FREE Shipping.

Same-day shipping deadline has passed

Orders placed now will ship the next business day.

Same-day shipping deadline has passed

Orders placed outside business hours will be processed when we reopen.

Business Hours: Monday - Friday, 9:00 AM - 5:00 PM EST

Trusted Family Business

29 years of Excellence in Appliance Parts

For over 29 years, our family has been dedicated to providing quality appliance parts and exceptional service. What started as a small local business has grown into a trusted name, but we've never forgotten our roots. Every customer receives the personal attention and care that only a family-owned business can provide.

Years of Experience

Our knowledge has been built over the past 29 years in the business, ensuring expert advice for every appliance need.

Personal Service Guarantee

We treat every customer like family, providing personalized solutions and standing behind our products.

Built on Trust

Our reputation has been built one satisfied customer at a time, creating lasting relationships in our community.

Buy Online Pick Up In-Store

Address
101 Trillium Dr
Kitchener, Ontario N2R 1J8
Phone
Hours
Monday - Friday 9:00 AM - 5:00 PM
Get Directions

Contact Us Customer Service

Hard to find parts? We've got them or we'll find them!

Call now for expert appliance parts assistance

Available Monday - Friday, 9AM - 5PM EST