


Whirlpool Washer Showing F5E1 or F5E2 Error? Lid Lock W11513248 – Fix Lid Lock Failures Fast
If your Whirlpool, Maytag, or Amana top-load washer displays an F5E1 or F5E2 lid lock error code, won’t start, stops mid-cycle, or the lid physically won’t lock or unlock — the lid lock assembly is the cause. In Whirlpool-platform top-load washers, the lid lock assembly serves two functions: it physically locks the lid during the spin cycle to prevent injury, and it sends a confirmation signal to the control board that the lid is secured before any cycle can begin. When the latch breaks, the solenoid fails, or the switch contacts wear out, the washer loses both the physical lock and the signal, and the control board refuses to run. ⚡ One of the most common washer repairs on the Whirlpool platform — affects Whirlpool, Maytag, Amana, and Kenmore models. Part W11513248 is the genuine OEM replacement (supersedes W11414731) that restores full lid lock function and clears error codes immediately.
❓ Is This the Right Part?
This is the correct fix if ALL of the following are true:
- ✔ Washer powers on and displays error codes or lid lock indicator
- ✔ Wiring harness connector to the lid lock is intact and fully seated
- ✔ Lid is not physically damaged or misaligned preventing engagement
- ✔ ONLY problem is F5E1/F5E2 error code, washer won’t start, or lid won’t lock/unlock
Not sure? Send us your model number — we’ll confirm before you order.
🔧 Common Symptoms
- F5E1 or F5E2 lid lock error code displayed on the control panel
- Washer won’t start — lid lock indicator light flashes
- Washer fills with water but won’t agitate or advance to spin
- Lid lock clicks repeatedly but won’t engage or hold
- Washer stops mid-cycle and displays a lid error
- Lid physically won’t lock or won’t release after cycle
✔ If these symptoms match, this is the most likely failed component in the lid lock system.
✔ In most cases, replacing this lid lock assembly clears the error code and restores normal operation immediately.
📦 Part Details
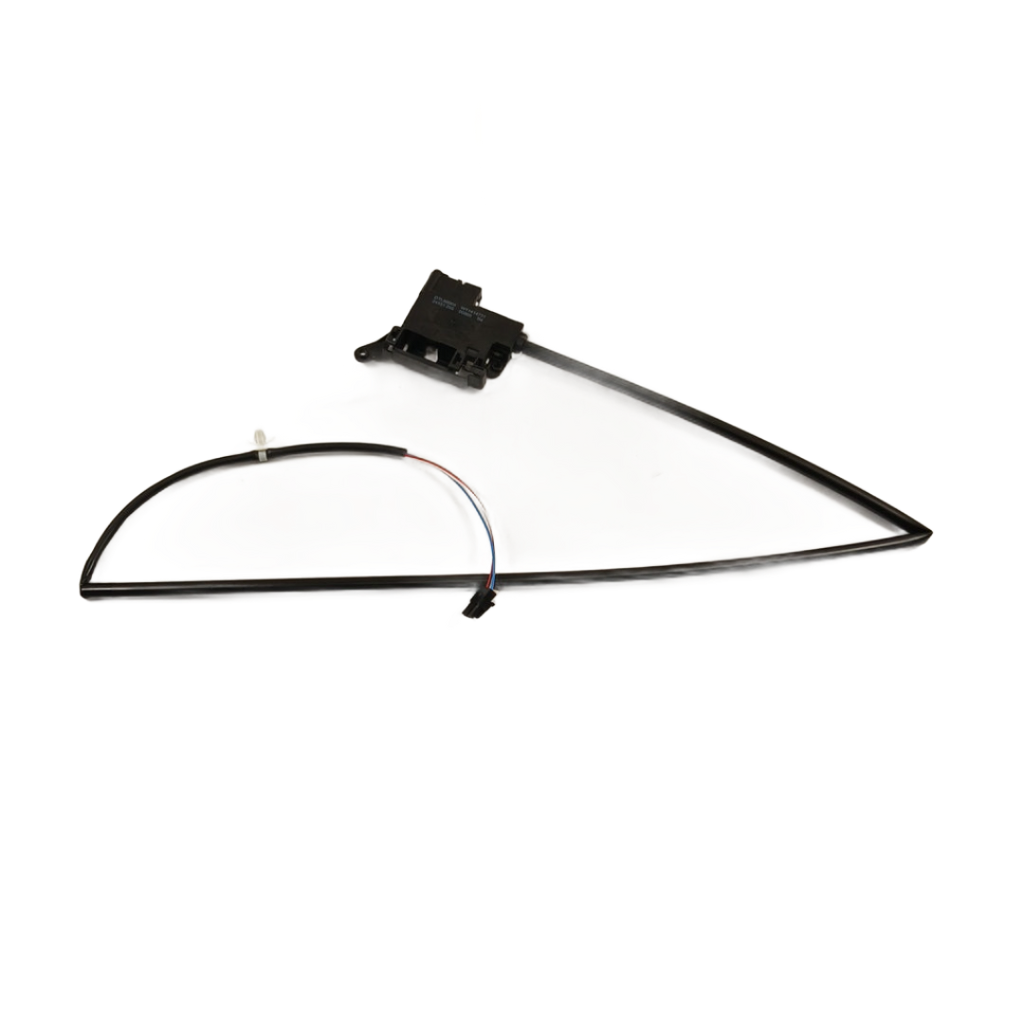
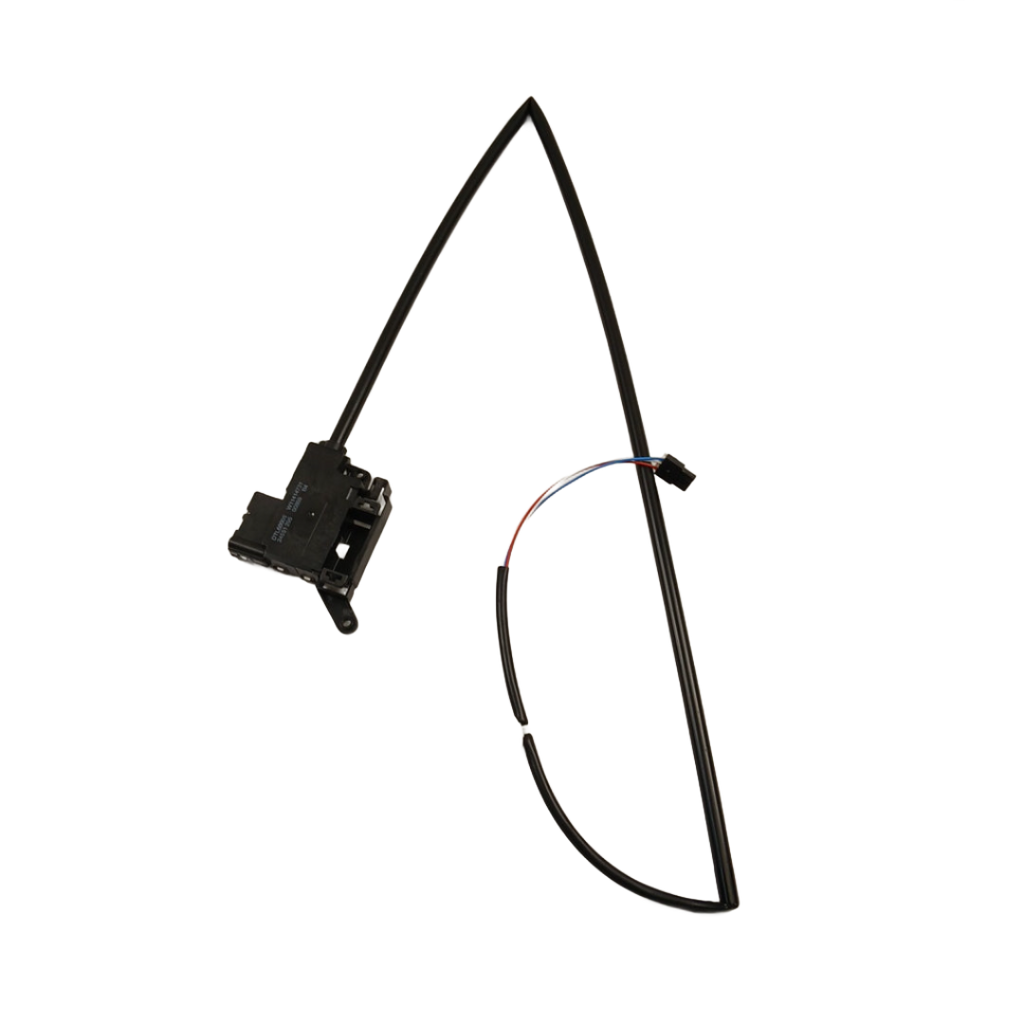
- Part Number: W11513248
- Type: Washer Lid Lock Assembly — includes lid switch and door lock solenoid; physically locks lid during spin and sends confirmation signal to control board
- Replaces: W11414731, W11307244, W10619876, W10404050, W10253483, PS11755921, AP6022472, 8182634, 8181700 — no modification required
- Brands: Whirlpool, Maytag, Amana, Kenmore (Whirlpool-platform top-load washers)
Before ordering, test the lid lock switch contacts with a multimeter for continuity — with the lid closed, the switch should show continuity; open, it should not. If the switch tests open in both positions or shows no continuity when closed, replacement is confirmed. This 2-minute test rules out a wiring harness issue at the same time.
⚙️ Installation
Skill Level: EASY — 15–25 minutes. Unplug the washer before beginning. Open the lid and locate the lid lock assembly mounted at the rear of the lid opening on the cabinet top. Remove the two mounting screws, disconnect the wiring harness connector, install the new lid lock, reconnect the harness, and reinstall the screws. Close the lid, restore power, and run a test cycle to confirm the lid locks and the error code clears.
✓ Compatible Models
Confirmed compatible with WTW5000DW0, WTW6120HW0, WTW7120HW0, MVW6230HW0, MVW8230HW0, MVWB835DW0, NTW4516FW0, NTW4519JW0 plus additional Whirlpool, Maytag, Amana, and Kenmore models. Contact us to verify your model number before ordering.
💡 Pro Tip
Before ordering, try a hard reset — unplug the washer for 5 full minutes, then restore power. Some Whirlpool lid locks enter a fault state after a power interruption and clear with a full power cycle. If the error returns within a cycle or two, the lock has failed and W11513248 is your fix. If it clears permanently, you saved yourself a repair.
MVW5035MW0 WTW5057LW0 WTW5015LW0 WTW5010LW0
✓ Model-Specific Repair Pages
✅Compatibility & Cross Reference
Not sure about your model number? Call 1-877-899-7278 and we’ll help you confirm. All brand names are the property of their respective owners and are used for compatibility reference only.
Buy Online Pick Up In-Store
Kitchener, Ontario N2E 1W8


- Choosing a selection results in a full page refresh.

