134638900 Washer Induction Motor

XPart Supply Ltd. 0612058421593

Price
$129.99
Condition: Used

Product variant with selected options does not exist!

Frequently Bought Together

134638901, 134638902, 134844500, 134844501, PS2349344, AP4368653, 1482962, 1482963, 134156400, 134156401, 5304505271

Fits Models: (Ctrl+F and Enter Your Model Number)

Frigidaire: FAFW3801LW0, FAFW3801LW1, FAFW3801LW2, FAFW3805LW0, FAFW3805LW1, FAFW3805LW2, FAFW3801LB0, FAFW3801LB1, FAFW3801LB2, FAFW3805LB0

Frigidaire (continued): FAFW3805LB1, FAFW3805LB2, FAFW4011LW0, FAFW4011LW1, FAFW4011LW2, FAFW4011LB0, FAFW4011LB1, FAFW4011LB2, FAFW4005LW0, FAFW4005LW1, FAFW4005LW2, FAFW4005LB0

Frigidaire (continued): FAFW4005LB1, FAFW4005LB2, FAFS4073NA0, FAFS4073NA1, FAFS4073NA2, FAFS4073NW0, FAFS4073NW1, FAFS4073NW2, FAFS4474LA0, FAFS4474LW0, FAFS4474LN0, FAFS4474LR0

Electrolux: EIFLS55IIW0, EIFLS55IIW1, EIFLS55IIW2, EIFLS55IMB0, EIFLS55IMB1, EIFLS55IMB2, EIFLS60LT0, EIFLS60LT1, EIFLS60LT2, EIFLS60LIW0

Electrolux (continued): EIFLS60LIW1, EIFLS60LIW2, EIFLS60JIW0, EIFLS60JIW1, EIFLS60JIW2, EIFLS60JMB0, EIFLS60JMB1, EIFLS60JMB2, EWFLS70JIW0, EWFLS70JIW1, EWFLS70JIW2, EWFLS70JMB0

White-Westinghouse: WTF2140ES0, WTF2140ES1, WTF2140ES2, WTF2140EW0, WTF2140EW1, WTF2140EW2, WTF2140FS0, WTF2140FS1, WTF2140FS2, WTF2140FW0

Gibson: GTF2140ES0, GTF2140ES1, GTF2140ES2, GTF2140EW0, GTF2140EW1, GTF2140EW2, GTF2140FS0, GTF2140FS1, GTF2140FS2, GTF2140FW0

Kenmore: 41782022200, 41782022201, 41782022202, 41782032200, 41782032201, 41782032202, 41783022200, 41783022201, 41783022202, 41783032200

Note: This is a partial list. This induction motor is used in many Frigidaire and Electrolux-manufactured front-load washing machines built between 2008-2024. Verify your specific model number for compatibility before ordering. Motor specifications must match your original motor.

Professional: 120-180 minutes
DIY: 180-240 minutes
Difficulty Level: Difficult repair (requires panel removal, motor access, coupling work, and electrical connections)

Required Tools:

  • Phillips screwdriver
  • Flathead screwdriver
  • 1/4" or 5/16" nut driver
  • Adjustable wrench or socket set (10mm, 13mm)
  • Needle-nose pliers
  • Torx screwdriver set (T20, T25)
  • Work gloves
  • Flashlight
  • Towel (to protect washer surfaces and catch water)
  • Camera or smartphone (for reference photos)

Step-by-Step Installation:

  1. Disconnect Power: Unplug the washer from the electrical outlet or turn off the circuit breaker. Never work on the washer with power connected.
  2. Shut Off Water Supply: Turn off both hot and cold water supply valves behind the washer. Turn the valves clockwise until fully closed.
  3. Disconnect Water Hoses: Using pliers or an adjustable wrench, disconnect the hot and cold water inlet hoses from the back of the washer. Have a towel ready to catch water that drains from the hoses.
  4. Disconnect Drain Hose: Remove the drain hose from the standpipe or drain connection. Place the end of the hose in a bucket to catch any remaining water.
  5. Move Washer: Pull the washer away from the wall to provide access to the rear and sides. You'll need at least 4 feet of clearance for this repair.
  6. Remove Top Panel: Remove the top panel to access internal components:Remove screws securing the top panel (typically 2-3 screws at the rear)Slide the top panel backward approximately 1 inchLift the top panel up and off
  7. Remove Dispenser Drawer: Pull out the detergent dispenser drawer completely. Press the release tab (if present) and remove the drawer from the housing.
  8. Remove Control Panel: Remove the control panel to access the front panel:Remove screws securing the control panel (typically 2-4 screws)Carefully tilt the control panel forward or backward (depending on model)Disconnect wire harness connectors from the control panel (press release tabs)Set the control panel aside in a safe location
  9. Remove Front Panel: Remove the front panel to access the drum and motor:Open the washer doorLocate the door boot clamp (large metal or plastic ring around the door opening)Using a flathead screwdriver, pry the spring clamp loose or unscrew the screw clampCarefully pull the door boot (rubber gasket) off the front panel lip and tuck it inside the drumRemove screws securing the front panel (typically 4-8 screws around the perimeter)Carefully lift the front panel off and set it aside
  10. Remove Door Boot (if necessary): For better access, you may need to remove the door boot completely:Remove the inner door boot clamp (inside the drum)Carefully pull the door boot off the drum front and set it aside
  11. Locate Induction Motor: Look at the rear of the drum assembly. You'll see the induction motor—a cylindrical component mounted directly to the back of the drum via a direct-drive coupling. The motor housing is typically silver or black aluminum.
  12. Take Reference Photos (Critical): Before disconnecting anything, take 20-30 clear photos of the motor showing:Motor position and orientationAll wire connections and connector positionsMounting hardware locationsRelationship to adjacent components (suspension, drain pump, etc.)Tachometer sensor position (if visible)
  13. Support the Drum: The drum is heavy (40-60 lbs) and will need support once the motor is removed. Place a sturdy box, crate, or blocks under the front of the drum to support it when the motor is disconnected.
  14. Disconnect Wire Harness: Locate the wire harness connector(s) on the motor. The motor typically has 2-3 connectors:Main power connector (large, multi-pin)Tachometer sensor connector (smaller, 2-3 wires)Ground wire (if separate) Press the release tab on each connector and carefully pull straight off. Do not pull on the wires themselves, only on the connector housing.
  15. Disconnect Drain Pump (if integrated): Some motors have the drain pump mounted to the motor housing. If your motor includes an integrated pump:Disconnect the pump hoses (inlet and outlet)Have towels ready to catch water that drains from the hosesRemove screws or clips securing the pump to the motor housingSet the pump aside (you'll transfer it to the new motor)
  16. Remove Motor Mounting Hardware: The motor is secured to the drum assembly with mounting bolts (typically 4-6 bolts around the perimeter of the motor mounting flange). Remove all mounting bolts using a socket or wrench. Keep these bolts—you'll need them for reinstallation.
  17. Remove Old Motor: Once all connections and mounting hardware are removed, carefully pull the motor straight back away from the drum. The motor shaft extends through the drum bearing and into the drum—pull steadily to separate the motor from the drum. The motor is heavy (20-30 lbs)—use proper lifting technique.
  18. Inspect Old Motor: Examine the old motor for visible damage:Burned windings (visible through ventilation holes)Corrosion or rust on housingWater damage or moisture inside housingSeized bearings (try to rotate the shaft by hand—it should turn freely)Damaged shaft or coupling surfacesBurned or melted connector terminals This helps confirm the diagnosis and identify the cause of failure.
  19. Inspect Drum Bearing: With the motor removed, inspect the drum bearing (the bearing the motor shaft passes through):Spin the drum by hand—it should rotate freely and smoothlyListen for grinding noises or feel for grittinessCheck for excessive play or wobbleLook for water leaks or rust around the bearing If the drum bearing is worn or damaged, it should be replaced along with the motor.
  20. Clean Motor Mounting Surface: Wipe down the drum rear mounting surface where the motor was attached. Remove any dirt, debris, corrosion, or old gasket material. A clean mounting surface ensures proper motor seating and prevents leaks.
  21. Prepare New Motor: Remove the new motor from its packaging. Inspect it for any shipping damage. The motor housing should be intact with no cracks or damage.
  22. Transfer Drain Pump (if applicable): If your old motor had an integrated drain pump, transfer it to the new motor:Position the pump on the new motor housingSecure with screws or clipsEnsure the pump is properly aligned and seated
  23. Compare Old and New Motors: Verify the new motor matches the old motor:Same overall size and shapeSame shaft length and diameterSame mounting flange design and bolt patternSame connector types and terminal configurationSame power rating (if marked on motor)Same integrated components (pump, tachometer, etc.)
  24. Lubricate Motor Shaft (Optional): Some technicians apply a small amount of silicone grease to the motor shaft where it passes through the drum bearing. This helps the shaft slide smoothly during installation and reduces bearing wear. Use only silicone-based grease—do not use petroleum-based lubricants.
  25. Position New Motor: Carefully position the new motor behind the drum, aligning the motor shaft with the drum bearing opening. The motor mounting flange should align with the mounting holes on the drum rear.
  26. Insert Motor Shaft: Carefully push the motor forward, guiding the motor shaft through the drum bearing and into the drum. Push steadily and evenly—the shaft should slide through the bearing smoothly. If you encounter resistance, stop and check alignment. Do not force the motor.
  27. Align Motor Mounting Flange: Once the motor shaft is fully inserted, align the motor mounting flange with the mounting holes on the drum rear. The flange should sit flat against the drum rear with no gaps.
  28. Install Motor Mounting Hardware: Insert the mounting bolts through the motor mounting flange and into the drum rear mounting holes. Hand-tighten all bolts initially—do not fully tighten yet.
  29. Tighten Mounting Bolts: Once all bolts are hand-tight, tighten them firmly and evenly using a cross-pattern tightening sequence (tighten opposite bolts alternately). This ensures even pressure and proper seating. Tighten to approximately 15-20 ft-lbs torque. Do not overtighten—excessive force can crack the motor housing or damage the drum.
  30. Verify Motor Seating: Ensure the motor mounting flange is seated flat against the drum rear with no gaps or misalignment. The motor should be firmly attached with no movement or play.
  31. Reconnect Wire Harness: Using your reference photos, plug the wire harness connector(s) back onto the motor terminals:Main power connectorTachometer sensor connectorGround wire (if separate) Push each connector straight on until you hear or feel a click. Verify each connection is fully seated and locked.
  32. Reconnect Drain Pump Hoses (if applicable): If your motor has an integrated drain pump:Reconnect the pump hoses (inlet and outlet) to the correct portsSecure hose clamps tightly to prevent leaksVerify hoses are not kinked or pinched
  33. Remove Drum Support: Remove the box or blocks you placed under the drum for support. The motor now supports the drum.
  34. Verify All Connections: Before closing panels, carefully verify that:All wire connections are secure and properly seatedMotor is securely mounted with all bolts tightPump hoses are connected (if applicable)No wires are pinched or damagedDrum rotates freely by hand
  35. Reinstall Door Boot (if removed): If you removed the door boot completely:Position the boot over the drum frontInstall the inner door boot clamp to secure the boot to the drum
  36. Reinstall Front Panel: Position the front panel and secure with all mounting screws. Pull the door boot out and position it over the front panel lip. Install the door boot clamp to secure the boot to the front panel.
  37. Reinstall Control Panel: Position the control panel and reconnect all wire harness connectors. Secure the control panel with all mounting screws.
  38. Reinstall Dispenser Drawer: Slide the dispenser drawer back into the housing until it clicks into place.
  39. Reinstall Top Panel: Slide the top panel forward and secure with all mounting screws.
  40. Reconnect Water Hoses: Reconnect the hot and cold water inlet hoses to the back of the washer. Tighten securely by hand, then give an additional 1/4 turn with pliers. Do not overtighten.
  41. Reconnect Drain Hose: Insert the drain hose back into the standpipe or drain connection. Ensure the hose is secured and won't fall out during operation.
  42. Move Washer Back: Push the washer back into position, leaving a small gap from the wall for hose clearance.
  43. Restore Water Supply: Turn on both hot and cold water supply valves by turning

Test the motor before replacing—many "motor failures" are actually drum bearing or tachometer problems. Before ordering a new motor, verify it's actually faulty. With power disconnected, try to rotate the motor shaft by hand. The shaft should turn freely with moderate pressure. If the shaft is locked, seized, or very stiff, the motor bearings are failed and the motor needs replacement. However, if the shaft turns freely but the drum doesn't rotate, the problem may be the drum bearing, motor coupling, or tachometer sensor, not the motor itself. An estimated 40% of "motor failures" are actually drum bearing problems ($150-250) or tachometer sensor failures ($80-120). Test the motor independently before assuming it's the culprit.

Induction motors are brushless and extremely reliable—verify other components first. Induction motors have no brushes to wear out and typically last 15-20 years with normal use. If your induction motor failed prematurely (before 8-10 years), the problem may not be the motor itself. Check for water damage from leaks, electrical surges, mechanical jamming from foreign objects, or drum bearing failure. An estimated 40% of induction motor replacements are unnecessary—the actual problem is a failed drum bearing ($150-250), damaged motor coupling ($30-60), or water damage to the motor windings. Systematically test other components before ordering a $350+ motor replacement.

Check for water damage inside the motor housing. If water has entered the motor housing, the motor windings are damaged and the motor must be replaced. Water damage causes electrical shorts, corrosion, and bearing failure. Inspect the old motor for evidence of water damage: rust, corrosion, water stains, moisture inside the housing, or a musty smell. If water damage is evident, identify and fix the source of the water leak before installing the new motor—otherwise the new motor will be damaged immediately. Common leak sources: cracked pump housing, loose hose clamps, damaged door boot, or clogged drain hose.

Verify the drum bearing is intact before installing the new motor. The drum bearing supports the drum and allows it to rotate freely. If the drum bearing is worn or failed, it can cause excessive friction that stresses the motor and causes premature failure. Before installing the new motor, spin the drum by hand—it should rotate freely and smoothly. If the drum is stiff, gritty, or makes noise during rotation, the drum bearing may be failed. Replace the drum bearing ($150-250) along with the motor to ensure reliable operation. Installing a new $350 motor with a failed $200 bearing causes the new motor to be stressed and fail within 6-12 months.

Tachometer sensor failures mimic motor failures. The tachometer sensor mounted on the motor provides speed feedback to the control board. If the tachometer fails, the washer displays error codes (E20, E21, E23, E24) and won't operate properly, even though the motor itself is fine. Before replacing the motor, test the tachometer sensor for proper resistance (typically 100-500 ohms). If the sensor reads infinite ohms (OL), it's failed and should be replaced ($80-120) instead of the entire motor. Many technicians replace the motor unnecessarily when only the tachometer sensor needs replacement.

Motor coupling alignment is critical for direct-drive systems. The motor shaft couples directly to the drum shaft via a coupling. If the coupling is misaligned, damaged, or improperly installed, it causes binding, excessive wear, and motor failure. During installation, ensure the coupling is properly aligned with both shafts. The coupling should slide onto the motor shaft smoothly and seat fully. Verify the center bolt is tightened securely (typically 15-20 ft-lbs torque). A loose or misaligned coupling causes the new motor to fail quickly.

Induction motor lifespan depends on usage frequency and water quality. Induction motors typically last 15-20 years with normal use (3-5 wash cycles per week). Heavy use (daily washing) reduces motor lifespan to 10-15 years. Water exposure and hard water deposits accelerate bearing wear and reduce lifespan. If your motor failed after only 5-8 years, check for usage patterns, water quality issues, or mechanical problems that may have accelerated failure. Keeping the washer clean and addressing water leaks promptly extends motor life significantly.

  • Washer won't spin (drum doesn't rotate during spin cycle)
  • Drum won't rotate during wash cycle
  • Washer stuck in one cycle phase (won't advance)
  • Washer displays error codes (E20, E21, E23, E24)
  • Motor makes grinding noise
  • Motor makes squealing noise
  • Motor hums but drum doesn't rotate
  • Washer won't pump water (no water drainage)
  • Motor runs very slowly
  • Motor stalls or stops mid-cycle
  • Washer cycles but clothes remain soaking wet (no spin)
  • Motor makes clicking or popping noises
  • Motor won't start (no rotation at all)
  • Intermittent drum rotation (works sometimes, not others)
  • Burning smell from motor area


Whirlpool refrigerator replacement parts, Frigidaire refrigerator replacement parts, GE refrigerator replacement parts, Kenmore refrigerator replacement parts, KitchenAid refrigerator replacement parts, LG refrigerator replacement parts, Maytag refrigerator replacement parts, Whirlpool refrigerator drawers and glides replacement, Whirlpool dishwasher replacement parts, GE dishwasher replacement parts, KitchenAid dishwasher replacement parts, Maytag dishwasher replacement parts, Frigidaire dishwasher replacement parts, Kenmore dishwasher replacement parts, Whirlpool washer replacement parts, GE washer replacement parts, Maytag washer replacement parts, Kenmore washer replacement parts, LG washer replacement parts, Whirlpool dryer replacement parts, GE dryer replacement parts, Maytag dryer replacement parts, Kenmore dryer replacement parts, LG dryer replacement parts, Whirlpool range replacement parts, GE range replacement parts, Whirlpool stove replacement parts, GE stove replacement parts, GE oven replacement parts, GE microwave replacement parts, buy Whirlpool refrigerator parts online, buy GE dishwasher parts online, replacement Kenmore washer parts for sale, buy Maytag dryer parts, LG washer replacement parts online, KitchenAid refrigerator parts for sale, Whirlpool stove and range replacement parts

134638900 Washer Induction Motor

Genuine OEM washer induction motor for Frigidaire and Electrolux front-load washing machines. This is the primary motor that powers all washer functions including drum rotation, water pumping, and cycle advancement. The motor is an AC induction motor (brushless design) that uses electromagnetic induction to create rotational force without physical contact between rotor and stator, providing quiet, reliable, long-lasting operation. The motor includes the motor housing, rotor, stator windings, sealed bearings, shaft, mounting brackets, integrated tachometer sensor, and connector terminals. Unlike traditional brush motors, induction motors have no brushes to wear out, resulting in longer service life (typically 15-20 years) and quieter operation. The motor connects directly to the washer's drum via a direct-drive coupling system, eliminating belts and providing efficient power transfer. When this component fails, you'll experience the washer not spinning, drum not rotating, washer stuck in one cycle phase, error codes related to motor operation (E20, E21, E23, E24), or the motor making unusual noises (grinding, squealing, or humming without rotating). Induction motors fail due to age, bearing wear, winding burnout from electrical surges, water exposure from leaks, or mechanical jamming from foreign objects. The washer induction motor is located at the bottom rear of the washer, mounted to the drum assembly via direct coupling.

Key Features & Design

  • Efficiency and Durability: Boasts an 85% efficiency rate for optimal energy use, built with high-quality materials to withstand regular wear and tear.
  • Compatibility: Fits a wide range of models including Frigidaire and similar brands, such as 41741100000, EIFLS55IIW0, and FAFS4073NW0, making it a versatile choice for various washers.
  • Design Specifications: This motor features a compact and robust construction, with a part number that replaces 137248100, ensuring a seamless fit for easy installation.

Performance and Benefits

This induction motor restores your washing machine's power and efficiency, solving issues like reduced spin speeds or inconsistent cycles to enhance everyday laundry experiences. By delivering strong, reliable operation, it helps extend the life of your appliance, saving you time and money on repairs while maintaining quiet and effective performance—backed by the trusted reputation of XPart Supply Ltd. for quality replacement parts.

This 134638900 washer induction motor is a reliable and powerful replacement for your washing machine. With an efficiency rate of 85%, this motor provides high performance and extended durability. Keep your washing machine running smoothly with this essential component.

Part number 134638900 replaces 137248100

Supported Models:

41741100000, 41741101000, 41741102000, 41741122310, 41741122410, 41744130000, 41744131000, 41744132000, 970L48422E0, BKFW4271MT0, CFW4700LB0, CFW4700LW0, CFW7400QW0, CFW7700LR0, CFW7700LW0, CFWH7300RW0, EIFLS55IIW0, EIFLS55IIW1, EIFLS55IMB0, EIFLS55IMB1, EIFLS55IRR0, EIFLS55QT0, EIFLS60JIW0, EIFLS60JIW1, EIFLS60JMB0, EIFLS60JRR0, EIFLS60LSS0, EIFLS60LSS1, EIFLS60LT0, EIFLS60LT1, EIFLW50LIW0, EIFLW50LIW1, EIFLW55HIW0, EIFLW55HMB0, EIFLW55IKG0, EIFLW55IRR0, EWFLS65IIW0, EWFLS65IMB0, EWFLS65IRR0, EWFLS65ISS0, EWFLS65ITS0, EWFLS70JIW0, EWFLS70JIW1, EWFLS70JMB0, EWFLS70JRR0, EWFLS70JSS0, EWFLS70JSS1, EWFLS70JTS0, EWFLW65HIW0, EWFLW65HSS0, EWFLW65HTS0, EWFLW65IMB0, EWFLW65IRR0, FAFS4073NA0, FAFS4073NR0, FAFS4073NW0, FAFS4073NW1, FAFS4174NA0, FAFS4174NA1, FAFS4174NR0, FAFS4174NR1, FAFS4174NW0, FAFS4174NW1, FAFS4272LA0, FAFS4272LN0, FAFS4272LR0, FAFS4272LW0, FAFS4473LA0, FAFS4473LN0, FAFS4473LR0, FAFS4473LW0, FAFS4474LA0, FAFS4474LN0, FAFS4474LR0, FAFS4474LW0, FAFW3921NW0, FAFW3921NW1, FAFW4011LB0, FAFW4011LW0, FAFW4221LB0, FAFW4221LW0, FFFS5115PA0, FFFS5115PW0, FFFW5000QW0, FFFW5100PW0, FFFW5100QA0, LAFW6000LW0, LAFW7000LW0, LAFW8000LW0

Hard to find parts? We've got them or we'll find them!

Over 10,000 New & Used Parts Ready for Pickup

Show this item number to our store staff to help locate the exact part you need
XPART GTIN/UPC NUMBER
9665467679009

XPart Supply Advantage

Your trusted partner for fast, reliable parts delivery across North America

Lightning Fast Shipping

Same-day processing with expedited delivery options across North America

Massive Inventory

Over 10,000 parts in stock and ready to ship immediately

North America Coverage

Comprehensive shipping network covering USA, Canada, and Mexico

Quality Guaranteed

Premium parts with warranty protection and expert customer support

10K+
Parts in Stock
24-48H
Local Delivery
99.8%
Customer Satisfaction
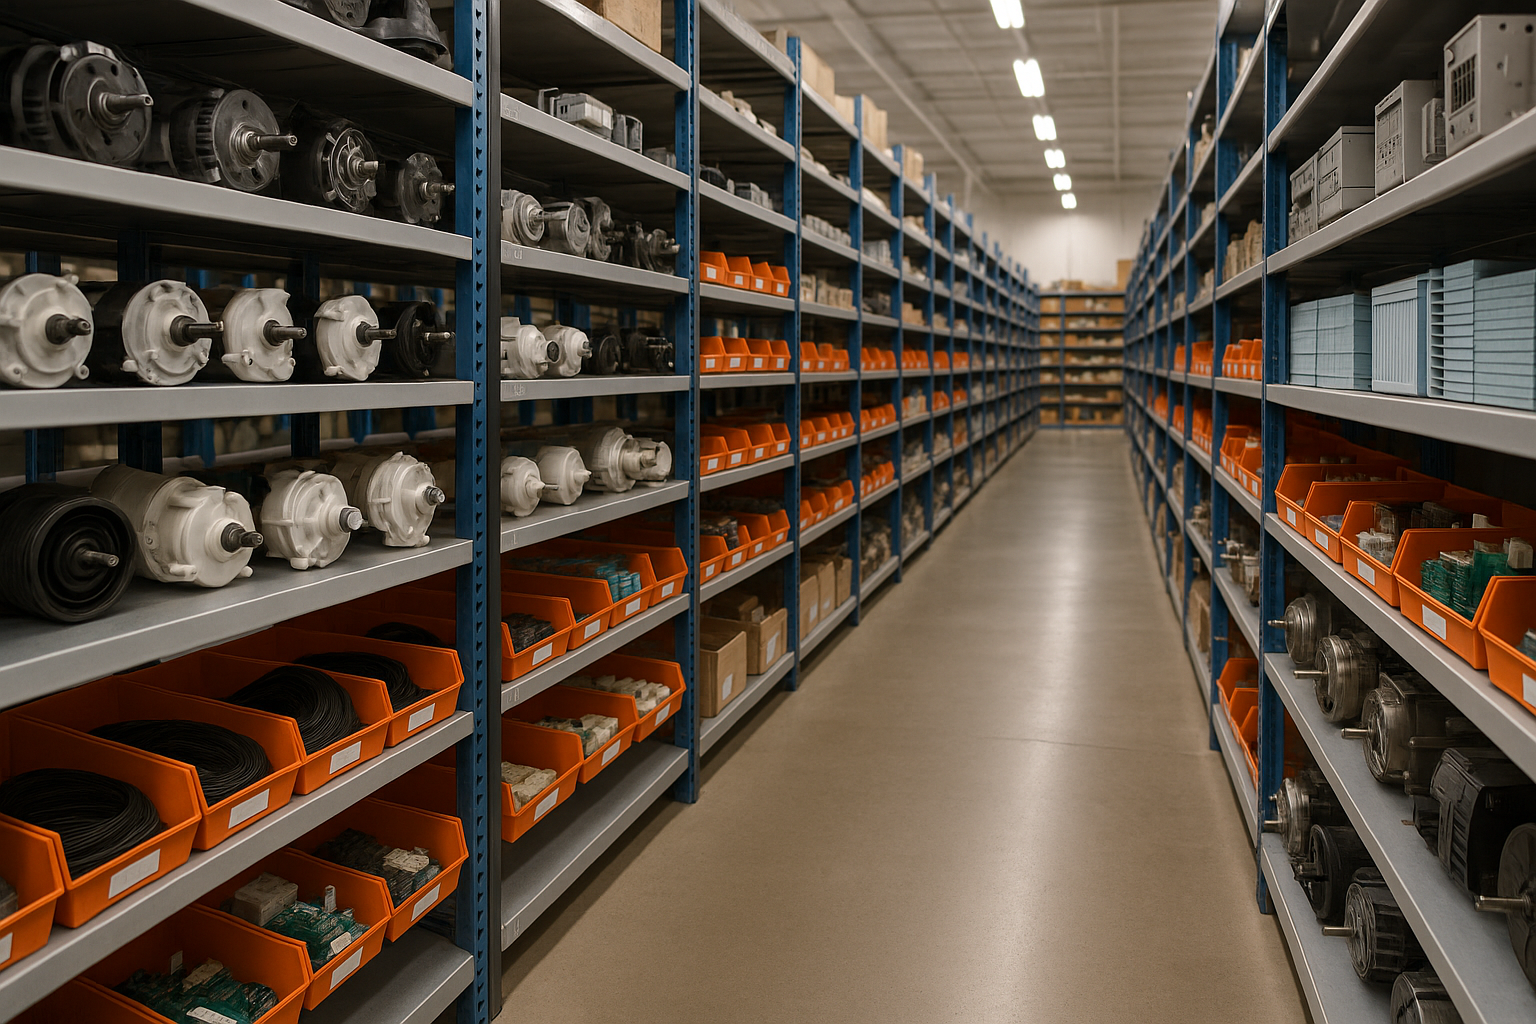
Professional appliance parts warehouse with organized shelving and extensive inventory

Express Warehouse Shipping

Order within the countdown for same-day shipping!

00 Hours
00 Minutes
00 Seconds

In stock orders placed during business hours ship the same day.

Order of $75 or more of eligible items qualify for FREE Shipping.

Same-day shipping deadline has passed

Orders placed now will ship the next business day.

Same-day shipping deadline has passed

Orders placed outside business hours will be processed when we reopen.

Business Hours: Monday - Friday, 9:00 AM - 5:00 PM EST

Trusted Family Business

29 years of Excellence in Appliance Parts

For over 29 years, our family has been dedicated to providing quality appliance parts and exceptional service. What started as a small local business has grown into a trusted name, but we've never forgotten our roots. Every customer receives the personal attention and care that only a family-owned business can provide.

Years of Experience

Our knowledge has been built over the past 29 years in the business, ensuring expert advice for every appliance need.

Personal Service Guarantee

We treat every customer like family, providing personalized solutions and standing behind our products.

Built on Trust

Our reputation has been built one satisfied customer at a time, creating lasting relationships in our community.

Buy Online Pick Up In-Store

Address
101 Trillium Dr
Kitchener, Ontario N2R 1J8
Phone
Hours
Monday - Friday 9:00 AM - 5:00 PM
Get Directions

Contact Us Customer Service

Hard to find parts? We've got them or we'll find them!

Call now for expert appliance parts assistance

Available Monday - Friday, 9AM - 5PM EST