EAU63743803 Washer Motor Pump

XPart Supply Ltd. 8801031329571

Sale price
$88.40
Regular price
$105.20
You save
$16.80 (16%)
Buying Options: OEM
Condition: New

Product variant with selected options does not exist!

Frequently Bought Together

Fits Models: (Ctrl+F and Enter Your Model Number)

LG: WM2233HW, WM2233HD, WM2277HW, WM2277HB, WM2455HW, WM2455HG, WM2487HWM, WM2487HRMA, WM2688HWM, WM2688HNMA, WM3470HWA, WM3470HVA, WM3875HWCA, WM3875HVCA

LG (continued): WD-12275BD, WD-12276BD, WD-13276BDM, WD-14316BDK, WM2016CW, WM2032HW, WM2050CW, WM2101HW, WM2140CW, WM2233HU, WM2301HW, WM2301HR, WM2350HWC, WM2350HRC

Kenmore: 796.41122410, 796.41122411, 796.41122412, 796.41123410, 796.41302010, 796.41302011, 796.41303010, 796.41309010, 796.42322900, 796.42323900

Note: This is a partial list. LG uses this pump in many front-load washer models manufactured between 2005-2015. Verify your specific model number for compatibility before ordering.

Professional: 45-60 minutes
DIY: 90-120 minutes
Difficulty Level: Medium repair (requires tilting washer and working underneath)

Required Tools:

  • Phillips screwdriver
  • Flathead screwdriver
  • 10mm socket or nut driver
  • Needle-nose pliers
  • Towels (for water spillage)
  • Shallow pan or bucket
  • Work gloves
  • Flashlight

Step-by-Step Installation:

  1. Disconnect Power: Unplug the washer from the electrical outlet. Never work on the washer with power connected.
  2. Shut Off Water Supply: Turn off both hot and cold water supply valves behind the washer.
  3. Move Washer: Pull the washer away from the wall to provide access to the rear and sides. You'll need at least 3 feet of clearance.
  4. Drain Residual Water: Place towels on the floor. Locate the drain pump filter access panel at the lower front of the washer (usually bottom right corner). Open the small door and slowly unscrew the drain filter cap. Allow water to drain into your pan. Expect 1-2 cups of water. Remove the filter completely and set aside.
  5. Disconnect Drain Hose: At the rear of the washer, disconnect the drain hose from the standpipe or laundry sink. Lower the hose end into a bucket to drain any remaining water from the hose.
  6. Tilt Washer Back: Carefully tilt the washer backward against the wall or have a helper support it. You need access to the bottom of the washer. Some technicians prefer to lay the washer on its side on a blanket—either method works.
  7. Access the Pump (Bottom Access): With the washer tilted or on its side, you'll see the pump assembly attached to the bottom of the washer tub. It's typically located near the front, connected to hoses and the drain filter housing.
  8. Disconnect Hoses: The pump has 2-3 hoses connected: inlet hose from tub, outlet hose to drain, and possibly a recirculation hose. Use needle-nose pliers to squeeze and slide the spring clamps away from the pump connections. Carefully pull each hose off the pump. Have towels ready—water will spill out. Note the position of each hose for reinstallation.
  9. Disconnect Wiring: Locate the wire harness connector on the pump motor. Press the release tab and pull the connector straight off the pump. Take a photo for reference.
  10. Remove Mounting Hardware: The pump is secured to the washer base or tub with 2-4 screws or mounting clips (typically 10mm). Remove all mounting screws. Note the position of any mounting brackets or spacers.
  11. Remove Old Pump: Once all screws and connections are removed, carefully pull the old pump assembly away from the washer. Tilt it to drain any remaining water into your pan.
  12. Inspect Pump Housing: Check the old pump for debris. Remove the pump cover (if accessible) and inspect the impeller cavity for coins, bobby pins, small socks, or other objects that may have caused the failure. Even with a new pump, these objects will cause immediate failure if not removed from the system.
  13. Clean Hose Connections: Wipe the hose ends clean of any debris, lint, or residue. Check hoses for cracks or damage—replace if necessary.
  14. Install New Pump: Position the new pump in the mounting location, aligning the mounting holes and hose connections. Ensure any gaskets or seals are properly positioned.
  15. Secure Pump: Install all mounting screws and tighten securely. Do not overtighten—the pump housing is plastic and can crack.
  16. Reconnect Hoses: Slide each hose back onto the correct pump connection (inlet, outlet, recirculation). Push hoses fully onto the barbed fittings. Slide the spring clamps back into position over the hose connections. Ensure clamps are positioned at least 1/4" from the hose ends and are tight.
  17. Reconnect Wiring: Plug the wire harness connector back onto the pump motor. Ensure it clicks securely into place.
  18. Reinstall Drain Filter: Screw the drain filter back into the filter housing. Hand-tighten firmly—do not overtighten or you'll strip the threads.
  19. Return Washer to Upright Position: Carefully lower the washer back to its normal upright position or lift it off its side.
  20. Reconnect Drain Hose: Reattach the drain hose to the standpipe or laundry sink. Ensure it's secured and won't fall out during operation.
  21. Move Washer Back: Push the washer back into position, leaving a small gap from the wall for hose clearance.
  22. Restore Water Supply: Turn on both hot and cold water supply valves.
  23. Restore Power: Plug the washer back into the electrical outlet.
  24. Test for Leaks: Run a DRAIN/SPIN cycle without clothes. Watch underneath the washer (use a flashlight) for any water leaks from hose connections or the pump area. Stop immediately if leaks are detected and recheck all connections.
  25. Full Test Cycle: Run a complete NORMAL wash cycle with a small load of towels to verify proper pump operation, drainage, and spin performance.

Before replacing the pump, check for blockages in the drain path. Remove the drain filter and inspect for coins, bobby pins, buttons, small socks, or other debris. Also check the drain hose for kinks or clogs. An estimated 30% of "pump failures" are actually just blockages. Test the old pump by blowing through the inlet—air should flow freely through to the outlet. If blocked, you may only need to clean it, not replace it.

Test the pump electrically before installing the new one. Use a multimeter to check the pump motor windings for continuity. With the pump disconnected, test across the motor terminals—you should read approximately 5-15 ohms (varies by model). An infinite reading means the motor windings are open (burned out). A reading near zero indicates a short circuit. This confirms your diagnosis.

Inspect the drain hose and filter housing. While you have access to the pump, check the drain hose for cracks, holes, or deterioration. Also inspect the filter housing for cracks—a damaged housing causes leaks and allows debris to bypass the filter and damage the new pump. Replace any damaged components now to prevent repeat failures.

Hose clamp positioning is critical. When reconnecting hoses, ensure spring clamps are positioned properly over the barbed fittings. Clamps should be at least 1/4" from the hose end. Squeeze clamps fully closed—loose clamps cause leaks and water damage to your floor. After installation, tug gently on each hose to verify it won't pull off.Foreign object check is mandatory. The #1 cause of LG pump failure is foreign objects (coins, bra wires, bobby pins) jamming the impeller. Even with a new pump installed, these objects will cause immediate failure if they're still in the system. Check the tub boot (door seal), drain hose, and filter housing for any objects. Remove everything you find.

LG-specific error code reset: After installing the new pump, LG washers may retain old error codes in memory. To clear codes and reset the system, unplug the washer for 60 seconds, then plug it back in. This clears the control board memory and allows the washer to recognize the new pump.

Break-in and priming: The new pump may make unusual gurgling or cavitation sounds for the first 1-2 cycles as it primes and purges air from the system. This is normal. If loud grinding or humming persists beyond 2 cycles, stop the washer and recheck for obstructions or improper installation.

  • Washer won't drain water (clothes soaking wet)
  • Water remains in tub at end of cycle
  • Washer displays drain error codes (OE, LE, dE, dE2)
  • Loud humming noise during drain cycle (pump motor running but not pumping)
  • Grinding or rattling noise from pump area
  • Pump motor won't start (no sound during drain cycle)
  • Washer stops mid-cycle with water in tub
  • Slow drainage (takes 10+ minutes to drain)
  • Intermittent drainage problems
  • Water leaks from bottom of washer during drain
  • Burning smell from washer during drain cycle
  • Washer drains but won't spin
  • Water drains out between cycles (pump won't hold water)
  • Visible damage or cracks in pump housing


Whirlpool refrigerator replacement parts, Frigidaire refrigerator replacement parts, GE refrigerator replacement parts, Kenmore refrigerator replacement parts, KitchenAid refrigerator replacement parts, LG refrigerator replacement parts, Maytag refrigerator replacement parts, Whirlpool refrigerator drawers and glides replacement, Whirlpool dishwasher replacement parts, GE dishwasher replacement parts, KitchenAid dishwasher replacement parts, Maytag dishwasher replacement parts, Frigidaire dishwasher replacement parts, Kenmore dishwasher replacement parts, Whirlpool washer replacement parts, GE washer replacement parts, Maytag washer replacement parts, Kenmore washer replacement parts, LG washer replacement parts, Whirlpool dryer replacement parts, GE dryer replacement parts, Maytag dryer replacement parts, Kenmore dryer replacement parts, LG dryer replacement parts, Whirlpool range replacement parts, GE range replacement parts, Whirlpool stove replacement parts, GE stove replacement parts, GE oven replacement parts, GE microwave replacement parts, buy Whirlpool refrigerator parts online, buy GE dishwasher parts online, replacement Kenmore washer parts for sale, buy Maytag dryer parts, LG washer replacement parts online, KitchenAid refrigerator parts for sale, Whirlpool stove and range replacement parts

EAU63743803 Washer Motor Pump: Enhance Your Laundry Efficiency

Discover the EAU63743803 Washer Motor Pump from XPart Supply Ltd., a certified refurbished solution designed for homeowners seeking reliable performance in their washing machines. This essential component delivers powerful cleaning action, ensuring your laundry is handled with efficiency and ease.

Key Features and Design

  • Certified Refurbished Quality: Thoroughly tested and certified for reliability, this motor pump meets high standards from XPart Supply Ltd., offering peace of mind with every use.
  • Compatibility: Seamlessly fits a range of models including F3L2CNV4W.ABWEVUS, F3L2CYV5R.ACREVUS, and LG series like WM3400CW and WM3500CW, making it a versatile choice for upgrades.
  • Efficient Design: Engineered for optimal water flow and durability, it helps maintain the smooth operation of your washer without unnecessary complications.

Performance and Benefits

This motor pump tackles common laundry issues like inefficient cycles and incomplete drainage, saving you time and energy while extending the life of your appliance. By choosing this refurbished option from XPart Supply Ltd., you gain a cost-effective way to restore your washing machine's performance, ensuring cleaner clothes and a more dependable household routine for everyday use.

Efficiently wash your clothes with the EAU63743803 Washer Certified Refurbished Motor Pump. This powerful pump ensures a thorough cleaning of your laundry, saving you time and energy. With its certification, you can trust in its reliability and quality, giving you peace of mind. Upgrade your washing experience today.

Supported Models:

F3L2CNV4W.ABWEVUS, F3L2CYV5R.ACREVUS, F3L2CYV5T.ASSEVUS, F3L2CYV5W.ABWEVUS, F3P1CYV5T.ASSEVUS, F3P1CYV5W.ABWEVUS, F3U8CNV3W.ABWEVUS, F3U8CNV3WQ.ABWEVUS, WM3400CW, WM3400CW, WM3470CM, WM3470CW, WM3500CW, WM3500CW, WM3500CW, WM3500CW, WM3500CW, WM3500CW, WM3500CW, WM3500CW, WM3500CW, WM3500CW, WM3500CW, WM3500CW, WM3600HVA, WM3600HVA, WM3600HVA, WM3600HWA, WM3600HWA, WM3600HWA


Hard to find parts? We've got them or we'll find them!

Over 10,000 New & Used Parts Ready for Pickup

Show this item number to our store staff to help locate the exact part you need
XPART GTIN/UPC NUMBER
9665305805089

XPart Supply Advantage

Your trusted partner for fast, reliable parts delivery across North America

Lightning Fast Shipping

Same-day processing with expedited delivery options across North America

Massive Inventory

Over 10,000 parts in stock and ready to ship immediately

North America Coverage

Comprehensive shipping network covering USA, Canada, and Mexico

Quality Guaranteed

Premium parts with warranty protection and expert customer support

10K+
Parts in Stock
24-48H
Local Delivery
99.8%
Customer Satisfaction
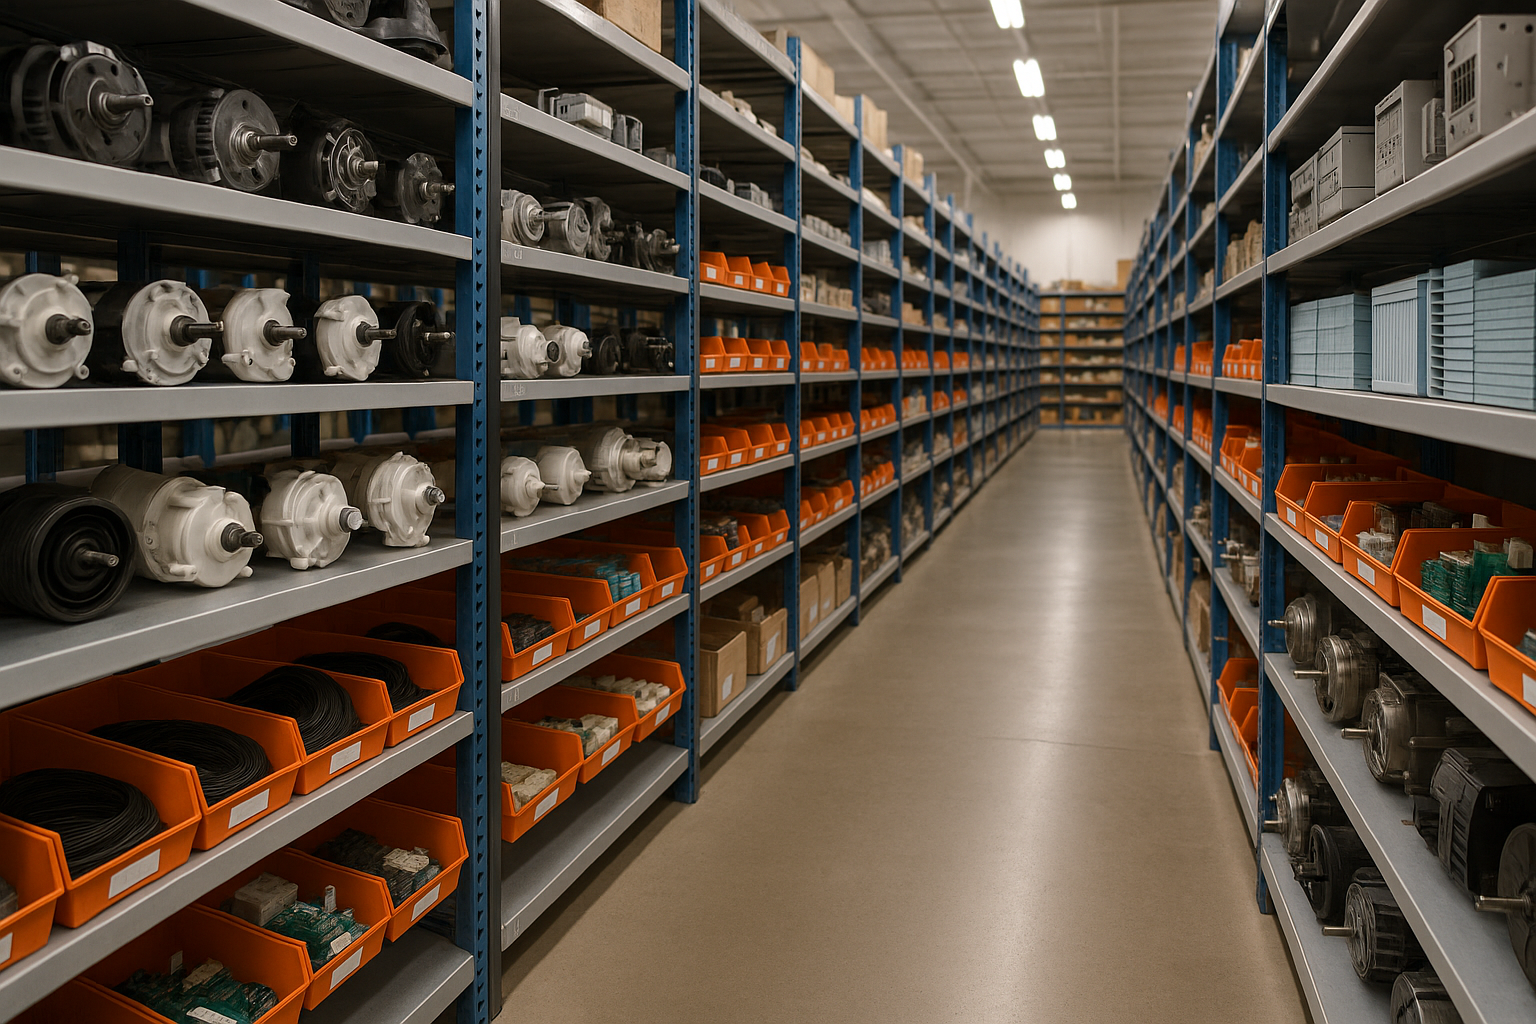
Professional appliance parts warehouse with organized shelving and extensive inventory

Express Warehouse Shipping

Order within the countdown for same-day shipping!

00 Hours
00 Minutes
00 Seconds

In stock orders placed during business hours ship the same day.

Order of $75 or more of eligible items qualify for FREE Shipping.

Same-day shipping deadline has passed

Orders placed now will ship the next business day.

Same-day shipping deadline has passed

Orders placed outside business hours will be processed when we reopen.

Business Hours: Monday - Friday, 9:00 AM - 5:00 PM EST

Trusted Family Business

29 years of Excellence in Appliance Parts

For over 29 years, our family has been dedicated to providing quality appliance parts and exceptional service. What started as a small local business has grown into a trusted name, but we've never forgotten our roots. Every customer receives the personal attention and care that only a family-owned business can provide.

Years of Experience

Our knowledge has been built over the past 29 years in the business, ensuring expert advice for every appliance need.

Personal Service Guarantee

We treat every customer like family, providing personalized solutions and standing behind our products.

Built on Trust

Our reputation has been built one satisfied customer at a time, creating lasting relationships in our community.

Buy Online Pick Up In-Store

Address
101 Trillium Dr
Kitchener, Ontario N2R 1J8
Phone
Hours
Monday - Friday 9:00 AM - 5:00 PM
Get Directions

Contact Us Customer Service

Hard to find parts? We've got them or we'll find them!

Call now for expert appliance parts assistance

Available Monday - Friday, 9AM - 5PM EST