DG47-00072A Heater Radiant-Bridge (replaces DG47-00066A, DG47-00059A)

Samsung 887276115900

Price
$313.50
Buying Options : New

Product variant with selected options does not exist!

Frequently Bought Together

Radiant Bridge Element, Dual Surface Element, Bridge Heating Element, Cooktop Bridge Element, Surface Burner Bridge, Range Bridge Element

DG47-00066A, DG47-00059A, DG47-00072A, AP6244855, PS12086120, EAP12086120, PD00065196

Samsung

Fits Models: (Ctrl+F and Enter Your Model Number)

NE58F9500SS, NE58F9500SS/AA, NE58F9500SS/AA-00, NE58F9500SS/AA-01, NE58F9710SS, NE58F9710SS/AA, NE58F9710SS/AA-00, NE58F9710SS/AA-01, NE58K9500SG, NE58K9500SG/AA, NE58K9500SG/AA-00, NE58K9500SG/AA-01, NE58K9850WG, NE58K9850WG/AA, NE58K9850WG/AA-00, NE58K9850WG/AA-01, NE59J7630SS, NE59J7630SS/AA, NE59J7630SS/AA-00, NE59J7630SS/AA-01, NE59J7850SS, NE59J7850SS/AA, NE59J7850SS/AA-00, NE59J7850SS/AA-01, NE59M6850SS, NE59M6850SS/AA, NE59M6850SS/AA-00, NE59M6850SS/AA-01, NE59M6851SS, NE59M6851SS/AA, NE59M6851SS/AA-00, NE59M6851SS/AA-01, NE63A6511SS, NE63A6511SS/AA, NE63A6511SS/AA-00, NE63A6511SS/AA-01, NE63A6711SS, NE63A6711SS/AA, NE63A6711SS/AA-00, NE63A6711SS/AA-01, NE63T8751SS, NE63T8751SS/AA, NE63T8751SS/AA-00, NE63T8751SS/AA-01

Professional Repair Time: 20-30 minutes
DIY Repair Time: 30-50 minutes
Difficulty Rating: Easy-Moderate (2/5) — Requires basic mechanical skills, careful handling of electrical connections, understanding of cooktop element mounting, attention to safety with high-temperature components, proper wire labeling for dual-zone connections

CRITICAL SAFETY WARNING: This repair involves working with high-temperature components and potentially 240 volts AC electrical power. Always turn off the circuit breaker and unplug the range before beginning work. Wear work gloves to protect your hands from sharp edges and heat. Allow the cooktop to cool completely before working on it. If you are not comfortable working with electrical systems, hire a qualified appliance repair technician.

  1. Turn off the circuit breaker that supplies power to the range at the main electrical panel. This is critical for safety when working with electrical systems.
  2. Unplug the range from the electrical outlet (if accessible) to ensure complete power disconnection.
  3. Verify power is off by attempting to turn on the range. The range should not respond and the display should be blank.
  4. Allow the cooktop to cool completely before working on it. The cooktop surface and elements can remain extremely hot for several hours after use. Use caution to avoid burns.
  5. Take multiple photos of the bridge element installation, mounting position, terminal connections, and how the element attaches to the cooktop before removal. Document from multiple angles. This is absolutely critical for proper reassembly. Use a camera or smartphone to capture high-quality images.
  6. Locate the radiant bridge element on the cooktop surface (typically a long, narrow element connecting two heating zones in the center or rear of the cooktop).
  7. Take additional detailed photos of the element terminal connections and mounting method before disconnecting.
  8. Identify the mounting method for the bridge element. The element may be secured with mounting screws or a snap-fit mounting system. Refer to your photos and range service manual to determine the mounting method for your model.
  9. If the element is secured with screws: Locate the mounting screws (typically 2-4 screws underneath the cooktop surface or on the element mounting bracket). Remove the screws using a Phillips screwdriver or nut driver. Set the screws aside in a safe location.
  10. If the element is secured with a snap-fit system: Lift the element straight up and out of the cooktop. The element should slide out of the mounting clips or snap-fit connectors.
  11. Carefully lift or pull the old bridge element out of the cooktop and place it on a clean work surface with adequate space for inspection. Important: The element may still be hot even if the range has been off for some time. Use caution to avoid burns.
  12. Disconnect the wire harness or terminal connectors from the old element by pulling the connectors straight off the element terminals. Note the wire colors and positions for proper reconnection. Use needle-nose pliers to pull the connectors if they are tight—do not pull on the wires.
  13. Label the wires with masking tape or labels indicating their positions (e.g., "Zone 1", "Zone 2", "Common") to ensure correct reconnection.
  14. Inspect the old bridge element for visible damage such as broken or burned heating coil, cracked or damaged element body, corroded electrical terminals, poor electrical contact points, or uneven heating patterns. This confirms the diagnosis.
  15. Test the old bridge element with a multimeter to confirm failure. Set the multimeter to measure resistance (ohms). Test between each pair of heating element terminals (not including ground, if present). A functioning heating element should show resistance between 20-60 ohms per zone (typically 30-50 ohms for a 1200-1800W zone at 240V). If the reading is infinite (open circuit) for one or both zones, the heating coil is broken. If the reading is near zero, there is a short circuit.
  16. Inspect the cooktop mounting area for damage, corrosion, or debris. Clean the mounting area if necessary using a dry cloth.
  17. Inspect the wire harness connectors for corrosion, damage, or burned terminals. Clean or replace the connectors if necessary.
  18. Unpack the new DG47-00072A bridge element from its packaging. Handle carefully to avoid damaging the heating coils or terminals.
  19. Verify the bridge element specifications match the old element: length approximately 6-12 inches (bridge configuration), dual heating zone design, electrical terminal configuration (multiple terminals for zone control), wattage rating (2400-3600W bridge mode), voltage rating (240V AC), mounting method (screw or snap-fit).
  20. Compare the new bridge element to the old one to verify the dimensions, heating zone design, terminal positions, wattage rating, and overall appearance match. Ensure you have the correct replacement part.
  21. Inspect the new bridge element for any damage or defects before installation. The element should be intact with no visible cracks, breaks, or damage. The heating coils should be intact and undamaged. The electrical terminals should be clean and undamaged.
  22. Connect the wire harness or terminal connectors to the new element by pushing the connectors onto the element terminals. Refer to your detailed photos and wire labels to ensure correct connections. Push the connectors firmly onto the terminals until they are fully seated.
  23. Verify all electrical connections are secure by gently tugging on each connector. The connectors should not pull off—they should be firmly seated.
  24. Position the new bridge element on the cooktop, aligning the mounting holes (if screw-mounted) or the snap-fit connectors (if snap-fit mounted) with the mounting points on the cooktop.
  25. If the element is secured with screws: Align the mounting holes on the element with the mounting holes on the cooktop. Install the mounting screws and tighten using a Phillips screwdriver or nut driver. Tighten firmly but do not overtighten, which can crack the element or strip the mounting holes.
  26. If the element is secured with a snap-fit system: Push the element straight down into the cooktop until you hear or feel a click, indicating the element is fully seated in the snap-fit connectors.
  27. Verify the bridge element is securely mounted by gently pulling on the element. The element should not move or shift—it should be firmly seated.
  28. Double-check all connections by comparing your installation to your detailed photos. Verify the element is properly positioned and all connections are secure.
  29. Restore power by plugging in the range (if applicable) and turning on the circuit breaker.
  30. Turn on the range and set one zone of the bridge element control to a medium heat setting.
  31. Verify the single zone heats properly by observing the element for 2-3 minutes. The element should begin glowing red or orange within 30-60 seconds, indicating proper heating.
  32. Turn off the single zone and set the bridge element control to bridge mode (connecting both zones).
  33. Verify both zones heat properly in bridge mode by observing the element for 2-3 minutes. Both zones should glow red or orange, indicating proper heating across the entire bridge element.
  34. Verify the element glows evenly across the entire heating surface. The element should glow uniformly without hot spots or cold spots.
  35. Verify the element responds to control adjustments by turning the control to different heat settings. The element should heat up or cool down in response to the control position.
  36. Allow the element to heat for 5-10 minutes to verify sustained, consistent heating without cycling on and off.
  37. Turn off the element by turning the control to the off position.
  38. Allow the element to cool before testing additional cooktop elements or using the range for cooking.
  39. Test the bridge element multiple times over several days to ensure consistent, reliable operation in both single-zone and bridge modes.
  40. Monitor the element for the first few weeks to ensure it operates properly without issues.

Safety Notes: Always turn off the circuit breaker and unplug the range before working on it to prevent electrical shock. Allow the cooktop to cool completely before working on it to avoid burns. Wear work gloves to protect your hands from sharp edges and residual heat. Do not overtighten mounting screws, which can crack the element or strip the mounting holes. Verify the element is properly seated before restoring power. Label all wires before disconnecting to ensure correct reconnection. This repair requires minimal mechanical skills but careful attention to safety—most homeowners can complete this repair successfully with proper precautions and documentation.

  1. Take detailed photos before removing the old bridge element. Document the mounting method, terminal connections, wire colors, and element position from multiple angles. These photos are critical for ensuring correct installation of the new element, especially since bridge elements have multiple terminals for dual-zone control. Label each wire with its terminal position before disconnecting.
  2. Test the old bridge element with a multimeter to confirm failure before replacement. Set the multimeter to measure resistance (ohms) and test between each pair of heating element terminals. A functioning zone should show resistance between 20-60 ohms (typically 30-50 ohms for a 1200-1800W zone at 240V). Test each zone separately to identify partial failures. If one zone reads infinite (open circuit), that zone's heating coil is broken. This test confirms the diagnosis and prevents unnecessary replacement.
  3. Allow the cooktop to cool completely before working on the bridge element. The cooktop surface and elements can remain extremely hot for several hours after use, even if the range has been off. Use caution to avoid burns. If you must work on a warm cooktop, wear heat-resistant gloves and use caution.
  4. Verify all wire harness connectors are fully seated on the element terminals. Push each connector firmly onto its terminal until it is fully seated and secure. A partially seated connector will cause intermittent heating, arcing, or electrical shorts. After connecting, gently tug on each connector to verify it is secure and will not pull off. Bridge elements have multiple terminals for dual-zone control—verify each connection is correct according to your photos and wire labels.
  5. Inspect the cooktop mounting area for corrosion or debris before installing the new element. Remove any corrosion, debris, or residue from the mounting area using a dry cloth or a soft brush. A clean mounting surface ensures proper electrical contact and secure mounting.
  6. Do not overtighten the mounting screws when securing the element to the cooktop. Overtightening can crack the element or strip the mounting holes. Tighten the screws firmly but not excessively—tighten until the element is snug and secure, then stop.
  7. The bridge element provides dual functionality: single-zone mode (1200-1800W per zone) and bridge mode (2400-3600W total). Test both modes after installation to verify proper operation. In single-zone mode, only one side should heat. In bridge mode, both sides should heat simultaneously, creating one large continuous heating area for oversized cookware such as griddles or large roasting pans.
  8. Verify the element glows evenly across the entire bridge length after installation. The element should glow uniformly with consistent intensity across both zones. Uneven glowing indicates improper installation, poor electrical contact, or a defective element. If uneven glowing is observed, stop and verify the installation and all wire connections.
  9. The bridge element typically reaches temperatures of 1000-1200°F during operation. Never touch the element while it is hot or shortly after use. Allow adequate time for the element to cool before handling. Use caution when working near the cooktop to avoid burns. The element can remain hot for 30-60 minutes after being turned off.
  10. The bridge element is a high-wear component that typically fails after 5-10 years of regular use. With average use (daily cooking), the element typically lasts 7-10 years before failure. Replace the element promptly when failure is detected to restore reliable cooktop operation. This repair is cost-effective compared to range replacement—the cost of bridge element replacement ($120-200) is far less than the cost of a new range ($1,500-4,000+). Proper cookware selection and careful use extend element life.
  • Bridge element not heating at all (no heat production in either zone)
  • Only one zone heating (partial element failure)
  • Bridge element heating intermittently or inconsistently (cycling on and off)
  • Bridge element heating slowly or producing insufficient heat
  • Bridge element glowing unevenly or having hot spots and cold spots
  • Bridge element making crackling or popping sounds during operation
  • Bridge element not responding to control adjustments
  • Bridge mode not working (zones won't connect)
  • Element appearing visibly damaged or cracked
  • Poor electrical contact between element and terminals
  • Element not glowing or producing visible heat
  • Uneven heat distribution across bridge element surface
  • Element failing to maintain consistent temperature
  • Heating coil broken or burned out in one or both zones


Whirlpool refrigerator replacement parts, Frigidaire refrigerator replacement parts, GE refrigerator replacement parts, Kenmore refrigerator replacement parts, KitchenAid refrigerator replacement parts, LG refrigerator replacement parts, Maytag refrigerator replacement parts, Whirlpool refrigerator drawers and glides replacement, Whirlpool dishwasher replacement parts, GE dishwasher replacement parts, KitchenAid dishwasher replacement parts, Maytag dishwasher replacement parts, Frigidaire dishwasher replacement parts, Kenmore dishwasher replacement parts, Whirlpool washer replacement parts, GE washer replacement parts, Maytag washer replacement parts, Kenmore washer replacement parts, LG washer replacement parts, Whirlpool dryer replacement parts, GE dryer replacement parts, Maytag dryer replacement parts, Kenmore dryer replacement parts, LG dryer replacement parts, Whirlpool range replacement parts, GE range replacement parts, Whirlpool stove replacement parts, GE stove replacement parts, GE oven replacement parts, GE microwave replacement parts, buy Whirlpool refrigerator parts online, buy GE dishwasher parts online, replacement Kenmore washer parts for sale, buy Maytag dryer parts, LG washer replacement parts online, KitchenAid refrigerator parts for sale, Whirlpool stove and range replacement parts

Samsung DG47-00072A Heater Radiant-Bridge

The DG47-00072A is a genuine OEM radiant bridge heating element for Samsung ranges. This bridge element is a critical component that provides radiant heating to an expandable cooking area on the cooktop surface, allowing users to bridge two individual heating zones into one large heating area for oversized cookware such as griddles, large roasting pans, or multiple pots. The radiant bridge element is a complete, self-contained unit constructed from a durable metal base or frame (typically stainless steel or aluminum), dual radiant heating coils or elements (typically nichrome wire or ceramic-coated metal, rated for high-temperature operation), electrical terminals or connectors for power connection (typically multiple terminals for independent zone control), and a mounting base or bracket for secure attachment to the cooktop frame. The assembly measures approximately 6-12 inches in length (bridge configuration connecting two heating zones), with a width of approximately 0.5-1 inch, weighing approximately 1-2 pounds. The radiant bridge element mounts to the cooktop surface with mounting screws or a snap-fit mounting system, and connects to the range's electrical system via a wire harness or direct terminal connection. The DG47-00072A replaces older part numbers including DG47-00066A, DG47-00059A, AP6244855, PS12086120, EAP12086120, PD00065196, and others with improved heating efficiency, durability, and dual-zone control. The radiant bridge element operates through electrical resistance heating with dual-zone capability: (1) when the cooktop control is set to use a single heating zone, only one side of the bridge element receives power (typically 1200-1800W for a single zone); (2) when the cooktop control is set to bridge mode, both sides of the bridge element receive power simultaneously, creating one large continuous heating area (typically 2400-3600W total for bridge mode); (3) the electrical current flows through the high-resistance heating coils, generating heat through resistive heating (I²R heating); (4) the heating coils reach temperatures of 1000-1200°F, glowing red or orange; (5) the radiant heat transfers to cookware placed on the element, heating the food inside; (6) the control knob or touch control adjusts the power level (typically 6-10 heat settings), cycling the element on and off to maintain the selected temperature; (7) when the control is turned to the off position, power is cut to the element and it cools down. The radiant bridge element typically operates at 240V AC with dual power ratings: single zone mode (1200-1800W, approximately 5-7.5 amps) and bridge mode (2400-3600W, approximately 10-15 amps), providing sufficient heat output for efficient cooking with both standard and oversized cookware. Over time, range bridge elements can fail due to heating coil breakage or burnout (from age, thermal stress, or electrical surge), element cracking or damage (from impact or thermal shock), electrical terminal corrosion or damage (preventing proper electrical connection), poor electrical contact between element and terminals (causing intermittent heating or no heating), element not heating evenly (hot spots or cold spots), one zone heating but not the other (partial element failure), or manufacturing defects. When the bridge element fails, symptoms include the bridge element not heating at all (no heat production in either zone), only one zone heating (partial element failure), the element heating intermittently or inconsistently (cycling on and off), the element heating slowly or producing insufficient heat, the element glowing unevenly or having hot spots and cold spots, the element making crackling or popping sounds during operation, the element not responding to control adjustments, bridge mode not working (zones won't connect), or the element appearing visibly damaged or cracked. The DG47-00072A is a complete replacement radiant bridge element that restores full heating capacity in both single-zone and bridge modes and eliminates all heating-related problems. Replacing a faulty bridge element eliminates all heating problems and restores reliable, efficient cooktop operation with expandable cooking area capability. Important: Always turn off the circuit breaker and unplug the range before working on it to prevent electrical shock. This is a moderately simple repair requiring minimal mechanical skills but careful handling of electrical connections and high-temperature components. Verify your range model number before ordering. Test the old bridge element before replacement to confirm element failure. This repair can be completed by most homeowners with basic mechanical skills and careful attention to detail.

Part number DG47-00072A replaces DG47-00066A, DG47-00059A, DG4700066A, DG4700059A, DG4700072A

Hard to find parts? We've got them or we'll find them!

Over 10,000 New & Used Parts Ready for Pickup

Show this item number to our store staff to help locate the exact part you need
XPART GTIN/UPC NUMBER
9694847205665

XPart Supply Advantage

Your trusted partner for fast, reliable parts delivery across North America

Lightning Fast Shipping

Same-day processing with expedited delivery options across North America

Massive Inventory

Over 10,000 parts in stock and ready to ship immediately

North America Coverage

Comprehensive shipping network covering USA, Canada, and Mexico

Quality Guaranteed

Premium parts with warranty protection and expert customer support

10K+
Parts in Stock
24-48H
Local Delivery
99.8%
Customer Satisfaction
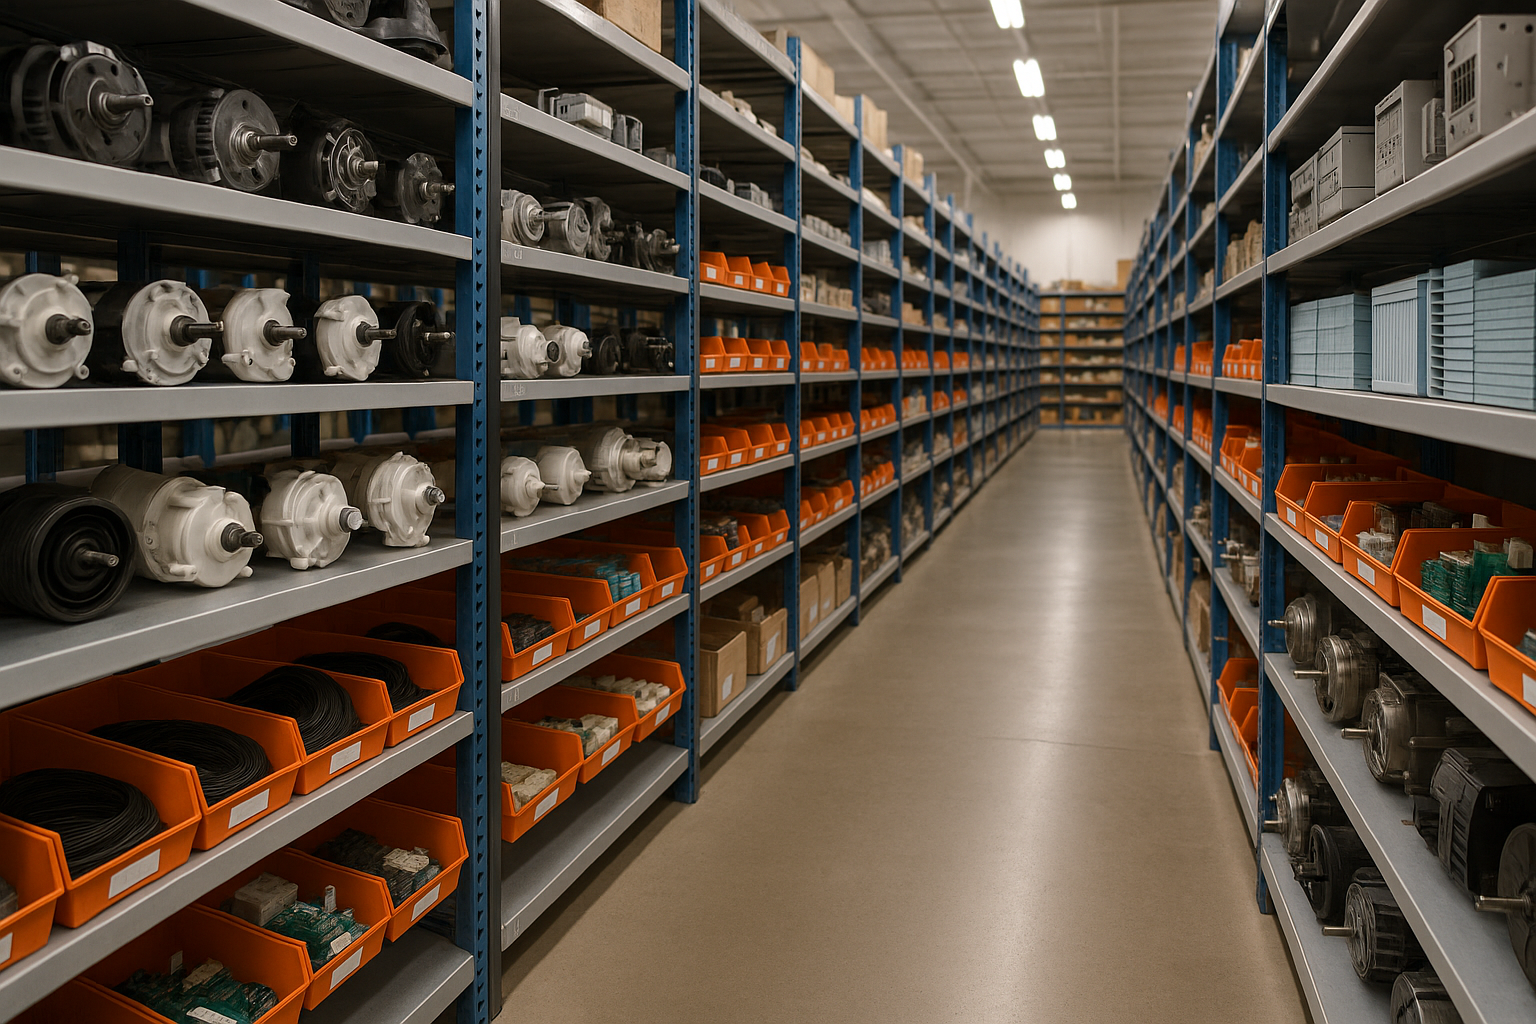
Professional appliance parts warehouse with organized shelving and extensive inventory

Express Warehouse Shipping

Order within the countdown for same-day shipping!

00 Hours
00 Minutes
00 Seconds

In stock orders placed during business hours ship the same day.

Order of $75 or more of eligible items qualify for FREE Shipping.

Same-day shipping deadline has passed

Orders placed now will ship the next business day.

Same-day shipping deadline has passed

Orders placed outside business hours will be processed when we reopen.

Business Hours: Monday - Friday, 9:00 AM - 5:00 PM EST

Trusted Family Business

29 years of Excellence in Appliance Parts

For over 29 years, our family has been dedicated to providing quality appliance parts and exceptional service. What started as a small local business has grown into a trusted name, but we've never forgotten our roots. Every customer receives the personal attention and care that only a family-owned business can provide.

Years of Experience

Our knowledge has been built over the past 29 years in the business, ensuring expert advice for every appliance need.

Personal Service Guarantee

We treat every customer like family, providing personalized solutions and standing behind our products.

Built on Trust

Our reputation has been built one satisfied customer at a time, creating lasting relationships in our community.

Buy Online Pick Up In-Store

Address
101 Trillium Dr
Kitchener, Ontario N2R 1J8
Phone
Hours
Monday - Friday 9:00 AM - 5:00 PM
Get Directions

Contact Us Customer Service

Hard to find parts? We've got them or we'll find them!

Call now for expert appliance parts assistance

Available Monday - Friday, 9AM - 5PM EST