W11034363 Refrigerator Ice Maker Electronic Control Board

XPart Supply Ltd.

Sale price
$404.44
Regular price
$425.41
You save
$20.97 (5%)
Condition: New

Product variant with selected options does not exist!

Frequently Bought Together

W10882923, W10854037, W10316320, W10866551, W10745484, PS11756782, AP6022824, 8564352, 8564353

Fits Models: (Ctrl+F and Enter Your Model Number)

Whirlpool: WRF535SWHZ00, WRF535SWHZ01, WRF535SWHZ02, WRF540CWHZ00, WRF540CWHZ01, WRF555SDFZ00, WRF555SDFZ01, WRF560SEYM00, WRF560SEYM01, WRF560SMHZ00

Whirlpool (continued): WRF560SMHZ01, WRF560SMHZ02, WRF767SDHZ00, WRF767SDHZ01, WRF767SDHZ02, WRF989SDAF00, WRF989SDAF01, WRF989SDAF02, WRS315SDHZ00, WRS315SDHZ01

KitchenAid: KRFC300ESS00, KRFC300ESS01, KRFC300ESS02, KRFC302ESS00, KRFC302ESS01, KRFC704FPS00, KRFC704FPS01, KRFF305ESS00, KRFF305ESS01, KRFF507HPS00

KitchenAid (continued): KRFF507HPS01, KRFF507HPS02, KRMF706ESS00, KRMF706ESS01, KRMF706ESS02, KRMF706EBS00, KRMF706EBS01, KRMF706EBS02, KRSF505ESS00, KRSF505ESS01

Maytag: MFT2776FEZ00, MFT2776FEZ01, MFT2776FEZ02, MFW2055FRZ00, MFW2055FRZ01, MFW2055YEM00, MFW2055YEM01, MFF2558FEZ00, MFF2558FEZ01, MFF2558VEM00

Jenn-Air: JFC2089BEM00, JFC2089BEM01, JFC2089HEP00, JFC2089HEP01, JFC2290VEM00, JFC2290VEM01, JFX2897DRM00, JFX2897DRM01, JFX2897DRP00, JFX2897DRP01

Amana: AFI2539ERM00, AFI2539ERM01, AFI2539ERM02, ASI2575FRS00, ASI2575FRS01, ASI2575GRS00, ASI2575GRS01, ASD2575BRS00, ASD2575BRS01, ASD2575BRW00

Note: This is a partial list. This ice maker control board is used in many Whirlpool-manufactured refrigerators with modular ice makers built between 2010-2024. Verify your specific model number for compatibility before ordering. Control boards are model-specific—using an incompatible board will cause malfunction.

Required Tools:

  • Phillips screwdriver
  • Flathead screwdriver
  • 1/4" nut driver (optional)
  • Needle-nose pliers
  • Work gloves
  • Flashlight
  • Towel (to protect freezer surfaces)
  • Camera or smartphone (for reference photos)

Step-by-Step Installation:

  1. Disconnect Power: Unplug the refrigerator from the electrical outlet or turn off the circuit breaker. Never work on the refrigerator with power connected.
  2. Shut Off Water Supply: Turn off the water supply valve that feeds the refrigerator (typically located behind or under the refrigerator, or under the sink). Turn the valve clockwise until fully closed.
  3. Open Freezer Door: Fully open the freezer door to access the ice maker assembly.
  4. Remove Ice Bucket: Pull out the ice bucket or ice storage bin from the freezer. Empty any ice and set the bucket aside.
  5. Locate Ice Maker Assembly: With the ice bucket removed, you'll see the ice maker assembly mounted to the freezer wall or ceiling. The control board is integrated into the ice maker housing.
  6. Take Reference Photos: Before disconnecting anything, take clear photos of the ice maker showing wire harness connections, mounting orientation, and any sensor positions.
  7. Disconnect Wire Harness: Locate the wire harness connector that connects the ice maker to the refrigerator's electrical system (typically a multi-pin connector). Press the release tab and carefully pull the connector apart. Do not pull on the wires themselves, only the connector housing.
  8. Remove Ice Maker Mounting Hardware: The ice maker assembly is secured to the freezer wall with mounting screws or clips (typically 2-4 screws). Remove all mounting screws. Keep these screws—you'll need them for reinstallation.
  9. Remove Ice Maker Assembly: Once the wire harness and mounting hardware are disconnected, carefully lift the entire ice maker assembly away from the freezer wall. Maneuver it out of the freezer compartment.
  10. Inspect Ice Maker: With the ice maker removed, examine it for visible damage: ice buildup, frost, or water damage. This helps identify the cause of failure.
  11. Locate Control Board: The control board is typically located on the side or front of the ice maker housing. It may be under a cover or integrated into the housing.
  12. Remove Control Board Cover (if applicable): If the control board has a protective cover, remove screws securing the cover (typically 2-4 screws) and lift the cover off.
  13. Photograph Control Board Connections: Take close-up photos of all wire connections to the control board, showing wire colors, connector positions, and orientation.
  14. Disconnect Control Board Wires: The control board has wire connectors for various components (motor, heater, sensors, etc.). Carefully disconnect each connector one at a time:Press release tabs on each connectorPull connectors straight off—do not pull on wiresKeep track of which connector goes where using your photos
  15. Remove Control Board Mounting Hardware: The control board is secured with mounting screws or clips (typically 2-4 fasteners). Remove all mounting hardware.
  16. Remove Old Control Board: Once all connections and mounting hardware are removed, carefully lift the old control board away from the ice maker housing.
  17. Inspect Old Control Board: Examine the old board for visible damage: burned components, melted plastic, corrosion, or moisture damage. This confirms the diagnosis and identifies the cause of failure.
  18. Compare Old and New Boards: Remove the new control board from its packaging (use anti-static precautions—touch a grounded metal surface before handling). Compare the new board to the old board:Verify connector locations match exactlyCheck that mounting hole positions are identicalConfirm part numbers match or are compatible
  19. Position New Control Board: Carefully position the new control board into the mounting location on the ice maker housing. Align mounting holes with the housing mounting points.
  20. Install Control Board Mounting Hardware: Secure the control board with mounting screws or clips. Tighten screws firmly but do not overtighten—excessive force can crack the plastic housing or damage the board.
  21. Reconnect Control Board Wires: Using your reference photos, reconnect all wire connectors to the new control board:Match each connector to its correct port on the boardEnsure connectors are oriented correctlyPush each connector straight on until you hear or feel a clickVerify locking tabs engage on each connectorGently tug each connector to ensure it's fully seated
  22. Verify All Connections: Before reinstalling the ice maker, verify that:All wire connectors are attached to the correct portsNo connectors are loose or partially connectedNo wires are pinched or damagedAll locking tabs are engaged
  23. Reinstall Control Board Cover (if applicable): If the control board has a protective cover, position it back over the board and secure with all mounting screws.
  24. Position Ice Maker Assembly: Carefully position the ice maker assembly back into the freezer, aligning it with the mounting holes on the freezer wall.
  25. Install Ice Maker Mounting Hardware: Secure the ice maker with mounting screws. Tighten screws firmly but do not overtighten.
  26. Reconnect Wire Harness: Plug the wire harness connector back together, connecting the ice maker to the refrigerator's electrical system. Push the connector straight on until you hear or feel a click.
  27. Verify Ice Maker Position: Ensure the ice maker is properly aligned and positioned. The ice mold should be level and the ejector mechanism should have clearance to operate.
  28. Reinstall Ice Bucket: Slide the ice bucket back into the freezer compartment.
  29. Restore Water Supply: Turn on the water supply valve by turning it counterclockwise until fully open.
  30. Restore Power: Plug the refrigerator back into the electrical outlet or turn on the circuit breaker.
  31. Initial Power-Up: When power is restored, the control board will initialize. The ice maker may run through a test cycle or reset sequence. This is normal.
  32. Test Ice Maker Operation: Depending on your model, you may be able to initiate a test cycle:Press and hold the test button (if equipped) for 3-5 secondsThe ice maker should run through a harvest cycleListen for the motor running and water fillingObserve the ejector mechanism operating
  33. Monitor First Ice Production Cycle: The ice maker will begin a new ice production cycle. This typically takes 2-4 hours for the first batch of ice:Water should fill the ice moldIce should freeze (allow 2-4 hours)Ice maker should harvest and eject ice cubesIce bucket should begin filling with ice
  34. Verify Water Fill: During the first cycle, verify water enters the ice mold. You should hear water flowing for 5-10 seconds when the fill cycle activates.
  35. Check for Leaks: Monitor the ice maker area for any water leaks during the fill cycle and harvest cycle.
  36. Monitor for 24 Hours: Allow the ice maker to run for 24 hours and produce multiple batches of ice. Verify:Ice production is consistentIce cubes are fully formed and proper sizeIce maker cycles normally (fill, freeze, harvest, eject)No error codes or flashing lightsIce bucket fills properly
  37. Verify Ice Quality: Check the ice cubes for proper formation, size, and clarity. Ice should be solid, well-formed, and free of defects.

Diagnose before replacing—ice maker control boards are expensive and often misdiagnosed. The ice maker control board is one of the more expensive ice maker components ($80-150), and it's frequently replaced unnecessarily. Before ordering a control board, systematically test other components: water inlet valve (test for 120V power and valve operation), ice maker motor (test for continuity and proper operation), ice maker heater (test for continuity—should read 50-150 ohms), optical sensors (test for proper operation and cleanliness), and water supply (verify adequate water pressure and flow). An estimated 40% of control board replacements are unnecessary—the actual problem is a failed water valve ($30-50), clogged water filter ($20-40), low water pressure, or frozen water line. A $30 water valve can cause the same symptoms as a $120 control board.

Check for frozen water lines before replacing the control board. If your ice maker stopped producing ice or fills slowly, the problem is often a frozen water supply line, not a failed control board. The water line that feeds the ice maker can freeze due to low freezer temperature, poor insulation, or restricted airflow. Before ordering a control board, inspect the water line for ice blockage. Thaw the line with a hair dryer (on low heat) and verify water flows freely. Installing a new control board won't fix a frozen water line—the ice maker will fail again immediately.

Clean the optical sensors. Many modern ice makers use optical sensors (infrared emitters and receivers) to detect ice levels and mold position. If these sensors are dirty, covered with frost, or misaligned, the control board receives incorrect signals and ice production stops. Before replacing the control board, clean all optical sensors with a soft cloth and ensure they're free of frost, ice, or debris. Misaligned or dirty sensors cause 20-30% of "control board failures" that aren't actually board failures.

Verify adequate water pressure and flow. Ice makers require minimum water pressure (typically 20 PSI) to fill properly. Low water pressure from the house supply, a clogged water filter, or a partially closed water valve causes slow fill, incomplete fill, or no fill symptoms that mimic control board failure. Before replacing the control board, test water pressure by activating the water dispenser (if equipped)—water should flow forcefully. Replace the water filter if it's more than 6 months old. Check that the water supply valve is fully open. Installing a new control board won't fix low water pressure problems.

Test the ice maker motor and heater before replacing the board. The control board sends signals to the motor and heater, but if these components are failed, the ice maker won't work even with a new control board. Before ordering a control board, test the motor for continuity (should read 200-500 ohms) and the heater for continuity (should read 50-150 ohms). If either component tests bad, replace it instead of the control board. An estimated 25% of "control board failures" are actually failed motors or heaters.

Control boards are non-returnable and non-refundable. Almost all appliance parts suppliers have strict no-return policies on control boards because they're easily damaged by incorrect installation, static electricity, or misdiagnosis. Once you install a control board and apply power, it cannot be returned even if it doesn't fix the problem. This makes accurate diagnosis absolutely critical before ordering. If you're not confident in your diagnosis, hire a professional technician—paying $150 for a service call is cheaper than buying the wrong $120 control board.

Replace the entire ice maker assembly if multiple components are failing. If your ice maker control board failed and the ice maker is 8+ years old, consider replacing the entire ice maker assembly ($150-200) instead of just the control

  • Ice maker not producing ice
  • Ice maker not filling with water
  • Ice maker overfilling (too much water in mold)
  • Ice maker not ejecting ice cubes
  • Ice maker stuck in one position (won't cycle)
  • Ice maker running continuously without stopping
  • Ice cubes not fully formed (small or hollow)
  • Ice maker not harvesting ice
  • Ice maker motor not running
  • Ice maker heater not activating
  • Error codes or flashing lights on ice maker
  • Intermittent ice production (works sometimes, not others)
  • Ice maker freezes up (ice buildup on mechanism)
  • Ice maker makes unusual noises but doesn't produce ice
  • Ice production stopped suddenly
  • Ice maker cycles but no ice produced
  • Visible damage to control board (burned components, corrosion)


Whirlpool refrigerator replacement parts, Frigidaire refrigerator replacement parts, GE refrigerator replacement parts, Kenmore refrigerator replacement parts, KitchenAid refrigerator replacement parts, LG refrigerator replacement parts, Maytag refrigerator replacement parts, Whirlpool refrigerator drawers and glides replacement, Whirlpool dishwasher replacement parts, GE dishwasher replacement parts, KitchenAid dishwasher replacement parts, Maytag dishwasher replacement parts, Frigidaire dishwasher replacement parts, Kenmore dishwasher replacement parts, Whirlpool washer replacement parts, GE washer replacement parts, Maytag washer replacement parts, Kenmore washer replacement parts, LG washer replacement parts, Whirlpool dryer replacement parts, GE dryer replacement parts, Maytag dryer replacement parts, Kenmore dryer replacement parts, LG dryer replacement parts, Whirlpool range replacement parts, GE range replacement parts, Whirlpool stove replacement parts, GE stove replacement parts, GE oven replacement parts, GE microwave replacement parts, buy Whirlpool refrigerator parts online, buy GE dishwasher parts online, replacement Kenmore washer parts for sale, buy Maytag dryer parts, LG washer replacement parts online, KitchenAid refrigerator parts for sale, Whirlpool stove and range replacement parts

W11034363 Refrigerator Ice Maker Electronic Control Board

Experience seamless ice production in your refrigerator with the W11034363 Electronic Control Board from XPart Supply Ltd., a reliable replacement part designed for homeowners and appliance enthusiasts seeking precise and efficient performance.

Key Features and Design

This control board is expertly engineered with advanced technology to regulate the freezing process, ensuring consistent ice quality. Crafted from durable materials, it's compatible with a wide range of models, including popular ones like KUID308ESS0 and GI15NDXZB0, and replaces older parts such as W10485960 for easy upgrades.

  • Precise Regulation: Monitors and controls ice production for optimal quantity and quality.
  • Compatibility: Fits various refrigerator models, making it a versatile solution for your kitchen needs.
  • Reliable Construction: Scientifically tested for long-lasting performance, with a SKU of FRB3 to ensure authenticity.

Performance and Benefits

This control board solves common issues like inconsistent ice output by providing steady regulation, enhancing your refrigerator's overall efficiency and extending its lifespan. From maintaining a steady supply of fresh ice to reducing energy waste, it offers a hassle-free experience that keeps your daily routine running smoothly, backed by XPart Supply Ltd.'s commitment to quality parts.

This electronic control board, compatible with W11034363 refrigerators, provides precise control over ice production. By regulating the freezing process, it ensures optimal ice quality and quantity. Expertly designed and scientifically tested, it guarantees reliable and efficient performance. Keep the ice flowing with this essential component.

Part Number W11034363 replaces W10485960, W10886282, WPW10485960

Supported Models:

10689553102, 10689592101, 10689592102, 10689593101, 10689593102, 10689599100, 10689599102, 59689592101, GI15NDXZB0, GI15NDXZB1, GI15NDXZB2, GI15NDXZQ0, GI15NDXZQ1, GI15NDXZQ2, GI15NDXZS0, GI15NDXZS1, GI15NDXZS2, GI15PDXZS0, GI15PDXZS1, JIM158XYCX0, JIM158XYCX1, JIM158XYCX2, JIM158XYRS0, JIM158XYRS1, JIM158XYRS2, JIM159XYCX0, JIM159XYRS0, JUIFN15HX00, JUIFX15HX00, KUIC15NHZS0, KUIC15PHZS0, KUIC15POZP0, KUIC15POZP1, KUIC15POZP2, KUIC18NNZS0, KUIC18PNZS0, KUID308ESS0, KUID308ESS1, KUID308ESS2, KUID308HPS00, KUID508ESS0, KUID508ESS1, KUID508ESS2, KUID508HBL00, KUID508HPS00, KUID508HWH00, KUIO18NNZS0, KUIO18NNZS1, KUIO18NNZS2, KUIO338HSS00, AUTOMATIC, KUIS15NNZB0, KUIS15NNZW0, KUIS18NNZB0, KUIS18NNZW0, KUIS18PNZB0, KUIS18PNZB1, KUIS18PNZB2, KUIS18PNZW0, KUIS18PNZW1, KUIS18PNZW2, KUIX305EBL0, KUIX305EBL1, KUIX305ESS0, KUIX305ESS1, KUIX305ESS2, KUIX305EWH0, KUIX305EWH1, KUIX335HBL00, KUIX335HPS00, KUIX335HWH00, KUIX505EBS0, KUIX505EBS1, KUIX505ESS0, KUIX505ESS1, KUIX505ESS2, KUIX535HBS00, KUIX535HPA00, KUIX535HPS00, MIM1554ZRS0, MIM1555ZRS0, WUI75X15HB00, WUI75X15HW00, WUI75X15HZ00, WUI95X15HZ00

Hard to find parts? We've got them or we'll find them!

Over 10,000 New & Used Parts Ready for Pickup

Show this item number to our store staff to help locate the exact part you need
XPART GTIN/UPC NUMBER
9665428062497

XPart Supply Advantage

Your trusted partner for fast, reliable parts delivery across North America

Lightning Fast Shipping

Same-day processing with expedited delivery options across North America

Massive Inventory

Over 10,000 parts in stock and ready to ship immediately

North America Coverage

Comprehensive shipping network covering USA, Canada, and Mexico

Quality Guaranteed

Premium parts with warranty protection and expert customer support

10K+
Parts in Stock
24-48H
Local Delivery
99.8%
Customer Satisfaction
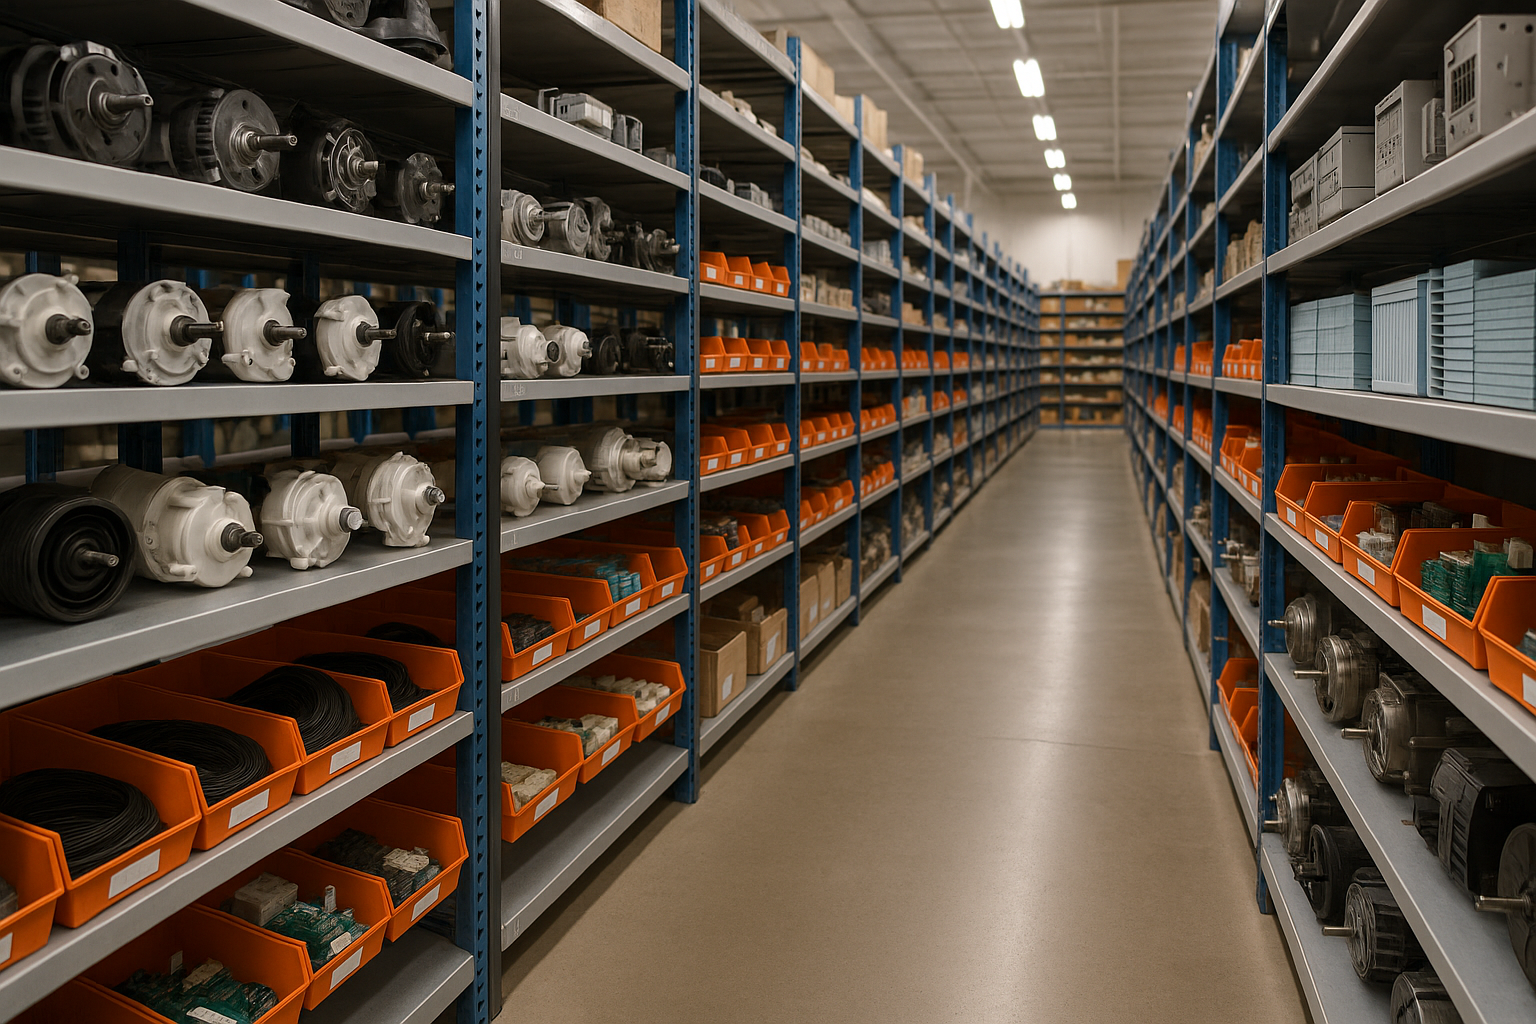
Professional appliance parts warehouse with organized shelving and extensive inventory

Express Warehouse Shipping

Order within the countdown for same-day shipping!

00 Hours
00 Minutes
00 Seconds

In stock orders placed during business hours ship the same day.

Order of $75 or more of eligible items qualify for FREE Shipping.

Same-day shipping deadline has passed

Orders placed now will ship the next business day.

Same-day shipping deadline has passed

Orders placed outside business hours will be processed when we reopen.

Business Hours: Monday - Friday, 9:00 AM - 5:00 PM EST

Trusted Family Business

29 years of Excellence in Appliance Parts

For over 29 years, our family has been dedicated to providing quality appliance parts and exceptional service. What started as a small local business has grown into a trusted name, but we've never forgotten our roots. Every customer receives the personal attention and care that only a family-owned business can provide.

Years of Experience

Our knowledge has been built over the past 29 years in the business, ensuring expert advice for every appliance need.

Personal Service Guarantee

We treat every customer like family, providing personalized solutions and standing behind our products.

Built on Trust

Our reputation has been built one satisfied customer at a time, creating lasting relationships in our community.

Buy Online Pick Up In-Store

Address
101 Trillium Dr
Kitchener, Ontario N2R 1J8
Phone
Hours
Monday - Friday 9:00 AM - 5:00 PM
Get Directions

Contact Us Customer Service

Hard to find parts? We've got them or we'll find them!

Call now for expert appliance parts assistance

Available Monday - Friday, 9AM - 5PM EST