W11381654 Dishwasher Drain Hose, Replaces W11352518

XPart Supply Ltd.

Sale price
$33.32
Regular price
$37.73
You save
$4.41 (12%)

Frequently Bought Together

Stock Notification

Get notified when this product is available again

W11352518, W10878507, W10727426, W10605032, W10445975, PS11755914, AP6022465, 8558995, 8539258

Fits Models: (Ctrl+F and Enter Your Model Number)

Whirlpool: WDF520PADM0, WDF520PADM7, WDF540PADM0, WDF540PADM7, WDF560SAFM0, WDF560SAFM2, WDT710PAHZ0, WDT710PAHZ1, WDT730PAHZ0, WDT730PAHZ1

KitchenAid: KDFE104HPS0, KDFE104HPS1, KDFE104HPS2, KDPE234GPS0, KDPE234GPS1, KDPE234GPS2, KDTM354ESS0, KDTM354ESS1, KDTM354ESS2, KDTM404KPS0

Maytag: MDB4949SKZ0, MDB4949SKZ1, MDB4949SKZ2, MDB7959SKZ0, MDB7959SKZ1, MDB7959SKZ2, MDB8959SKZ0, MDB8959SKZ1, MDB8959SKZ2, MDB9959SKZ0

Jenn-Air: JDTSS244GP0, JDTSS244GP1, JDTSS244GP2, JDTSS246GP0, JDTSS246GP1, JDTSS246GP2, JDB8000AWP0, JDB8000AWP1, JDB8000AWP2, JDB9000CWP0

Amana: ADP1400PYW0, ADP1400PYW1, ADP1400PYW2, ADP1400PYB0, ADP1400PYB1, ADP1400PYB2, ADB1400PYW0, ADB1400PYW1, ADB1400PYW2, ADB1400PYB0

Note: This is a partial list. This drain hose is used in many Whirlpool-manufactured dishwashers built between 2015-2024. Verify your specific model number for compatibility before ordering. Drain hoses vary by length and fitting configuration.

Professional: 45-60 minutes
DIY: 90-120 minutes
Difficulty Level: Medium repair (requires access under dishwasher and sink, plumbing connections)

Required Tools:

  • Phillips screwdriver
  • Flathead screwdriver
  • Needle-nose pliers
  • Adjustable wrench or channel locks
  • Utility knife or scissors (for cutting old hose clamps)
  • Towels (to soak up water)
  • Bucket or shallow pan (to catch water)
  • Work gloves
  • Flashlight

Step-by-Step Installation:

  1. Disconnect Power: Unplug the dishwasher from the electrical outlet under the sink, or turn off the circuit breaker. Never work on the dishwasher with power connected.
  2. Shut Off Water Supply: Turn off the water supply valve under the sink that feeds the dishwasher. Turn the valve clockwise until fully closed.
  3. Remove Lower Dish Rack: Pull out the lower dish rack and set it aside to provide access to the dishwasher tub floor.
  4. Bail Out Standing Water: Use towels or a cup to remove any standing water from the bottom of the dishwasher tub. There may be 1-2 cups of water remaining after the last cycle.
  5. Remove Toe Kick Panel: At the front bottom of the dishwasher, remove the toe kick panel (decorative panel at floor level). It's typically held by clips or screws. Pull it straight off or remove screws and set aside.
  6. Access Drain Connection: Open the cabinet door under the kitchen sink. Locate where the dishwasher drain hose connects to the garbage disposal, sink drain, or air gap. The hose is typically secured with a hose clamp or spring clamp.
  7. Place Towels and Bucket: Place towels on the floor under the dishwasher and under the sink drain connection. Position a bucket under the drain connection to catch water that will drain from the hose.
  8. Disconnect Drain Hose at Sink: At the sink drain connection (garbage disposal, drain pipe, or air gap), use pliers to release the hose clamp securing the drain hose. Squeeze spring clamps or loosen screw clamps. Pull the drain hose off the connection point. Water will drain out—have the bucket ready.
  9. Lower Hose End: Lower the disconnected end of the drain hose into the bucket to allow all water to drain out of the hose.
  10. Access Dishwasher Drain Pump: From underneath the dishwasher (through the toe kick opening) or from under the sink (if accessible), locate where the drain hose connects to the dishwasher drain pump. This is typically at the bottom left or right side of the dishwasher.
  11. Disconnect Drain Hose at Pump: Use pliers to release the hose clamp securing the drain hose to the drain pump outlet. Squeeze spring clamps or loosen screw clamps. Pull the drain hose off the pump outlet fitting. More water will drain out—have towels ready.
  12. Remove Old Drain Hose: Once both ends are disconnected, carefully pull the old drain hose out from under the dishwasher and through the cabinet opening. The hose may be routed through mounting clips or brackets—release these as needed.
  13. Inspect Old Hose: Examine the old drain hose for visible damage: cracks, holes, kinks, clogs, or deterioration. This helps confirm the diagnosis and identify the cause of failure.
  14. Clean Connection Points: Wipe down the drain pump outlet fitting and the sink drain connection point. Remove any debris, food particles, or mineral deposits. Clean surfaces ensure proper sealing with the new hose.
  15. Inspect Drain Pump: While accessible, inspect the drain pump for damage or clogs. Remove any visible debris from the pump outlet. A clean pump ensures optimal drainage with the new hose.
  16. Prepare New Drain Hose: Remove the new drain hose from its packaging. Verify it matches the old hose in length and fitting configuration. Straighten the hose and remove any shipping ties or packaging materials.
  17. Route New Hose: Route the new drain hose from the dishwasher drain pump area, under the dishwasher, and up to the sink drain connection point. Follow the same path as the old hose. Ensure the hose isn't kinked, twisted, or stretched too tight.
  18. Create High Loop (Critical): The drain hose MUST have a high loop to prevent backflow from the sink into the dishwasher. Route the hose up as high as possible under the countertop (within 2 inches of the countertop underside) before it descends to the drain connection. Secure the high loop with a mounting bracket or strap. This prevents dirty sink water from siphoning back into the dishwasher.
  19. Connect Hose to Drain Pump: Push the drain hose end firmly onto the drain pump outlet fitting. The hose should slide on at least 1-2 inches. Ensure it's fully seated.
  20. Secure Pump Connection: Install a new hose clamp over the hose at the pump connection point. Position the clamp 1/4 to 1/2 inch from the hose end. Tighten the clamp securely with pliers or a screwdriver. The hose should not pull off when tugged.
  21. Connect Hose to Sink Drain: At the sink drain connection point (garbage disposal, drain pipe, or air gap), push the drain hose end firmly onto the connection fitting. The hose should slide on at least 1-2 inches. Ensure it's fully seated.
  22. Secure Sink Connection: Install a new hose clamp over the hose at the sink drain connection. Position the clamp 1/4 to 1/2 inch from the hose end. Tighten the clamp securely. The hose should not pull off when tugged.
  23. Verify High Loop: Double-check that the drain hose has a proper high loop under the countertop. The loop should be secured with a mounting bracket or strap to prevent it from sagging over time.
  24. Check for Kinks: Inspect the entire length of the drain hose to ensure there are no kinks, sharp bends, or compressed sections. The hose should have smooth, gradual curves throughout its length.
  25. Reinstall Toe Kick Panel: Snap or screw the toe kick panel back into position at the front bottom of the dishwasher.
  26. Restore Water Supply: Turn on the water supply valve under the sink by turning it counterclockwise until fully open.
  27. Restore Power: Plug the dishwasher back in or turn on the circuit breaker.
  28. Test for Leaks: Run a short RINSE cycle without dishes. Monitor the drain hose connections at both the pump and sink drain during the drain phase. Check for any water leaks, drips, or loose connections.
  29. Verify Proper Drainage: During the test cycle, verify water drains completely from the dishwasher tub. Listen for proper pump operation and check that water flows freely through the drain hose to the sink drain.
  30. Full Test Cycle: Run a complete NORMAL wash cycle with dishes to verify the drain hose operates properly under full load without leaks or drainage issues.

The high loop is mandatory, not optional. The #1 installation mistake with drain hoses is failing to create a proper high loop. The drain hose MUST rise to within 2 inches of the countertop underside before descending to the drain connection. Without this high loop, dirty water from the sink can siphon back into the dishwasher, causing contamination, foul odors, and poor cleaning results. Some jurisdictions require an air gap device instead of a high loop—check local plumbing codes. Never install a drain hose without proper backflow prevention.

Check for clogs before replacing the hose. Many "failed" drain hoses are actually just clogged with food particles, grease, or mineral deposits. Before ordering a replacement hose, disconnect the old hose and flush it with hot water from a garden hose or faucet. If water flows freely through the hose, it's not clogged and may not need replacement—the problem may be a clogged pump, filter, or drain connection. An estimated 40% of drain hose replacements are unnecessary because the actual problem is elsewhere.

Inspect and clean the drain pump and filter. If your drain hose failed or became clogged, the drain pump and filter are likely also clogged with food debris. While you have the drain hose disconnected, remove and clean the dishwasher filter (located in the tub floor). Inspect the drain pump for clogs or damage. A clean pump and filter prevent future hose clogs and ensure optimal drainage with your new hose. Many drainage problems are caused by clogged filters, not bad hoses.

Use proper hose clamps and positioning. Cheap or improperly positioned hose clamps are a common cause of drain leaks. Use stainless steel worm-drive clamps (screw-type) or heavy-duty spring clamps rated for dishwasher use. Position clamps 1/4 to 1/2 inch from the hose end, not right at the edge. Tighten clamps firmly but not excessively—overtightening can cut into the hose and cause leaks. A properly clamped connection won't leak even under full pump pressure.

Avoid kinks and sharp bends. Drain hoses are flexible but not indestructible. Sharp bends (less than 90 degrees) or kinks restrict water flow, cause slow drainage, and put excessive stress on the hose material leading to cracks and leaks. When routing the new hose, use gradual curves and avoid tight bends. If the hose must make a sharp turn, use a drain hose elbow fitting to prevent kinking. Proper routing extends hose life from 5 years to 10+ years.

Check garbage disposal knockout plug. If your dishwasher drain hose connects to a garbage disposal, verify the knockout plug inside the disposal inlet has been removed. New garbage disposals come with a plastic knockout plug that must be punched out before connecting the dishwasher drain hose. If the plug is still in place, the dishwasher won't drain and you'll get standing water and error codes. Use a screwdriver and hammer to knock out the plug from inside the disposal inlet before connecting the drain hose.

Prevent future clogs with proper dishwasher use. Drain hose clogs are usually caused by food particles that should have been removed before loading dishes. Always scrape large food debris off dishes before loading (but don't pre-rinse—modern dishwashers need some food residue for detergent to work properly). Clean the dishwasher filter monthly to prevent debris from reaching the drain hose. Run hot water at the sink before starting the dishwasher to ensure hot water enters the tub immediately, improving detergent performance and reducing food buildup.

  • Water leaks under dishwasher during drain cycle
  • Water backs up into dishwasher tub from sink
  • Dishwasher doesn't drain completely (standing water remains)
  • Slow drainage during and after cycles
  • Dishwasher displays drain error codes
  • Water on floor around dishwasher base
  • Visible cracks, holes, or splits in drain hose
  • Drain hose kinked or collapsed
  • Drain hose clogged with food particles or debris
  • Water drains into dishwasher when sink is used
  • Foul odor from dishwasher (due to backflow from drain)
  • Dishwasher stops mid-cycle due to drainage issues
  • Gurgling sounds during drain cycle
  • Drain hose deteriorated, brittle, or hardened from age
  • Hose connections loose or damaged


Whirlpool refrigerator replacement parts, Frigidaire refrigerator replacement parts, GE refrigerator replacement parts, Kenmore refrigerator replacement parts, KitchenAid refrigerator replacement parts, LG refrigerator replacement parts, Maytag refrigerator replacement parts, Whirlpool refrigerator drawers and glides replacement, Whirlpool dishwasher replacement parts, GE dishwasher replacement parts, KitchenAid dishwasher replacement parts, Maytag dishwasher replacement parts, Frigidaire dishwasher replacement parts, Kenmore dishwasher replacement parts, Whirlpool washer replacement parts, GE washer replacement parts, Maytag washer replacement parts, Kenmore washer replacement parts, LG washer replacement parts, Whirlpool dryer replacement parts, GE dryer replacement parts, Maytag dryer replacement parts, Kenmore dryer replacement parts, LG dryer replacement parts, Whirlpool range replacement parts, GE range replacement parts, Whirlpool stove replacement parts, GE stove replacement parts, GE oven replacement parts, GE microwave replacement parts, buy Whirlpool refrigerator parts online, buy GE dishwasher parts online, replacement Kenmore washer parts for sale, buy Maytag dryer parts, LG washer replacement parts online, KitchenAid refrigerator parts for sale, Whirlpool stove and range replacement parts

W11381654 Dishwasher Drain Hose

Upgrade your dishwasher's reliability with the W11381654 Drain Hose from XPart Supply Ltd., a trusted provider of high-quality replacement parts. Designed for homeowners seeking an efficient solution to common drainage issues, this hose ensures seamless operation and prevents potential problems like clogs and leaks.

Key Features and Design

  • Durable Construction: Crafted from robust, flexible materials that withstand regular use, providing long-lasting performance for everyday household demands.
  • Compatibility: Replaces part W11352518 and fits a wide range of models, including popular ones like KDFE104KBL0 and MDB4949SKB0, for a hassle-free upgrade.
  • Practical Design: Features a standard length and secure connections, making it easy to install and integrate into your existing setup.

Performance and Benefits

This essential drain hose enhances your dishwasher's efficiency by promoting optimal water flow, reducing the risk of backups and leaks that can lead to costly repairs. From XPart Supply Ltd., it helps maintain a smooth kitchen routine, saving you time and money while extending the lifespan of your appliance for reliable, everyday use.

Maximize the efficiency of your dishwasher with the W11381654 Dishwasher Drain Hose. This high-quality hose ensures proper drainage, preventing clogs and leaks. Made with durable materials, it guarantees long-lasting use. Upgrade your dishwasher's performance and save time and money on repairs.

Part number W11381654 replaces W11352518

Supported Models:

KDFE104KBL0, KDFE104KPS0, KDFE104KWH0, KDFE204KBL0, KDFE204KBS0, KDFE204KPS0, KDFE204KWH0, KDFM404KBS0, KDFM404KPS0, KDPM604KBS0, KDPM604KPS0, KDPM704KPS0, KDPM804KBS0, KDPM804KPS0, KDTE104KPS0, KDTE204KBL0, KDTE204KBS0, KDTE204KPS0, KDTE204KWH0, KDTM404KBS0, KDTM404KPS0, KDTM604KBS0, KDTM604KPS0, KDTM704KPS0, KDTM804KBS0, KDTM804KPS0, MDB4949SKB0, MDB4949SKW0, MDB4949SKZ0, MDB7959SKZ0, MDB8959SKB0, MDB8959SKK0, MDB8959SKW0, MDB8959SKZ0, MDB9959SKZ0, WDT750SAKB0, WDT750SAKV0, WDT750SAKW0, WDT750SAKZ0, WDTA50SAKB0, WDTA50SAKT0, WDTA50SAKW0, WDTA50SAKZ0, WDTA80SAKZ0

Hard to find parts? We've got them or we'll find them!

Over 10,000 New & Used Parts Ready for Pickup

Show this item number to our store staff to help locate the exact part you need
XPART GTIN/UPC NUMBER
9665382514977

XPart Supply Advantage

Your trusted partner for fast, reliable parts delivery across North America

Lightning Fast Shipping

Same-day processing with expedited delivery options across North America

Massive Inventory

Over 10,000 parts in stock and ready to ship immediately

North America Coverage

Comprehensive shipping network covering USA, Canada, and Mexico

Quality Guaranteed

Premium parts with warranty protection and expert customer support

10K+
Parts in Stock
24-48H
Local Delivery
99.8%
Customer Satisfaction
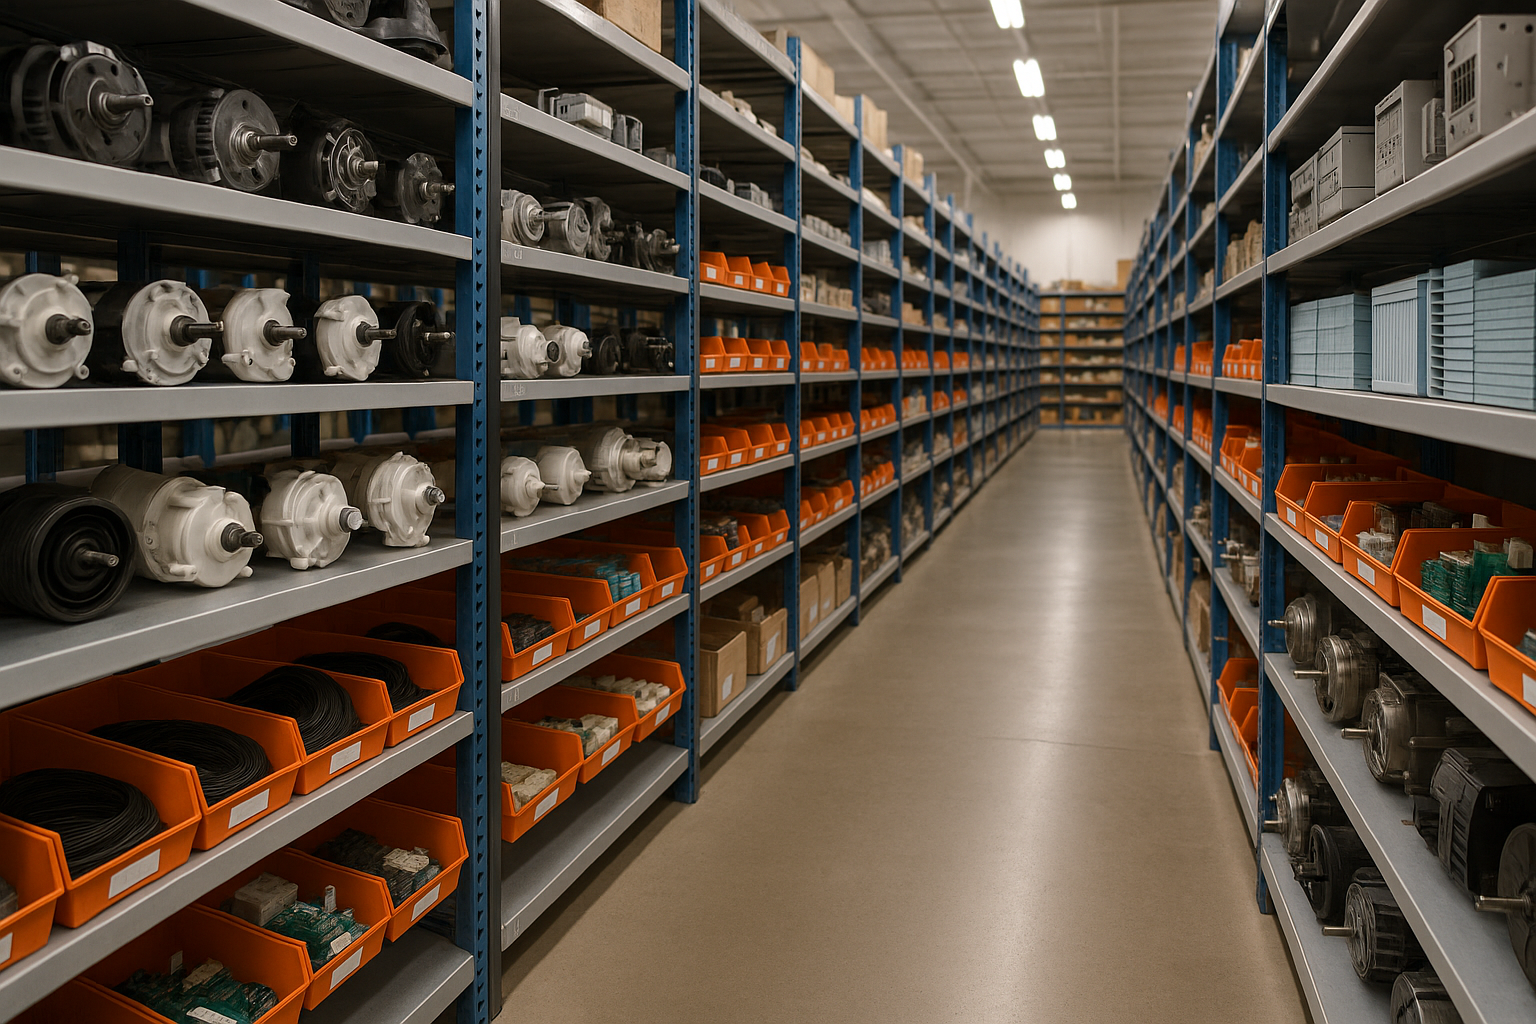
Professional appliance parts warehouse with organized shelving and extensive inventory

Express Warehouse Shipping

Order within the countdown for same-day shipping!

00 Hours
00 Minutes
00 Seconds

In stock orders placed during business hours ship the same day.

Order of $75 or more of eligible items qualify for FREE Shipping.

Same-day shipping deadline has passed

Orders placed now will ship the next business day.

Same-day shipping deadline has passed

Orders placed outside business hours will be processed when we reopen.

Business Hours: Monday - Friday, 9:00 AM - 5:00 PM EST

Trusted Family Business

29 years of Excellence in Appliance Parts

For over 29 years, our family has been dedicated to providing quality appliance parts and exceptional service. What started as a small local business has grown into a trusted name, but we've never forgotten our roots. Every customer receives the personal attention and care that only a family-owned business can provide.

Years of Experience

Our knowledge has been built over the past 29 years in the business, ensuring expert advice for every appliance need.

Personal Service Guarantee

We treat every customer like family, providing personalized solutions and standing behind our products.

Built on Trust

Our reputation has been built one satisfied customer at a time, creating lasting relationships in our community.

Buy Online Pick Up In-Store

Address
101 Trillium Dr
Kitchener, Ontario N2R 1J8
Phone
Hours
Monday - Friday 9:00 AM - 5:00 PM
Get Directions

Contact Us Customer Service

Hard to find parts? We've got them or we'll find them!

Call now for expert appliance parts assistance

Available Monday - Friday, 9AM - 5PM EST