


Washer Not Agitating or Not Spinning? Transmission W11454738 – Fix Drive Failure Fast
A washer that agitates but won't spin, spins but won't agitate, or makes grinding and clunking noises from the bottom of the tub is almost always a failed transmission assembly. In Whirlpool commercial-style top-load washers, the transmission is the gearcase that converts motor power into controlled agitator oscillation and high-speed basket spin — when it fails due to gear wear, bearing seizure, or seal failure, the washer loses one or both mechanical functions entirely. ⚡ High-wear component in Whirlpool and Maytag commercial-style top-load washers after years of heavy-duty use. Part W11454738 is the genuine OEM replacement transmission assembly that restores full agitation and spin performance and directly supersedes W11044819, W11131260, W11261591, and W11393688 — no modification required.
Model-specific repair guides: MVWP575GW0, MVWP576KW0, MVWP576KW1
❓ Is This the Right Part?
This is the correct fix if ALL of the following are true:
- ✔ Your washer powers on and the control panel responds normally
- ✔ The motor runs (you can hear it) but agitation or spin is absent or erratic
- ✔ Drive belt and motor coupling have been inspected and ruled out
- ✔ No error codes pointing to a motor or control board fault
- ✔ ONLY problem is no agitation, no spin, grinding/clunking noise, or washer stuck in one mode
Not sure? Send us your model number — we'll confirm before you order.
🔧 Common Symptoms
- Washer agitates but won't spin — clothes come out soaking wet
- Washer won't agitate — drum sits still during wash cycle
- Loud grinding, clunking, or squealing from beneath the tub during operation
- Agitator moves slowly or inconsistently instead of full oscillation
- Oil or grease leaking from the transmission area onto the floor
- Washer stops mid-cycle with motor fault or transmission error code
✔ If these symptoms match, the transmission assembly is the most likely failed component in the drive system.
✔ In most cases, replacing the transmission with W11454738 restores full agitation and spin performance immediately.
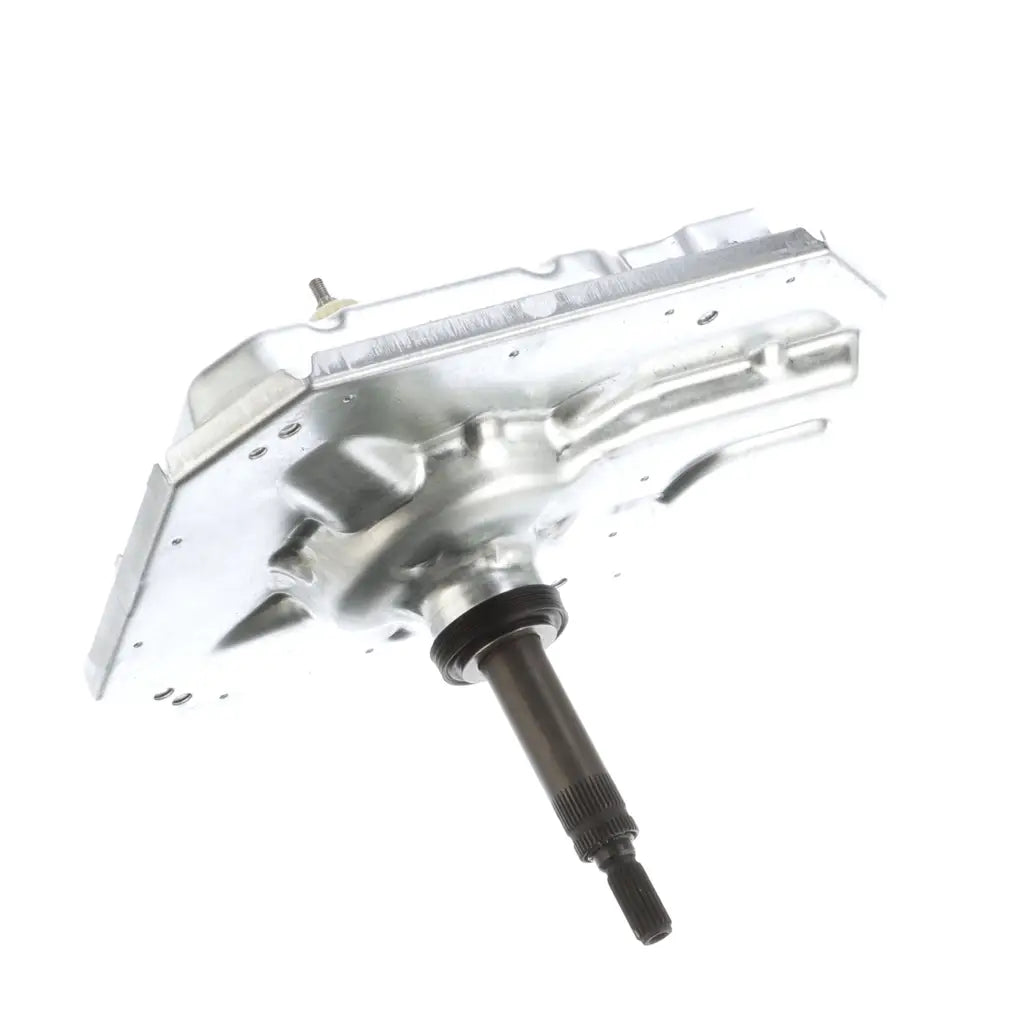
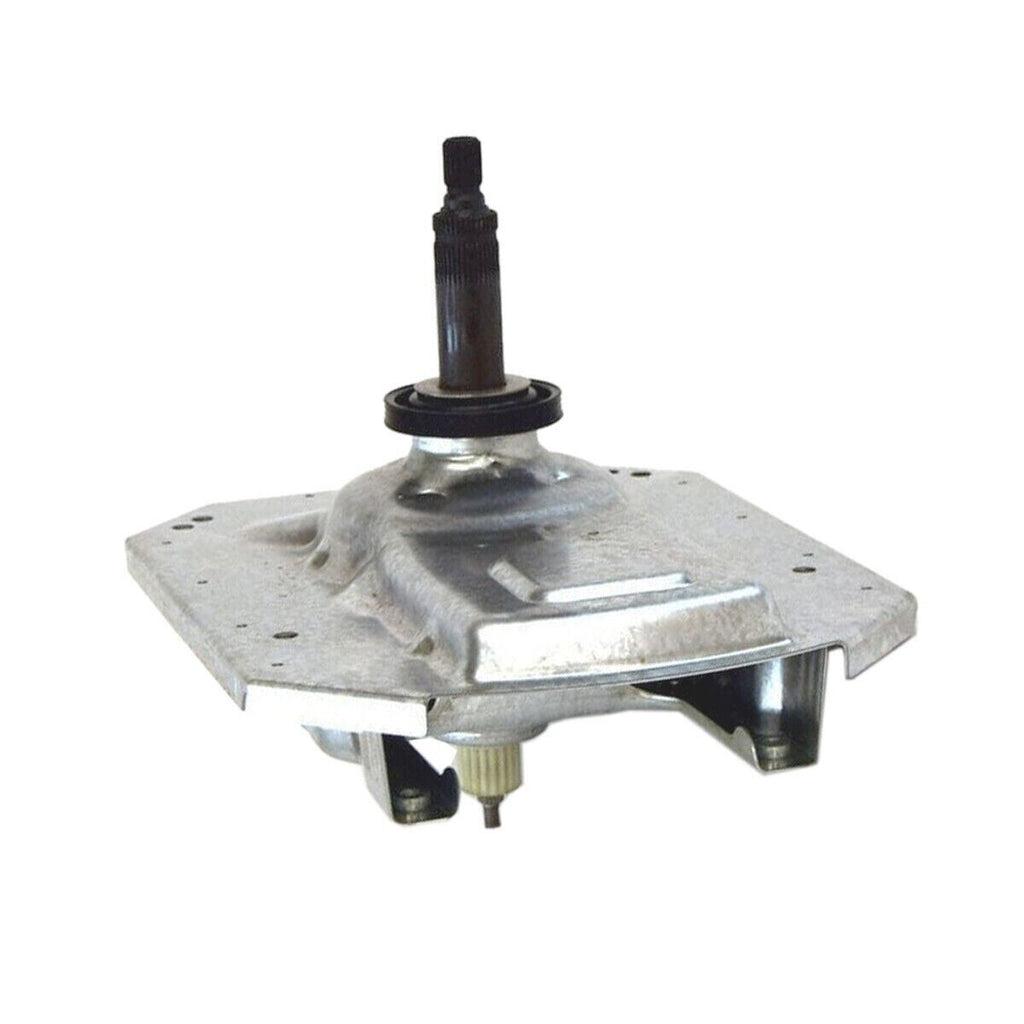
📦 Part Details
- Part Number: W11454738
- Type: Genuine OEM Whirlpool Commercial-Style Top-Load Washer Transmission Gearcase Assembly — includes internal gears, bearings, seals, and shift mechanism
- Replaces: OEM direct-fit transmission — supersedes W11044819, W11131260, W11261591, W11393688 (no modification required)
- Brands: Whirlpool, Maytag
While the transmission is out, replace the tub seal and bearing kit — these wear components are directly adjacent to the transmission and are often the root cause of the seal failure that allowed water intrusion and accelerated transmission wear. Replacing them together prevents a repeat failure within 12–18 months.
⚙️ Installation
Skill Level: ADVANCED — Allow 3–5 hours. Disconnect power and water supply before beginning any work. Transmission replacement requires full disassembly of the washer cabinet, tub, and drive system — the tub must be removed to access the transmission mounting beneath it. Use a spanner wrench to remove the tub nut, carefully lift the tub free, then unbolt the old transmission from the drive shaft and replace with W11454738. Professional installation is strongly recommended for this repair due to the complexity and number of components involved.
💡 Pro Tip
Before committing to a transmission replacement, inspect the motor coupling (W10006384 or equivalent) — it's a $15 plastic coupler between the motor and transmission that is the #1 cause of no-agitate and no-spin symptoms and takes 20 minutes to replace. If the coupling is cracked or broken, replace it first: it's the most common failure point and costs a fraction of a transmission. Only replace the transmission if the coupling is intact and the gearcase itself is confirmed failed.
✓ Model-Specific Repair Pages
✅Compatibility & Cross Reference
Not sure about your model number? Call 1-877-899-7278 and we’ll help you confirm. All brand names are the property of their respective owners and are used for compatibility reference only.
Buy Online Pick Up In-Store
Kitchener, Ontario N2E 1W8


- Choosing a selection results in a full page refresh.

