W11481722 Washing Machine Shift Actuator (replaces W10597177, W11237117, W11398781, WPW10597177)

XPart Supply Ltd.

Sale price
$99.99
Regular price
$145.01
You save
$45.02 (31%)
Buying Options: OEM
Condition: New

Product variant with selected options does not exist!

Frequently Bought Together

W10597177, W11237117, W11398781, WPW10597177, W10006355, W10315818, PS11752609, AP6020066, 8540751, 8540749

Fits Models: (Ctrl+F and Enter Your Model Number)


11020022014, 11020112311, 11022102311, 11022352510, 11022442511, 11023102311, 11025132410, 11025132411, 11031312021, 1105142510, 1CWTW4740YQ2, 1CWTW4800YQ2, 1CWTW4815EW0, 1CWTW4815EW1, 1CWTW4840YW2, 1CWTW4845EW0, 1CWTW4845EW1, 2DWTW4705EW0, 2DWTW4705EW1, 2DWTW4800YQ1, 2DWTW4845EW0, 2DWTW4845EW1, 7MMVWC100DW1, 7MMVWC200DW1, 7MMVWC355DW1, 7MMVWH450DW1, 7MMVWX521BW1, 7MMVWX655EW0, 7MMVWX722BG1, 7MWTW1500EM0, 7MWTW1500EM1, 7MWTW1502BM1, 7MWTW1504DQ1, 7MWTW1602BM1, 7MWTW1604DM1, 7MWTW1700EM0, 7MWTW1700EM1, 7MWTW1701DQ1, 7MWTW1704BM1, 7MWTW1709DM1, 7MWTW1715BM1, 7MWTW1800DM1, 7MWTW1801BQ1, 7MWTW1805DM1, 7MWTW1805EM0, 7MWTW1805EM1, 7MWTW1808AW1, 7MWTW1812AW1, 7MWTW1905DW1, 7MWTW1935DW1, 7MWTW1950EW0, 7MWTW1950EW1, 7MWTW1955EW0, 7MWTW1955EW1, 7MWTW4915EW0, 7MWTW4925EW0, 7MWTW5521BW1, 7MWTW5622BW1, 7MWTW9919DM1, 7MWTW9920EM0, ATW4676BQ1, CAW11544EW1, CAW12444DW1, CAW8350EW0, CAW8350EW1, CAW9244DW1, CAW9352EW1, CAW9444DW1, ITW4671DQ0, ITW4771DQ0, ITW4971DQ0, MVW6200KW1, MVW6200KW2, MVW6230HC1, MVW6230HC2, MVW6230HW1, MVW6230HW2, MVW6230RHW1, MVW6230RHW2, MVWC200BW1, MVWC215EW0, MVWC215EW1, MVWC300BW1, MVWC415EW0, MVWC415EW1, MVWC425BW1, MVWC555DW0, MVWC555DW1, MVWC565FW0, MVWP475EW0, MVWX655DW0, MVWX655DW1, NTW4516FW0, NTW4601BQ1, NTW4611BQ1, NTW4631BQ1, NTW4651BQ1, NTW4701BQ1, NTW4750BQ1,, RTW4516FW0, RTW4641BQ1, WTW4715EW0, WTW4800BQ1, WTW4810BQ1, WTW4810EW0, WTW4815EW0, WTW4816FW0, WTW4850BW1, WTW4850BW2, WTW4900BW1, WTW4915EW0, WTW4915EW1, WTW5000DW0, WTW5000DW1, WTW5100HC1, WTW5100HC2, WTW5100HW1, WTW5100HW2, WTW5105HC1, WTW5105HC2, WTW5105HW1, WTW5105HW2, WTW6120HC1, WTW6120HC2, WTW6120HW1, WTW6120HW2

Professional: 60-90 minutes
DIY: 120-180 minutes
Difficulty Level: Medium to advanced repair (requires washer disassembly and tilting)

Required Tools:

  • Phillips screwdriver
  • Flathead screwdriver
  • 1/4" or 5/16" nut driver
  • 7/16" socket wrench
  • Needle-nose pliers
  • Putty knife or paint scraper
  • Work gloves
  • Towel (to protect washer surface)
  • Flashlight
  • Camera or smartphone (for reference photos)

Step-by-Step Installation:

  1. Disconnect Power: Unplug the washer from the electrical outlet or turn off the circuit breaker. Never work on the washer with power connected.
  2. Shut Off Water Supply: Turn off both hot and cold water supply valves behind the washer (optional but recommended for safety).
  3. Move Washer: Pull the washer away from the wall to provide access to the rear and sides. You'll need at least 3 feet of clearance.
  4. Remove Console/Control Panel (if necessary): Some models require removing the console to access the cabinet. Remove screws securing the console (typically located at the rear top corners or under the lid). Tilt the console back or remove it completely.
  5. Remove Cabinet Top: Locate the screws or clips securing the cabinet top panel. For most models, insert a putty knife between the top and front panel near the front corners to release spring clips (typically 2 clips). Once clips are released, lift the top panel up and prop it open against the wall, or remove it completely by tilting it back and lifting off the hinges.
  6. Remove Agitator (if present): If your washer has an agitator, remove it to access the tub and transmission area. Pull the fabric softener dispenser cap straight up. Remove the agitator bolt (typically 7/16" socket) beneath the cap. Lift the agitator straight up—it may require significant force to break the seal. Set it aside.
  7. Remove Tub Ring/Splash Guard: Remove the tub ring or splash guard around the top of the tub. It's typically held by clips or screws. Release clips or remove screws and lift the ring off.
  8. Drain Tub (if necessary): If there's water in the tub, bail it out with towels or run a spin cycle to drain it before proceeding.
  9. Access Transmission Area: With the top panel open, you can see down into the washer cabinet. The shift actuator is located at the bottom of the washer, mounted to the transmission assembly. You'll need to access it from underneath or by tilting the washer.
  10. Tilt Washer (Recommended Method): The easiest way to access the shift actuator is to carefully tilt the washer back against a wall at a 45-degree angle. Place a sturdy block or support under the front edge to hold it in position. This gives you clear access to the bottom of the washer. Have a helper assist with tilting—washers are heavy.
  11. Locate Shift Actuator: From underneath, locate the shift actuator mounted to the side of the transmission. It's a small motor assembly (approximately 4" x 3") with a gear mechanism and wire harness connector.
  12. Take Reference Photos: Before disconnecting anything, take clear photos of the shift actuator showing the wire harness position, mounting orientation, and linkage connections.
  13. Disconnect Wire Harness: Locate the wire harness connector on the shift actuator. Press the release tab and carefully pull the connector straight off the actuator. Do not pull on the wires themselves, only the connector housing.
  14. Disconnect Shift Linkage (if applicable): Some models have a mechanical linkage connecting the actuator to the transmission shift mechanism. Note the position and orientation, then disconnect the linkage by removing the clip or pin securing it.
  15. Remove Mounting Bolts: The shift actuator is secured to the transmission with mounting bolts (typically 2-3 bolts). Use a socket wrench to remove all mounting bolts. Keep these bolts—you'll need them for reinstallation.
  16. Remove Old Actuator: Once the mounting bolts are removed, carefully pull the old shift actuator away from the transmission. The actuator shaft may be engaged with the transmission—wiggle gently to disengage it.
  17. Inspect for Damage: Examine the old shift actuator for visible damage: stripped gears, broken mounting tabs, burned motor windings, or damaged shaft. This helps confirm the diagnosis and identify the cause of failure.
  18. Clean Mounting Area: Wipe down the transmission mounting surface where the actuator attaches. Remove any dirt, grease, or debris. A clean mounting surface ensures proper alignment and operation.
  19. Inspect Transmission Shaft: Check the transmission shift shaft (where the actuator engages) for damage, wear, or debris. The shaft should be clean and undamaged. If the shaft is stripped or damaged, the transmission may need repair or replacement.
  20. Prepare New Actuator: Remove the new shift actuator from its packaging. Verify it matches the old actuator in size, shape, mounting hole positions, and shaft configuration. Handle carefully—avoid dropping or impacting the actuator.
  21. Position New Actuator: Carefully position the new shift actuator onto the transmission mounting location. Align the actuator shaft with the transmission shift mechanism. Ensure the mounting holes align properly.
  22. Engage Actuator Shaft: Gently push and rotate the actuator to engage its shaft with the transmission shift mechanism. The shaft should slide into position with minimal resistance. Do not force it—if it won't engage, check alignment.
  23. Install Mounting Bolts: Insert and hand-tighten the mounting bolts to secure the actuator to the transmission. Once all bolts are started, tighten them in a cross-pattern to ensure even seating. Tighten firmly but do not overtighten—excessive force can crack the plastic actuator housing.
  24. Reconnect Shift Linkage (if applicable): If your model has a mechanical linkage, reconnect it to the actuator. Ensure the linkage moves freely and is properly secured with clips or pins.
  25. Reconnect Wire Harness: Plug the wire harness connector back onto the shift actuator. Push it straight on until you hear or feel a click. Verify the connection is fully seated and locked.
  26. Verify Installation: Gently try to move the actuator by hand—it should be firmly mounted and not loose or wobbly. Check that all connections are secure.
  27. Return Washer to Upright Position: Carefully lower the washer back to its normal upright position. Remove any support blocks. Have a helper assist—control the descent to avoid damage.
  28. Reinstall Tub Ring/Splash Guard: Position the tub ring or splash guard back onto the top of the tub. Secure with clips or screws.
  29. Reinstall Agitator (if removed): Lower the agitator back into the tub, aligning the splines with the drive shaft. Press down firmly to seat it. Install the agitator bolt and tighten securely (typically 25-30 ft-lbs). Replace the fabric softener dispenser cap.
  30. Reinstall Cabinet Top: Lower the cabinet top panel back into position. Ensure the front clips engage properly. The top should sit flush with the cabinet.
  31. Reinstall Console (if removed): Position the console back into place and secure with mounting screws.
  32. Restore Water Supply: Turn on both hot and cold water supply valves (if you turned them off).
  33. Restore Power: Plug the washer back into the electrical outlet or turn on the circuit breaker.
  34. Test Shift Actuator Operation: Run a NORMAL wash cycle without clothes. Listen for the shift actuator to operate during mode changes (from agitate to spin). You should hear a brief motor sound as the actuator shifts the transmission. The washer should agitate during wash/rinse and spin during spin cycle.
  35. Verify Agitation and Spin: During the test cycle, verify the washer agitates properly during wash and rinse phases, and spins at high speed during the spin cycle. The transitions should be smooth without grinding, clicking, or error codes.
  36. Full Load Test: Run a complete wash cycle with a normal load of laundry to verify the shift actuator operates properly under load conditions.

Diagnose the actuator before replacing the transmission. Shift actuator failure often mimics transmission failure—both cause no-agitate or no-spin symptoms. Before ordering an expensive $200+ transmission, test the shift actuator. With power disconnected, manually try to rotate the actuator shaft—it should move with moderate resistance and click into positions. If the shaft won't move or feels stripped, the actuator is likely bad. If the shaft moves freely but the transmission won't shift, the transmission may be the problem. An estimated 60% of "transmission failures" are actually just bad shift actuators.

Test the actuator electrically. Before replacing the shift actuator, verify it's receiving power from the control board. With the washer plugged in and a cycle running, carefully use a multimeter to test for voltage at the actuator wire harness connector during a shift operation (when the washer should be changing from agitate to spin). You should read 120V AC during the shift. No voltage means the problem is the control board or wiring, not the actuator. This diagnostic step saves you from replacing an actuator that isn't broken.

Check for mechanical obstructions. Sometimes shift actuators fail because something is preventing the transmission from shifting—not because the actuator itself is bad. Before replacing the actuator, inspect the transmission shift mechanism for broken springs, stripped gears, or foreign objects jamming the mechanism. Remove any obstructions and verify the transmission can shift manually before installing a new actuator. Installing a new actuator on a jammed transmission will destroy the new actuator immediately.

Actuator alignment is critical. The shift actuator shaft must engage properly with the transmission shift mechanism. Misalignment causes the actuator to work harder, overheat, and fail prematurely. When installing the new actuator, ensure the shaft slides smoothly into the transmission mechanism without forcing. If you have to force it, something is misaligned. Take your time to get proper alignment—a correctly aligned actuator lasts 10+ years, while a misaligned one fails within months.

Control board issues can mimic actuator failure. If your new shift actuator doesn't work after installation, the problem may be the washer control board, not the actuator. The control board sends timed electrical signals to the actuator to shift the transmission at the appropriate times during the cycle. A failed relay or damaged circuit on the control board prevents the actuator from operating. Before replacing the control board, verify all wire connections are secure and test for voltage at the actuator connector during shift operations.

Listen for actuator operation during cycles. A working shift actuator makes a brief motor sound (2-5 seconds) when it shifts the transmission. During a normal wash cycle, you should hear the actuator operate at least twice: once when shifting from agitate to spin, and once when shifting back to agitate for the rinse cycle. If you don't hear the actuator motor running at all, the problem may be electrical (no power to actuator) rather than mechanical (bad actuator motor).

Replace the actuator and clutch together for best results. If your washer is 8+ years old and the shift actuator failed, the clutch assembly (which engages the spin basket) is likely also worn. While you have the washer disassembled and tilted for actuator replacement, many professional technicians replace both the shift actuator and clutch assembly together. This prevents a second major repair in 6-12 months when the clutch fails. Both components operate in the same harsh environment and experience similar wear patterns.

  • Washer won't agitate during wash cycle
  • Washer won't spin or spins very slowly
  • Washer makes grinding or clicking noises during mode changes
  • Washer gets stuck in agitate mode (won't shift to spin)
  • Washer gets stuck in spin mode (won't shift to agitate)
  • Washer displays error codes related to shift actuator or transmission
  • Washer agitates but won't transition to spin cycle
  • Washer spins but won't agitate
  • Intermittent agitation or spin problems
  • Loud motor noise from bottom of washer during cycle changes
  • Washer stops mid-cycle with error code
  • Transmission won't shift between modes
  • Visible damage to shift actuator motor or gears
  • Shift actuator motor hums but doesn't move
  • Washer completes some cycles but fails on others


Whirlpool refrigerator replacement parts, Frigidaire refrigerator replacement parts, GE refrigerator replacement parts, Kenmore refrigerator replacement parts, KitchenAid refrigerator replacement parts, LG refrigerator replacement parts, Maytag refrigerator replacement parts, Whirlpool refrigerator drawers and glides replacement, Whirlpool dishwasher replacement parts, GE dishwasher replacement parts, KitchenAid dishwasher replacement parts, Maytag dishwasher replacement parts, Frigidaire dishwasher replacement parts, Kenmore dishwasher replacement parts, Whirlpool washer replacement parts, GE washer replacement parts, Maytag washer replacement parts, Kenmore washer replacement parts, LG washer replacement parts, Whirlpool dryer replacement parts, GE dryer replacement parts, Maytag dryer replacement parts, Kenmore dryer replacement parts, LG dryer replacement parts, Whirlpool range replacement parts, GE range replacement parts, Whirlpool stove replacement parts, GE stove replacement parts, GE oven replacement parts, GE microwave replacement parts, buy Whirlpool refrigerator parts online, buy GE dishwasher parts online, replacement Kenmore washer parts for sale, buy Maytag dryer parts, LG washer replacement parts online, KitchenAid refrigerator parts for sale, Whirlpool stove and range replacement parts

W11481722 Washing Machine Shift Actuator

Experience reliable performance in your laundry routine with the W11481722 Washing Machine Shift Actuator from XPart Supply Ltd., a trusted name in household appliance accessories. This essential replacement part is designed for homeowners and DIY enthusiasts seeking to restore precise control and efficiency in their washers.

Key Features and Design

  • Precise Engineering: Crafted with durable materials for a secure fit, this actuator ensures smooth operation in supported Whirlpool, Maytag, and Kenmore models, replacing parts like W10597177 for seamless compatibility.
  • Compact and Reliable Build: Its robust design handles the demands of everyday washing cycles, providing the strength needed for optimal functionality without unnecessary bulk.

Performance and Benefits

This shift actuator enhances your washer's efficiency by resolving issues like inconsistent agitation or spinning, helping to extend the life of your appliance and reduce energy waste. As a key component in the Home & Garden category, it delivers a hassle-free solution for maintaining peak performance, saving you time and money on repairs while keeping your laundry routine running smoothly.

The W11481722 Washer Actuator provides precise control for your washer. This durable item is designed to improve performance and maximize efficiency. The actuator features precise engineering for a reliable fit and maximum washing power. Get the job done with the W11481722 Washer Actuator.

Part number W11481722 replaces W10597177, W11237117, W11398781, WPW10597177

Supported Models:

11020022014, 11020112311, 11022102311, 11022352510, 11022442511, 11023102311, 11025132410, 11025132411, 11031312021, 1105142510, 1CWTW4740YQ2, 1CWTW4800YQ2, 1CWTW4815EW0, 1CWTW4815EW1, 1CWTW4840YW2, 1CWTW4845EW0, 1CWTW4845EW1, 2DWTW4705EW0, 2DWTW4705EW1, 2DWTW4800YQ1, 2DWTW4845EW0, 2DWTW4845EW1, 7MMVWC100DW1, 7MMVWC200DW1, 7MMVWC355DW1, 7MMVWH450DW1, 7MMVWX521BW1, 7MMVWX655EW0, 7MMVWX722BG1, 7MWTW1500EM0, 7MWTW1500EM1, 7MWTW1502BM1, 7MWTW1504DQ1, 7MWTW1602BM1, 7MWTW1604DM1, 7MWTW1700EM0, 7MWTW1700EM1, 7MWTW1701DQ1, 7MWTW1704BM1, 7MWTW1709DM1, 7MWTW1715BM1, 7MWTW1800DM1, 7MWTW1801BQ1, 7MWTW1805DM1, 7MWTW1805EM0, 7MWTW1805EM1, 7MWTW1808AW1, 7MWTW1812AW1, 7MWTW1905DW1, 7MWTW1935DW1, 7MWTW1950EW0, 7MWTW1950EW1, 7MWTW1955EW0, 7MWTW1955EW1, 7MWTW4915EW0, 7MWTW4925EW0, 7MWTW5521BW1, 7MWTW5622BW1, 7MWTW9919DM1, 7MWTW9920EM0, ATW4676BQ1, CAW11544EW1, CAW12444DW1, CAW8350EW0, CAW8350EW1, CAW9244DW1, CAW9352EW1, CAW9444DW1, ITW4671DQ0, ITW4771DQ0, ITW4971DQ0, MVW6200KW1, MVW6200KW2, MVW6230HC1, MVW6230HC2, MVW6230HW1, MVW6230HW2, MVW6230RHW1, MVW6230RHW2, MVWC200BW1, MVWC215EW0, MVWC215EW1, MVWC300BW1, MVWC415EW0, MVWC415EW1, MVWC425BW1, MVWC555DW0, MVWC555DW1, MVWC565FW0, MVWP475EW0, MVWX655DW0, MVWX655DW1, NTW4516FW0, NTW4601BQ1, NTW4611BQ1, NTW4631BQ1, NTW4651BQ1, NTW4701BQ1, NTW4750BQ1,, RTW4516FW0, RTW4641BQ1, WTW4715EW0, WTW4800BQ1, WTW4810BQ1, WTW4810EW0, WTW4815EW0, WTW4816FW0, WTW4850BW1, WTW4850BW2, WTW4900BW1, WTW4915EW0, WTW4915EW1, WTW5000DW0, WTW5000DW1, WTW5100HC1, WTW5100HC2, WTW5100HW1, WTW5100HW2, WTW5105HC1, WTW5105HC2, WTW5105HW1, WTW5105HW2, WTW6120HC1, WTW6120HC2, WTW6120HW1, WTW6120HW2

Hard to find parts? We've got them or we'll find them!

Over 10,000 New & Used Parts Ready for Pickup

Show this item number to our store staff to help locate the exact part you need
XPART GTIN/UPC NUMBER
9768403534113

XPart Supply Advantage

Your trusted partner for fast, reliable parts delivery across North America

Lightning Fast Shipping

Same-day processing with expedited delivery options across North America

Massive Inventory

Over 10,000 parts in stock and ready to ship immediately

North America Coverage

Comprehensive shipping network covering USA, Canada, and Mexico

Quality Guaranteed

Premium parts with warranty protection and expert customer support

10K+
Parts in Stock
24-48H
Local Delivery
99.8%
Customer Satisfaction
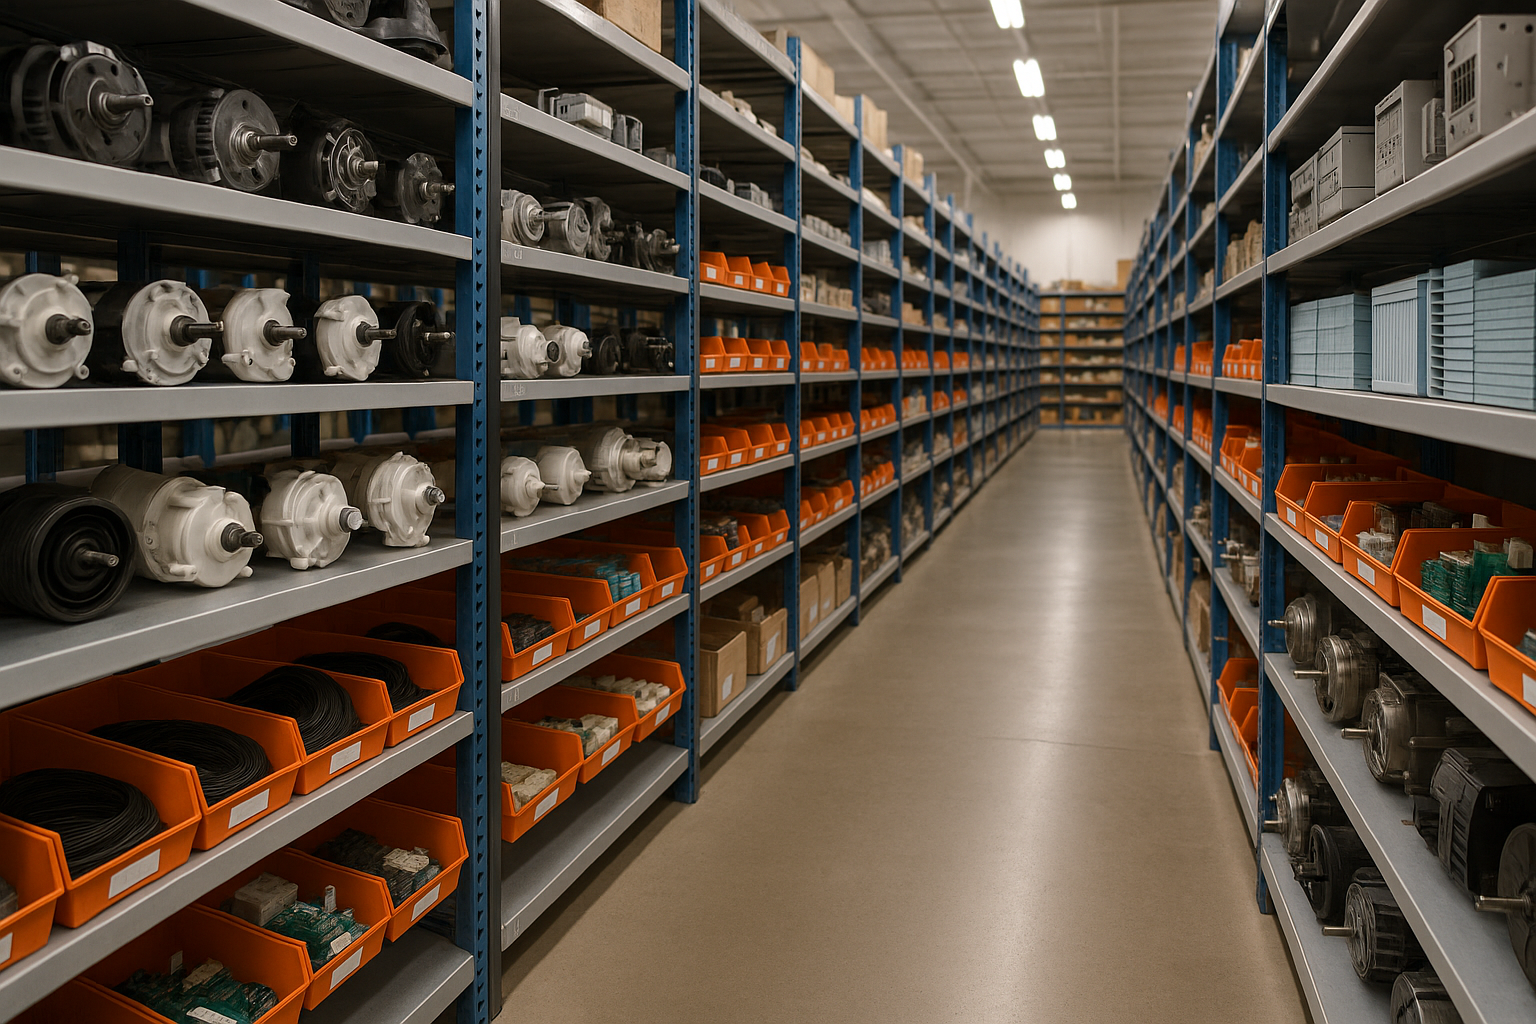
Professional appliance parts warehouse with organized shelving and extensive inventory

Express Warehouse Shipping

Order within the countdown for same-day shipping!

00 Hours
00 Minutes
00 Seconds

In stock orders placed during business hours ship the same day.

Order of $75 or more of eligible items qualify for FREE Shipping.

Same-day shipping deadline has passed

Orders placed now will ship the next business day.

Same-day shipping deadline has passed

Orders placed outside business hours will be processed when we reopen.

Business Hours: Monday - Friday, 9:00 AM - 5:00 PM EST

Trusted Family Business

29 years of Excellence in Appliance Parts

For over 29 years, our family has been dedicated to providing quality appliance parts and exceptional service. What started as a small local business has grown into a trusted name, but we've never forgotten our roots. Every customer receives the personal attention and care that only a family-owned business can provide.

Years of Experience

Our knowledge has been built over the past 29 years in the business, ensuring expert advice for every appliance need.

Personal Service Guarantee

We treat every customer like family, providing personalized solutions and standing behind our products.

Built on Trust

Our reputation has been built one satisfied customer at a time, creating lasting relationships in our community.

Buy Online Pick Up In-Store

Address
101 Trillium Dr
Kitchener, Ontario N2R 1J8
Phone
Hours
Monday - Friday 9:00 AM - 5:00 PM
Get Directions

Contact Us Customer Service

Hard to find parts? We've got them or we'll find them!

Call now for expert appliance parts assistance

Available Monday - Friday, 9AM - 5PM EST