W11594225 Oven Electronic Control Board

XPart Supply Ltd.

Sale price
$265.35
Regular price
$302.68
You save
$37.33 (12%)

Frequently Bought Together

W10757647, W10757648, W10757649, W10757650, WPW10757647, WPW10757648, PS11755607, AP6036677, 8577274, 8577275

Fits Models: (Ctrl+F and Enter Your Model Number)

Whirlpool: WFE515S0ES0, WFE515S0ES1, WFE515S0ES2, WFE525S0HZ0, WFE525S0HZ1, WFE525S0HZ2, WFE530H0ES0, WFE530H0ES1, WFE530H0ES2, WFE540H0ES0

Whirlpool (continued): WFE540H0ES1, WFE540H0ES2, WFE545H0HZ0, WFE545H0HZ1, WFE545H0HZ2, WFE560H0HZ0, WFE560H0HZ1, WFE560H0HZ2, WFE570H0HZ0, WFE570H0HZ1

KitchenAid: KEBS107DH00, KEBS107DH01, KEBS107DH02, KEBS107DH03, KEBS177DH00, KEBS177DH01, KEBS177DH02, KEBS177DH03, KEBS207DH00, KEBS207DH01, KEBS207DH02, KEBS207DH03

Maytag: MER6755FW0, MER6755FW1, MER6755FW2, MER6755FW3, MER7655FW0, MER7655FW1, MER7655FW2, MER7655FW3, MER8655FW0, MER8655FW1, MER8655FW2, MER8655FW3Jenn-Air: JER7655FW0, JER7655FW1, JER7655FW2, JER7655FW3, JER8655FW0, JER8655FW1, JER8655FW2, JER8655FW3, JES7655FW0, JES7655FW1, JES7655FW2, JES7655FW3

Amana: AER6303MFW0, AER6303MFW1, AER6303MFW2, AER6303MFW3, AER6603MFW0, AER6603MFW1, AER6603MFW2, AER6603MFW3, AER7303MFW0, AER7303MFW1, AER7303MFW2, AER7303MFW3Note: This is a partial list. This electronic control board is used in many Whirlpool-manufactured electric ovens and range units built between 2010-2024. Verify your specific model number for compatibility before ordering. Control boards are model-specific—using an incompatible board will cause malfunction.

Required Tools:

  • Phillips screwdriver
  • Flathead screwdriver
  • 1/4" or 5/16" nut driver
  • Needle-nose pliers
  • Work gloves
  • Flashlight
  • Camera or smartphone (for reference photos)
  • Masking tape and marker (for labeling wires)

Step-by-Step Installation:

  1. Disconnect Power: Turn off the circuit breaker that supplies power to the oven. Verify power is off by attempting to turn on the oven (nothing should happen). Never work on the oven with power connected. Wait 5 minutes for capacitors to discharge before proceeding.
  2. Locate Electronic Control Board: The electronic control board is typically located:Behind the oven control panel (most common location)On the oven cavity rear wallInside a metal or plastic enclosure mounted to the oven frame Consult your oven's service manual for the exact location on your specific model.
  3. Access Control Board (Behind Control Panel): If the board is behind the control panel:Remove the control panel trim ring or bezel (typically held by screws or clips)Remove screws securing the control panel to the oven frame (typically 4-6 screws)Carefully pull the control panel forward to expose the board behind itThe panel may have wires attached—be careful not to damage them
  4. Access Control Board (Rear Wall): If the board is on the oven cavity rear wall:Remove the oven racksRemove screws securing the rear panel or access cover (typically 4-8 screws)Carefully pull the panel forward to expose the board
  5. Photograph Wire Connections (Critical): Before disconnecting anything, take 15-20 clear, close-up photos of ALL wire harness connections to the control board. Photograph each connector from multiple angles showing:Wire colors and connector positionsConnector orientation and locking mechanismsRelative position of each connector on the boardAny labels or markings on connectors Label each connector with masking tape and marker if needed (e.g., "Heating Element," "Temperature Sensor," "Display," "Relay," etc.). This is absolutely critical for correct reinstallation.
  6. Document Connector Positions: Create a simple diagram or written list showing which connector connects to which port on the board. Include wire colors if visible. This documentation prevents misconnection during reinstallation.
  7. Disconnect Wire Harnesses: The control board will have multiple wire harness connectors (typically 8-15 connectors depending on model). Carefully disconnect each connector one at a time:Press the release tab or locking mechanism on each connectorPull the connector straight off—do not pull on wires, only on the connector housingIf connectors are tight, gently wiggle while pullingKeep track of which connector goes where using your photos and labelsPlace each connector in a small container or bag labeled with its function
  8. Remove Mounting Hardware: The control board enclosure is secured with mounting screws or clips (typically 2-4 fasteners). Remove all mounting hardware. Keep these fasteners—you'll need them for reinstallation.
  9. Remove Old Control Board: Once all connections and mounting hardware are removed, carefully lift the old control board enclosure away from the mounting location. Handle gently to avoid damaging other components or sharp edges.
  10. Inspect Old Control Board: Examine the old board for visible damage: burned components, melted plastic, corrosion, moisture damage, blown fuses, or discolored areas. This helps confirm the diagnosis and identify the cause of failure. Check for signs of power surge damage or thermal stress.
  11. Compare Old and New Boards: Remove the new control board from its packaging (use anti-static precautions—touch a grounded metal surface before handling). Compare the new board to the old board:Verify connector locations match exactlyCheck that mounting hole positions are identicalConfirm part numbers match or are compatibleEnsure the board is the correct replacement for your oven model
  12. Prepare New Control Board: If the new board comes in a different enclosure, you may need to transfer the old enclosure to the new board. Remove screws securing the old board to its enclosure and carefully remove the old board. Install the new board into the enclosure using the same mounting screws. Ensure the board is properly seated and all mounting holes align.
  13. Position New Control Board: Carefully position the new control board enclosure into the mounting location. Align mounting holes with the oven frame mounting points or brackets.
  14. Install Mounting Hardware: Secure the control board with mounting screws or clips. Tighten screws firmly but do not overtighten—excessive force can crack the enclosure or damage the board.
  15. Reconnect Wire Harnesses (Critical Step): Using your reference photos and labels, reconnect all wire harness connectors to the new control board. This is the most critical step:Match each connector to its correct port on the boardEnsure connectors are oriented correctly (they typically only fit one way)Push each connector straight on until you hear or feel a clickVerify the locking tab engages on each connectorGently tug each connector to ensure it's fully seated and won't pull offDouble-check every connection against your photos before proceeding
  16. Verify All Connections: Before closing panels, carefully verify that:All wire connectors are attached to the correct portsNo connectors are loose or partially connectedNo wires are pinched, damaged, or touching sharp edgesAll locking tabs are engagedThe board is securely mountedNo wires are trapped between the board and enclosure
  17. Reinstall Access Panels: Replace the control panel, rear panel, or access cover. Secure with all mounting screws or clips. Ensure the control panel is properly seated and aligned.
  18. Restore Power: Turn on the circuit breaker that supplies power to the oven.
  19. Initial Power-Up: When power is restored, the control board will initialize. You may hear beeps, see the display light up, or hear relays clicking. This is normal. Some models require 5-10 minutes for the control board to complete initialization.
  20. Reset/Configure Settings: Depending on your oven model, you may need to:Set the clock (if applicable)Reset the temperature to default settingsReconfigure any custom settings (convection mode, self-clean options, etc.)Clear any error codes that may have been stored
  21. Test Display Panel: Verify the display panel lights up and responds to button presses:Press buttons and verify the display changesCheck that all display segments work (numbers, letters, symbols)Verify the display shows the correct information
  22. Test Temperature Control: Set the oven to 350°F and press START:The oven should turn onYou should hear the heating element activate (clicking relay sound)The display should show the oven is heatingAfter 10-15 minutes, the oven should reach 350°F
  23. Verify Heating Elements: During the temperature test, listen and watch for:Heating elements glowing red (if visible through oven window)Oven interior warming upTemperature display increasing toward set temperatureHeating element cycling on and off to maintain temperature
  24. Test Timer Function: Set the timer for 5 minutes and press START:The timer should count downWhen the timer reaches zero, the oven should beep or alertThe timer should stop and display "0:00"
  25. Test Convection Fan (if equipped): If your oven has a convection mode:Set oven to convection mode and press STARTListen for the convection fan to runThe fan should operate continuously during heating
  26. Test Self-Cleaning Function (if equipped): If your oven has a self-cleaning cycle:Access the self-clean menu on the displayVerify the self-clean option is available and selectableDo NOT start a full self-clean cycle (it takes 3-4 hours), but verify the function is accessible
  27. Monitor for 30 Minutes: Allow the oven to heat and maintain 350°F for 30 minutes. Monitor for:Stable temperature (display should show 350°F or very close)Normal heating element cycling (on and off to maintain temperature)No error codes or unusual displaysNormal operation of all features
  28. Check for Error Codes: If error codes appear on the display, consult your oven's service manual to diagnose. Some error codes indicate additional component failures or incorrect board installation.
  29. Test Full Cycle: Run a complete baking cycle:Set oven to 375°FPlace an oven thermometer inside to verify actual temperatureAllow oven to preheat for 15-20 minutesVerify actual temperature matches display temperature (within ±10°F)Bake a test item (frozen pizza, cookies, etc.) to verify proper heating
  30. Verify Temperature Accuracy: Compare the oven's display temperature to an independent oven thermometer. The display should be within ±10°F of the actual temperature. If the temperature is significantly off, the temperature sensor may need calibration or replacement.

Diagnose before replacing—control boards are expensive and often misdiagnosed. The oven electronic control board is one of the most expensive oven parts ($250-400), and it's frequently replaced unnecessarily. Before ordering a control board, systematically test other components: heating elements (test for continuity and 240V power), temperature sensor (test resistance—should be 1000-2000 ohms at room temperature, varying with temperature), relays (test for clicking and continuity), and power supply (verify 240V at outlet). An estimated 45% of control board replacements are unnecessary—the actual problem is a failed heating element ($30-50), temperature sensor ($20-40), or relay ($15-25). A $15 heating element can cause the same symptoms as a $300 control board.

Take extensive photos and label everything. Oven control board replacement has the highest reinstallation error rate of any appliance repair. With 10-15 wire connectors that look similar, it's extremely easy to connect wires to the wrong ports, causing immediate board failure, component damage, or electrical shorts. Take 20-30 photos from multiple angles before disconnecting anything. Label every connector with tape and marker. Create a written diagram showing connector positions. Compare your photos constantly during reinstallation. One misconnected wire can destroy your new $300 board instantly.

Check for power surges and electrical issues before installing the new board. If your control board failed due to a power surge or voltage spike, installing a new board without addressing the electrical issue will destroy the new board immediately. Test the outlet voltage (should be 240V AC ±10%). Check for evidence of power surges: burned components, melted plastic, corrosion, or discolored areas on the old board. If surge damage is evident, install a whole-house surge protector ($300-500) before installing the new board. Many manufacturers void warranties if surge damage is evident.

**Verify the temperature sensor is working

  • Oven completely dead (no lights, no display, won't turn on)
  • Display panel blank or shows garbled characters
  • Oven control buttons not responding
  • Oven won't heat (no heating element activation)
  • Oven heats but temperature won't reach set temperature
  • Oven runs continuously without cycling off
  • Oven temperature fluctuates wildly
  • Heating elements won't turn on
  • Convection fan won't operate
  • Timer not working or won't count down
  • Self-cleaning function unavailable
  • Error codes displayed on control panel
  • Oven cycles on and off rapidly
  • Temperature sensor not reading correctly
  • Display shows incorrect temperature
  • Oven won't turn off (heating continuously)
  • Relay clicking but oven doesn't heat
  • Control board making buzzing or clicking noises
  • Intermittent oven operation (works sometimes, not others)
  • Visible damage to control board (burned components, corrosion)


Whirlpool refrigerator replacement parts, Frigidaire refrigerator replacement parts, GE refrigerator replacement parts, Kenmore refrigerator replacement parts, KitchenAid refrigerator replacement parts, LG refrigerator replacement parts, Maytag refrigerator replacement parts, Whirlpool refrigerator drawers and glides replacement, Whirlpool dishwasher replacement parts, GE dishwasher replacement parts, KitchenAid dishwasher replacement parts, Maytag dishwasher replacement parts, Frigidaire dishwasher replacement parts, Kenmore dishwasher replacement parts, Whirlpool washer replacement parts, GE washer replacement parts, Maytag washer replacement parts, Kenmore washer replacement parts, LG washer replacement parts, Whirlpool dryer replacement parts, GE dryer replacement parts, Maytag dryer replacement parts, Kenmore dryer replacement parts, LG dryer replacement parts, Whirlpool range replacement parts, GE range replacement parts, Whirlpool stove replacement parts, GE stove replacement parts, GE oven replacement parts, GE microwave replacement parts, buy Whirlpool refrigerator parts online, buy GE dishwasher parts online, replacement Kenmore washer parts for sale, buy Maytag dryer parts, LG washer replacement parts online, KitchenAid refrigerator parts for sale, Whirlpool stove and range replacement parts

W11594225 Oven Electronic Control Board

Upgrade your kitchen appliance with the W11594225 Oven Electronic Control Board from XPart Supply Ltd., a reliable replacement part designed for specific Whirlpool oven models. Perfect for homeowners and appliance technicians seeking to restore precise oven functionality and ensure seamless daily cooking experiences.

Key Features and Design

  • This electronic control board replaces part number W11515104 and is compatible with models such as WFC315S0JB3, WFC315S0JS3, WFC315S0JW3, and WFC315S0JS3, offering a direct fit for easy installation.
  • Crafted with durable electronic components, it features a compact design that integrates smoothly into your oven's control panel, as seen in detailed views highlighting its precise circuitry and secure connections.
  • Backed by XPart Supply Ltd.'s reputation for quality and expertise in appliance parts, this board ensures long-lasting performance without compromising on safety or reliability.

Performance and Benefits

This control board solves common oven issues like unresponsive controls or inaccurate temperature settings, allowing you to regain full command of your appliance for efficient cooking. By enhancing your oven's responsiveness and accuracy, it saves time and energy while preventing potential breakdowns, making it an essential upgrade for maintaining a hassle-free kitchen routine. Trust XPart Supply Ltd. to deliver parts that not only meet but exceed expectations, helping you extend the life of your appliances with dependable solutions.

Replaces Part Numbers - 

W11515104

Fits Models - 

WFC315S0JB3
WFC315S0JS3
WFC315S0JW3
YWFC315S0JS3

Hard to find parts? We've got them or we'll find them!

Over 10,000 New & Used Parts Ready for Pickup

Show this item number to our store staff to help locate the exact part you need
XPART GTIN/UPC NUMBER
9665393656097

XPart Supply Advantage

Your trusted partner for fast, reliable parts delivery across North America

Lightning Fast Shipping

Same-day processing with expedited delivery options across North America

Massive Inventory

Over 10,000 parts in stock and ready to ship immediately

North America Coverage

Comprehensive shipping network covering USA, Canada, and Mexico

Quality Guaranteed

Premium parts with warranty protection and expert customer support

10K+
Parts in Stock
24-48H
Local Delivery
99.8%
Customer Satisfaction
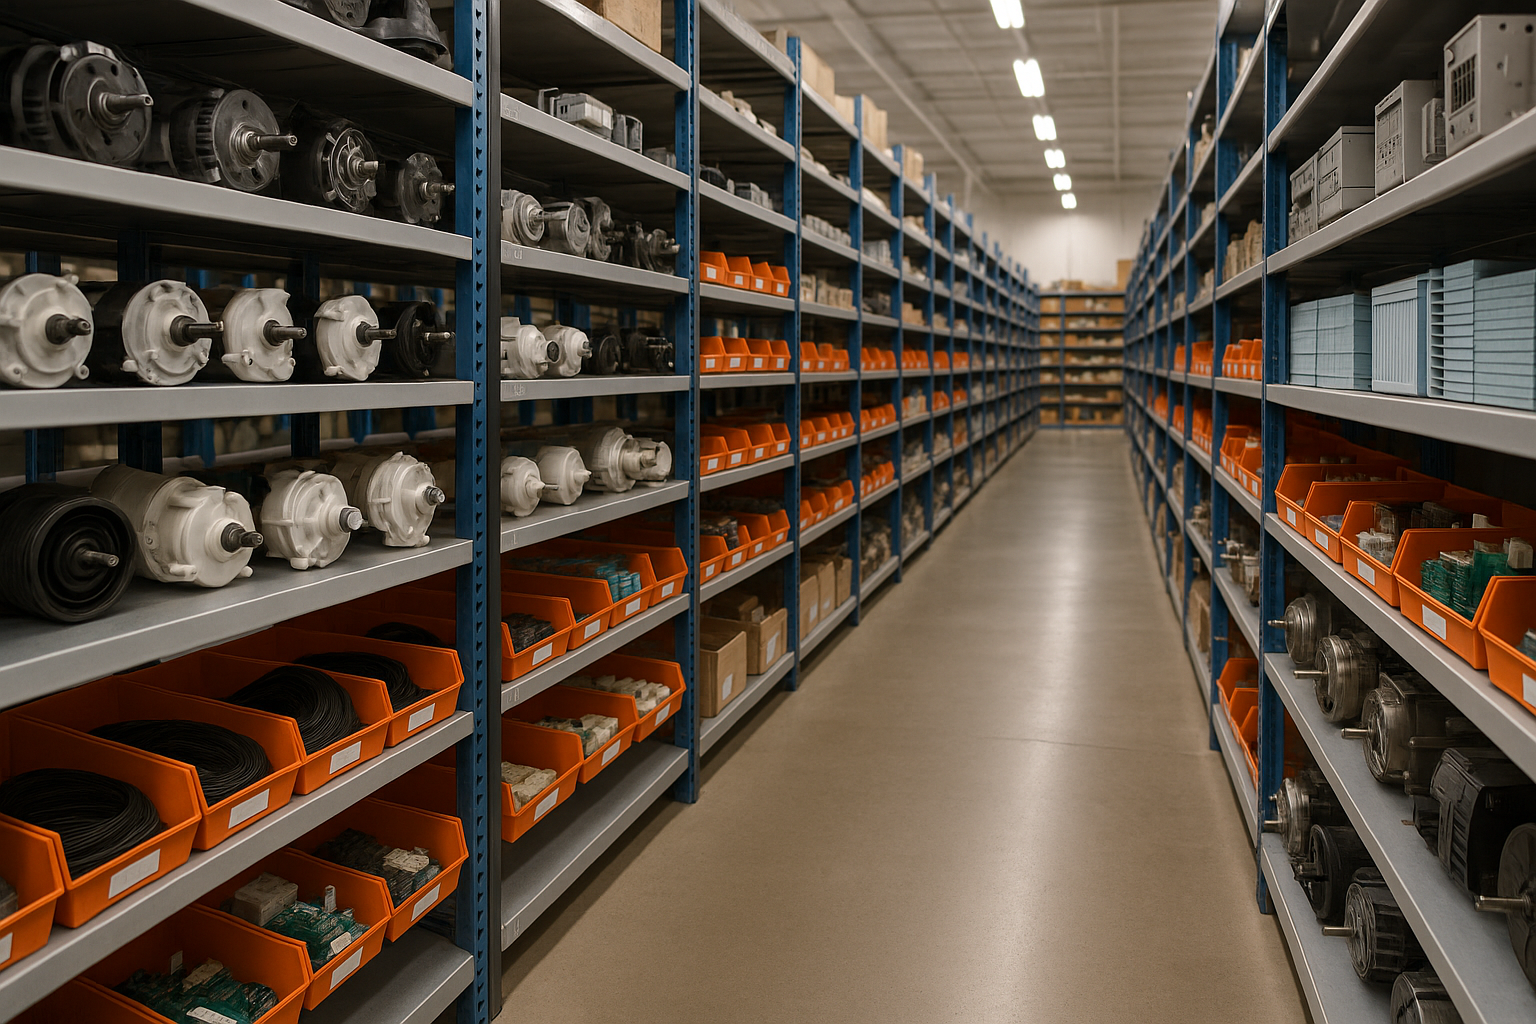
Professional appliance parts warehouse with organized shelving and extensive inventory

Express Warehouse Shipping

Order within the countdown for same-day shipping!

00 Hours
00 Minutes
00 Seconds

In stock orders placed during business hours ship the same day.

Order of $75 or more of eligible items qualify for FREE Shipping.

Same-day shipping deadline has passed

Orders placed now will ship the next business day.

Same-day shipping deadline has passed

Orders placed outside business hours will be processed when we reopen.

Business Hours: Monday - Friday, 9:00 AM - 5:00 PM EST

Trusted Family Business

29 years of Excellence in Appliance Parts

For over 29 years, our family has been dedicated to providing quality appliance parts and exceptional service. What started as a small local business has grown into a trusted name, but we've never forgotten our roots. Every customer receives the personal attention and care that only a family-owned business can provide.

Years of Experience

Our knowledge has been built over the past 29 years in the business, ensuring expert advice for every appliance need.

Personal Service Guarantee

We treat every customer like family, providing personalized solutions and standing behind our products.

Built on Trust

Our reputation has been built one satisfied customer at a time, creating lasting relationships in our community.

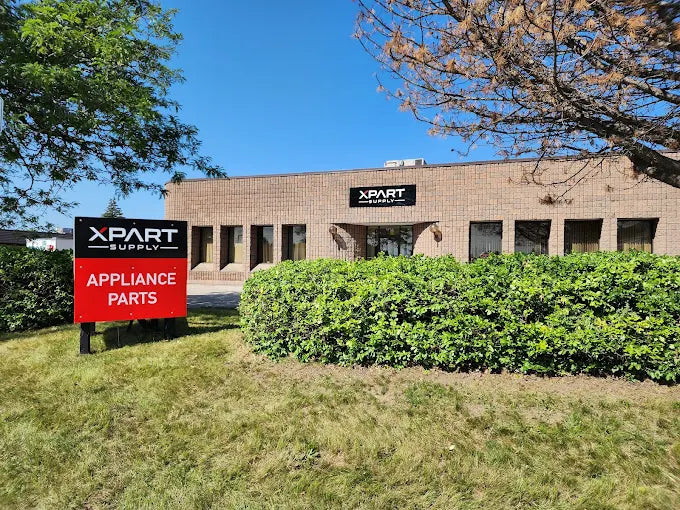
Buy Online Pick Up In-Store

Address
101 Trillium Dr
Kitchener, Ontario N2R 1J8
Phone
Hours
Monday - Friday 9:00 AM - 5:00 PM
Get Directions

Contact Us Customer Service

Hard to find parts? We've got them or we'll find them!

Call now for expert appliance parts assistance

Available Monday - Friday, 9AM - 5PM EST