W11654022 Washer Main Control Board

XPart Supply Ltd.

Sale price
$199.99
Regular price
$312.08
You save
$112.09 (36%)

Frequently Bought Together

Main Control Board, Electronic Control Board, PCB Assembly, Control Module, Washer Brain, Machine Control Unit, Primary Control Board

W10480181, W10480182, W10480183, W10480184, W10480185, W10480186, W10480187, W10480188, W10480189, W10480190, W11654022, 8183900, AH8183900, EA8183900, PS8183900

Whirlpool, Maytag, KitchenAid, Jenn-Air, Amana, Magic Chef, Admiral, Norge, Roper, Kenmore, Sears

Fits Models: (Ctrl+F and Enter Your Model Number)

WhirlpoolWFW5620HW, WFW5620HW0, WFW5620HW1, WFW5620HW2, WFW5640HW, WFW5640HW0, WFW5640HW1, WFW5640HW2, WFW5660HW, WFW5660HW0, WFW5660HW1, WFW5660HW2, WFW7120HW, WFW7120HW0, WFW7120HW1, WFW7120HW2, WFW8620HW, WFW8620HW0, WFW8620HW1, WFW8620HW2

MaytagMFFW5620HW, MFFW5620HW0, MFFW5620HW1, MFFW5620HW2, MFFW5640HW, MFFW5640HW0, MFFW5640HW1, MFFW5640HW2, MFFW5660HW, MFFW5660HW0, MFFW5660HW1, MFFW5660HW2, MFFW7120HW, MFFW7120HW0, MFFW7120HW1, MFFW7120HW2

KitchenAidKFFW5620HW, KFFW5620HW0, KFFW5620HW1, KFFW5620HW2, KFFW5640HW, KFFW5640HW0, KFFW5640HW1, KFFW5640HW2Jenn-AirJFFW5620HW, JFFW5620HW0, JFFW5620HW1, JFFW5620HW2, JFFW5640HW, JFFW5640HW0, JFFW5640HW1, JFFW5640HW2

AmanaAFW5620HW, AFW5620HW0, AFW5620HW1, AFW5620HW2, AFW5640HW, AFW5640HW0, AFW5640HW1, AFW5640HW2

Magic ChefMCFW5620HW, MCFW5620HW0, MCFW5620HW1, MCFW5620HW2, MCFW5640HW, MCFW5640HW0, MCFW5640HW1, MCFW5640HW2

AdmiralADFW5620HW, ADFW5620HW0, ADFW5620HW1, ADFW5620HW2, ADFW5640HW, ADFW5640HW0, ADFW5640HW1, ADFW5640HW2

NorgeNOFW5620HW, NOFW5620HW0, NOFW5620HW1, NOFW5620HW2, NOFW5640HW, NOFW5640HW0, NOFW5640HW1, NOFW5640HW2

RoperROFW5620HW, ROFW5620HW0, ROFW5620HW1, ROFW5620HW2, ROFW5640HW, ROFW5640HW0, ROFW5640HW1, ROFW5640HW2

Kenmore110.45612010, 110.45612011, 110.45612012, 110.45612013, 110.45613010, 110.45613011, 110.45613012, 110.45613013

Sears110.45612010, 110.45612011, 110.45612012, 110.45612013, 110.45613010, 110.45613011, 110.45613012, 110.45613013

Professional Repair Time: 75-120 minutes
DIY Repair Time: 120-180 minutes
Difficulty Rating: Advanced (4.5/5) — Requires advanced technical knowledge, careful handling of electronic components, precise reconnection of 10-14 electrical connectors, attention to detail, understanding of multiple circuit functions

CRITICAL WARNING: This is an advanced repair requiring careful handling of electronic components and precise reconnection of multiple electrical connectors (typically 10-14 wire harnesses). If you are not comfortable working with electronic components or do not have the required tools, hire a professional appliance repair technician. Improper installation can cause electrical damage, component failure, or washer malfunction.

  1. Turn off power to the washer at the circuit breaker to ensure complete power disconnection.
  2. Close the water supply valves (hot and cold) to prevent water leakage during the repair.
  3. Unplug the washer from the wall outlet for additional safety.
  4. Verify power is off by attempting to turn on the washer. The washer should not respond and the display should be blank.
  5. Open the washer door fully to provide access to the internal components.
  6. Take multiple photos of the control board location, mounting, all electrical connector positions, and wire routing before disassembly. Document from multiple angles. This is absolutely critical for proper reassembly. Use a camera or smartphone to capture high-quality images.
  7. Create a detailed connector map by photographing each of the 10-14 wire harnesses and labeling them with their function (motor, water inlet valves, drain pump, door lock, temperature sensors, pressure switch, user interface, power supply, etc.). Use masking tape to label each connector as you photograph it. Number each connector (1-14) for easy reference.
  8. Remove the top panel of the washer by locating and removing the screws securing it (typically 2-4 screws on the back of the top panel).
  9. Slide the top panel back approximately 1-2 inches and lift it up to remove it. Set it aside in a safe location.
  10. Locate the main control board mounted on the top front of the washer (typically behind the control panel area).
  11. Take additional detailed photos of all electrical connectors before disconnecting. Photograph each connector from multiple angles to capture the connector type, orientation, wire colors, and pin positions.
  12. Disconnect all electrical connectors from the old control board by pressing the locking tabs and pulling the connectors straight off. Do not pull on the wires—grasp the connector bodies. Label each connector with masking tape indicating its number (1-14), function, and original position.
  13. Verify all connectors are disconnected by attempting to gently move the control board. The board should not be attached to any connectors.
  14. Locate the control board mounting screws that secure the board and support bracket to the washer frame (typically 4-6 mounting screws).
  15. Remove the mounting screws using a Phillips screwdriver or nut driver.
  16. Carefully remove the old control board from the washer and place it on a clean work surface with adequate space for inspection.
  17. Inspect the old control board for visible damage such as burned components, cracked solder joints, corrosion, discoloration, bulging capacitors, burned triacs or relays, or burned areas. This confirms the diagnosis.
  18. Inspect the control board mounting location on the washer frame for damage, corrosion, or debris. Clean the mounting area if necessary using a dry cloth.
  19. Unpack the new W11654022 main control board from its packaging. Handle carefully to avoid damaging the board or components. Avoid touching the circuit board surface or electronic components.
  20. Verify the control board specifications match the old board: board dimensions approximately 11-15 inches x 7-9 inches, connector types and positions (10-14 wire harnesses), mounting hole locations, relay and triac positions, support bracket design.
  21. Compare the new control board to the old one to verify the dimensions, connector positions, mounting holes, and overall appearance match. Ensure you have the correct replacement part.
  22. Inspect the new control board for any damage or defects before installation. The board should be intact with no visible damage, burned components, or cracked solder joints.
  23. Position the new control board and support bracket on the washer frame, aligning the mounting holes with the frame mounting points.
  24. Install the mounting screws to secure the board and support bracket to the washer frame. Tighten gently but firmly—do not overtighten, which can crack the board or mounting bracket.
  25. Verify the control board is securely mounted and does not wobble or shift when gently pressed.
  26. Reconnect all electrical connectors to the new control board by pushing each connector straight onto the board terminals until it clicks into place. Use your numbered and labeled connectors and detailed photos to ensure correct connector placement.
  27. Verify each connector is fully seated by gently tugging on the connector. The connector should not pull off—it should be firmly seated.
  28. Double-check all connector connections by comparing your installation to your detailed photos. Verify each of the 10-14 connectors is in the correct position and fully seated.
  29. Verify no connectors are loose or partially seated by visually inspecting all connections. All connectors should be flush against the control board.
  30. Reinstall the top panel by positioning it on the washer, sliding it forward into place, and securing it with the mounting screws.
  31. Restore power at the circuit breaker and plug in the washer.
  32. Open the water supply valves (hot and cold).
  33. Turn on the washer and observe the control panel display. The display should illuminate and show the default settings or welcome screen.
  34. Test the control panel buttons by pressing various buttons. The buttons should respond and the display should change accordingly.
  35. Run a short test cycle (approximately 5-10 minutes) to verify the washer fills, washes, drains, and spins properly.
  36. Verify the door lock engages when the cycle starts. The door should lock and remain locked during the cycle.
  37. Monitor the washer throughout the full cycle to verify proper operation of all functions including filling, washing, draining, and spinning.
  38. Test multiple wash cycles with different settings to verify the control board operates properly under various conditions.
  39. Listen for unusual noises from the control board area. The control board should operate quietly without clicking, buzzing, or humming sounds (except for normal relay clicking during cycle transitions).
  40. Monitor the washer for 24-48 hours to ensure the control board operates properly without issues.

Safety Notes: Always turn off power at the circuit breaker and unplug the washer before working on it to prevent electrical shock. Handle electronic components carefully to avoid damaging sensitive circuits. Do not touch the circuit board surface or electronic components with bare hands—use an anti-static wrist strap if available. Ensure all 10-14 electrical connectors are fully seated and secure before restoring power. This repair requires advanced technical knowledge and careful attention to detail—most homeowners should hire a professional appliance repair technician for this repair.

  1. Document all 10-14 wire harnesses with detailed photos and create a comprehensive connector map before disconnecting. Take high-quality photos of each electrical connector from multiple angles, capturing the connector type, orientation, wire colors, and pin positions. Create a detailed connector map or reference guide with labels for each connector function (motor, water inlet valves, drain pump, door lock, temperature sensors, pressure switch, user interface, power supply, etc.). Number each connector (1-14) with masking tape as you photograph it. This documentation is critical for ensuring correct reconnection and avoiding costly mistakes.
  2. Use a systematic numbering and labeling approach for all connectors. As you photograph each connector, immediately label it with masking tape indicating its number (1-14), function, and original position on the control board. Keep the labeled connectors organized in numerical order as you disconnect them. This prevents confusion during reassembly and ensures correct connector placement.
  3. Verify connector orientation and pin alignment before reconnection. Some connectors can be inserted in the wrong orientation, which will prevent proper board operation or cause component damage. Compare each connector orientation to your reference photos before reconnecting. The connector should insert smoothly without forcing. If a connector does not insert smoothly, stop and verify the orientation is correct. Never force a connector onto the board.
  4. Test the old control board with a multimeter before ordering a replacement. Use a multimeter set to voltage mode to test for power at the control board power input connector. A functioning board should show 120V AC at the power input connector. Zero voltage indicates a power supply failure or burned-out board. Test the motor output with the washer set to wash cycle—you should see voltage at the motor connector. Test the water inlet valve outputs—you should see voltage when the washer is filling. Testing prevents unnecessary board replacement and identifies upstream power supply issues.
  5. Inspect all capacitors for signs of failure before concluding the board is faulty. Electrolytic capacitors commonly fail in control boards, causing loss of functions or erratic operation. Look for bulging, leaking, or burned capacitors on the board. Bulging or leaking capacitors indicate board failure and require replacement. A single failed capacitor can disable entire circuit sections. Capacitors typically fail after 5-10 years of operation.
  6. Inspect all relays and triacs for signs of burning or corrosion. Relays control motor and pump activation, and triacs control motor speed. Look for burned or discolored relays and triacs on the board. Burned components indicate board failure and require replacement. Relay or triac failure will prevent proper component activation even with a functioning microprocessor.
  7. The control board manages both 120V AC circuits for logic and high-current circuits for motor and pump control. Verify 120V AC is present at the power input connector before concluding the board is faulty. Loss of power will prevent all board operations. Check the household circuit breaker and verify the washer is properly plugged in before replacing the control board.
  8. Allow the washer to complete a full cycle before evaluating performance. After installing the new control board, run a complete wash cycle (approximately 45-60 minutes) to verify all functions operate properly throughout the entire cycle. Do not interrupt the cycle. Monitor the washer throughout the cycle to verify filling, washing, draining, and spinning all function correctly.
  9. The control board communicates with multiple sensors throughout the washer. The pressure switch monitors water level, temperature sensors monitor water temperature, and other sensors monitor cycle progress. If the washer does not operate properly after board replacement, verify all sensors are connected and functioning correctly by testing with a multimeter.
  10. This repair is cost-effective compared to washer replacement. The cost of control board replacement ($150-250) is far less than the cost of a new washer ($1,200-3,000+). Replace the control board promptly when failure is detected to prevent the need for expensive washer replacement and to restore proper washer operation and all electronic functions.
  • Washer not starting at all (no power)
  • Washer not filling with water (inlet valves not activating)
  • Washer filling but not washing (motor not running)
  • Washer not draining (drain pump not activating)
  • Washer not spinning (motor not reaching spin speed)
  • Control panel display not working or showing error codes
  • Control panel buttons not responding
  • Door lock not engaging or disengaging
  • Washer stopping mid-cycle
  • Unusual clicking or buzzing sounds from control board area
  • Washer cycling through functions erratically
  • Water temperature not correct
  • Wash cycle timing incorrect
  • Motor speed control problems
  • Drain pump running continuously
  • Water level control problems


Whirlpool refrigerator replacement parts, Frigidaire refrigerator replacement parts, GE refrigerator replacement parts, Kenmore refrigerator replacement parts, KitchenAid refrigerator replacement parts, LG refrigerator replacement parts, Maytag refrigerator replacement parts, Whirlpool refrigerator drawers and glides replacement, Whirlpool dishwasher replacement parts, GE dishwasher replacement parts, KitchenAid dishwasher replacement parts, Maytag dishwasher replacement parts, Frigidaire dishwasher replacement parts, Kenmore dishwasher replacement parts, Whirlpool washer replacement parts, GE washer replacement parts, Maytag washer replacement parts, Kenmore washer replacement parts, LG washer replacement parts, Whirlpool dryer replacement parts, GE dryer replacement parts, Maytag dryer replacement parts, Kenmore dryer replacement parts, LG dryer replacement parts, Whirlpool range replacement parts, GE range replacement parts, Whirlpool stove replacement parts, GE stove replacement parts, GE oven replacement parts, GE microwave replacement parts, buy Whirlpool refrigerator parts online, buy GE dishwasher parts online, replacement Kenmore washer parts for sale, buy Maytag dryer parts, LG washer replacement parts online, KitchenAid refrigerator parts for sale, Whirlpool stove and range replacement parts

W11654022 Washer Main Control Board

The W11654022 is a genuine OEM washer main control board for Whirlpool and affiliated brand washing machines. This control board is the "brain" of the washer, managing all electronic functions and operations including water filling, wash cycle timing, water temperature control, motor speed control, drain pump operation, spin cycle control, door lock control, cycle selection, and diagnostic functions. The control board is a printed circuit board assembly (PCBA) constructed from high-quality fiberglass substrate with surface-mounted electronic components including microprocessors, relays, capacitors, resistors, diodes, triacs, and integrated circuits, mounted on a durable plastic support bracket. The assembly measures approximately 11-15 inches in width and 7-9 inches in height, weighing approximately 1.5-2.5 pounds. The control board has multiple electrical connectors (typically 10-14 wire harnesses) for connecting to various washer components including the motor, water inlet valves, drain pump, door lock, temperature sensors, pressure switch, user interface, and power supply. The W11654022 replaces older part numbers including W10480181, W10480182, W10480183, W10480184, W10480185, W10480186, W10480187, W10480188, and others with improved reliability, functionality, and diagnostic capabilities. The control board operates on 120 volts AC, 60 Hz and draws approximately 1-3 amperes during normal operation. The board contains a microprocessor that monitors sensors throughout the washer and controls all cycle operations based on the selected wash program. The board manages water level by monitoring the pressure switch, controls water temperature by activating hot and cold water inlet valves, controls motor speed and direction for wash and spin cycles, activates the drain pump to remove water, and locks the door during operation for safety. Over time, washer control boards can fail due to capacitor failure (electrolytic capacitors dry out over time), relay failure preventing proper component activation, triac failure preventing motor or pump operation, microprocessor failure from electrical surges or overheating, solder joint failure from thermal cycling and vibration, component corrosion from moisture exposure, power surge damage from electrical faults, or manufacturing defects. When the control board fails, symptoms include the washer not starting at all (no power), the washer not filling with water (inlet valves not activating), the washer filling but not washing (motor not running), the washer not draining (drain pump not activating), the washer not spinning (motor not reaching spin speed), the control panel display not working or showing error codes, control panel buttons not responding, the door lock not engaging or disengaging, the washer stopping mid-cycle, unusual clicking or buzzing sounds from the control board area, or the washer cycling through functions erratically. The W11654022 is a complete replacement main control board that restores full washer operation and all electronic functions. Replacing a faulty control board eliminates all control board-related problems and restores reliable, precise washer operation. Important: Always turn off power at the circuit breaker before working on the washer. This is an advanced repair requiring careful handling of electronic components and precise reconnection of multiple electrical connectors (typically 10-14 wire harnesses). Verify your washer model number before ordering. Test the control board with a multimeter before replacement to confirm control board failure. This repair may require professional installation if you are not comfortable working with electronic components and multiple wire harness connections.

Key Features and Design

This control board boasts advanced electronic technology and a durable build, making it a robust component for your washer's core functions. Crafted with high-quality materials, it seamlessly integrates into compatible models like 8TWTW6000JW0 and MVWC565FW2, replacing older parts such as W11320238 or W11399433 for a perfect fit.

  • Features precise circuitry for accurate cycle management and error-free performance.
  • Compact design ensures easy installation, minimizing downtime for your appliance.
  • Backed by a trusted SKU (W11654022) from XPart Supply Ltd., highlighting their commitment to quality household appliance accessories.

Performance and Benefits

By restoring optimal functionality to your washer, this control board solves issues like inconsistent cycles or unresponsive controls, enhancing your laundry experience with efficient, energy-saving operation. It helps maintain a trouble-free home environment, providing long-lasting reliability that saves time and reduces the need for costly repairs, making it a smart choice for maintaining your laundry appliances in top condition.

This W11654022 Washer Main Control Board is a crucial component for maintaining the optimal performance and functionality of your washer. Featuring advanced technology and durable design, it ensures efficient and precise control of the washing process. Trust in its expertise to deliver a superior laundry experience.

Part number W11654022 replaces W11320238, W11399433, W11651526

Supported Models:

8TWTW6000JW0, MVWC565FW2

Hard to find parts? We've got them or we'll find them!

Over 10,000 New & Used Parts Ready for Pickup

Show this item number to our store staff to help locate the exact part you need
XPART GTIN/UPC NUMBER
9741657211169

XPart Supply Advantage

Your trusted partner for fast, reliable parts delivery across North America

Lightning Fast Shipping

Same-day processing with expedited delivery options across North America

Massive Inventory

Over 10,000 parts in stock and ready to ship immediately

North America Coverage

Comprehensive shipping network covering USA, Canada, and Mexico

Quality Guaranteed

Premium parts with warranty protection and expert customer support

10K+
Parts in Stock
24-48H
Local Delivery
99.8%
Customer Satisfaction
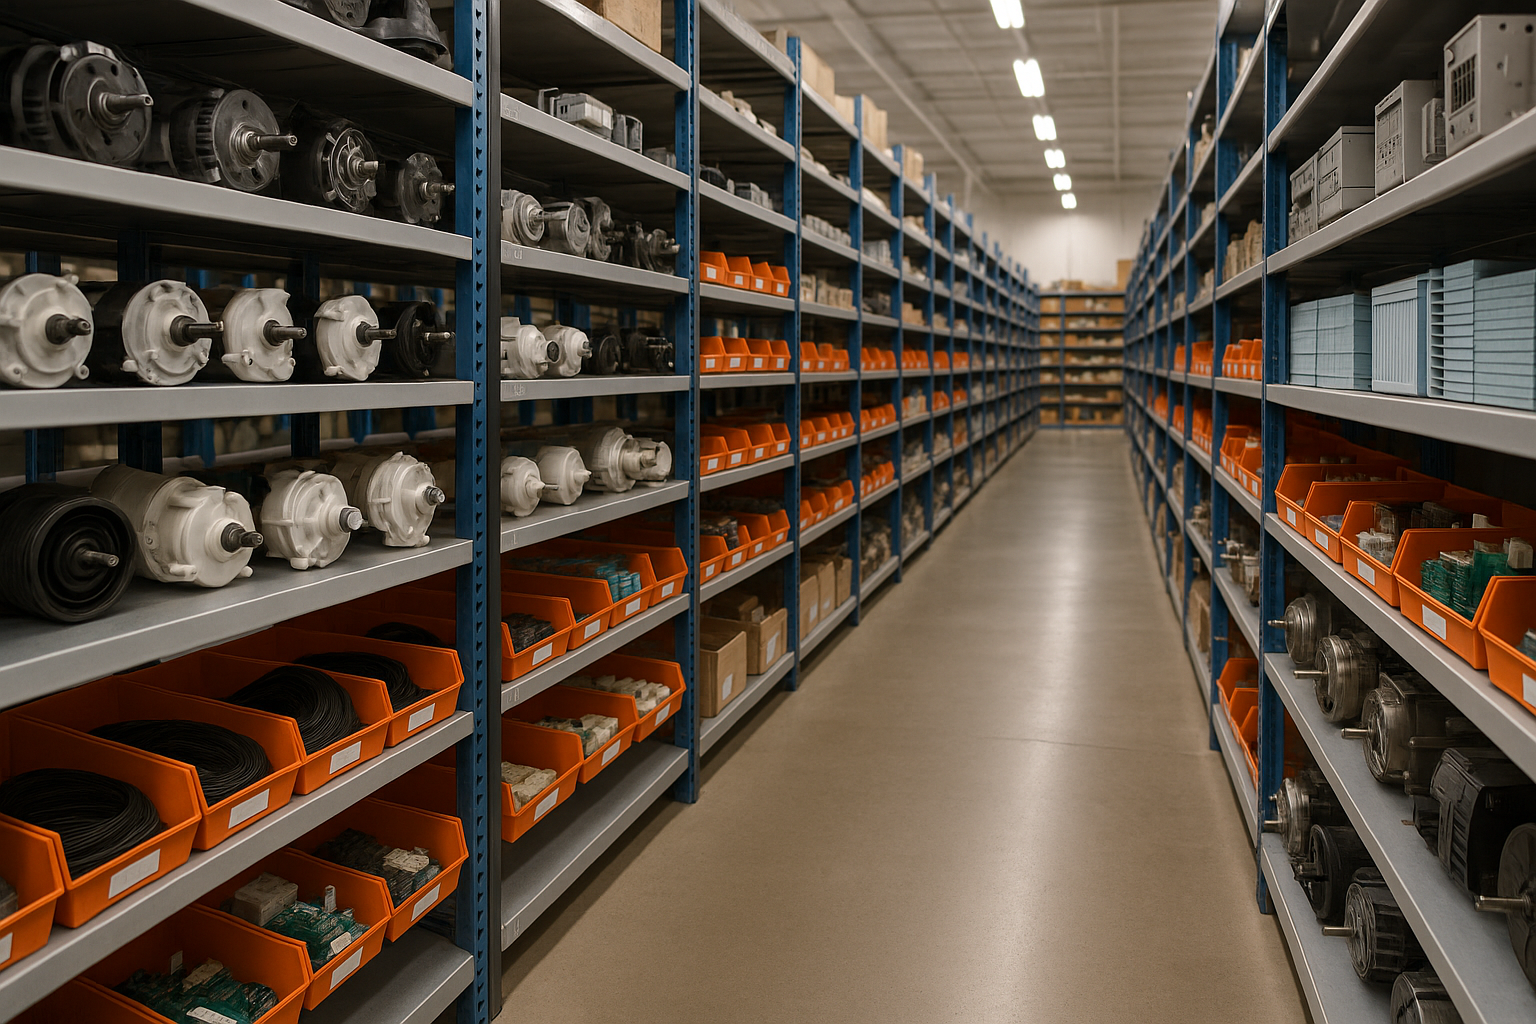
Professional appliance parts warehouse with organized shelving and extensive inventory

Express Warehouse Shipping

Order within the countdown for same-day shipping!

00 Hours
00 Minutes
00 Seconds

In stock orders placed during business hours ship the same day.

Order of $75 or more of eligible items qualify for FREE Shipping.

Same-day shipping deadline has passed

Orders placed now will ship the next business day.

Same-day shipping deadline has passed

Orders placed outside business hours will be processed when we reopen.

Business Hours: Monday - Friday, 9:00 AM - 5:00 PM EST

Trusted Family Business

29 years of Excellence in Appliance Parts

For over 29 years, our family has been dedicated to providing quality appliance parts and exceptional service. What started as a small local business has grown into a trusted name, but we've never forgotten our roots. Every customer receives the personal attention and care that only a family-owned business can provide.

Years of Experience

Our knowledge has been built over the past 29 years in the business, ensuring expert advice for every appliance need.

Personal Service Guarantee

We treat every customer like family, providing personalized solutions and standing behind our products.

Built on Trust

Our reputation has been built one satisfied customer at a time, creating lasting relationships in our community.

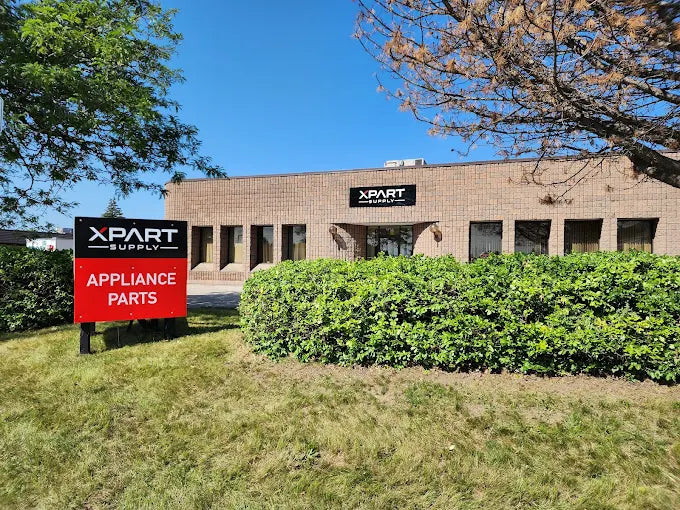
Buy Online Pick Up In-Store

Address
101 Trillium Dr
Kitchener, Ontario N2R 1J8
Phone
Hours
Monday - Friday 9:00 AM - 5:00 PM
Get Directions

Contact Us Customer Service

Hard to find parts? We've got them or we'll find them!

Call now for expert appliance parts assistance

Available Monday - Friday, 9AM - 5PM EST