WG03F01804 Refrigerator Defrost Thermostat

XPart Supply Ltd.

Price
$31.60

Frequently Bought Together

Defrost Thermostat, High-Limit Thermostat, Thermal Switch, Temperature Safety Switch, Defrost Control Thermostat

WG03F01818, WR50X10108, WR50X10109, 3033062, AP5712605, EAP8688283, PS8688283, 1155395, AH12074049, EA12074049

GE, General Electric, Hotpoint, RCA, Monogram, Café, Westinghouse, Kenmore, Sears

Fits Models: (Ctrl+F and Enter Your Model Number)

GEPFE28PSDCSS, PFE28PSKCSS, PFE29PSDCSS, PFE29PSKCSS, PFE29PSHCSS, PFE29PSLCSS, PFE29PSMCSS, PFE29PSNCS, PFE29PSPCSS, PFE29PSRCSS, PFE29PSSCSS, PFE29PSTCSS, PFE29PSUCSS, PFE29PSVCSS, PFE29PSWCSS, PFE29PSXCSS, PFE29PSYCSS, PFE29PSZCSS, PFE30PSDCSS, PFE30PSKCSS, PFE31PSDCSS, PFE31PSKCSS, PFE32PSDCSS, PFE32PSKCSS

General ElectricGSE25GSHSS, GSE25GSHWW, GSE25GSHAS, GSE25GSHAM, GSE25GSHBK, GSE25GSHCC, GSE25GSHFB, GSE25GSHFG, GSE25GSHFM, GSE25GSHFN, GSE25GSHFS, GSE25GSHFT, GSE25GSHFV, GSE25GSHFW, GSE25GSHFX, GSE25GSHFY, GSE25GSHFZ

HotpointHTR20GSHSS, HTR20GSHWW, HTR20GSHAS, HTR20GSHAM, HTR20GSHBK, HTR20GSHCC, HTR20GSHFB, HTR20GSHFG, HTR20GSHFM, HTR20GSHFN, HTR20GSHFS, HTR20GSHFT, HTR20GSHFV, HTR20GSHFW, HTR20GSHFX, HTR20GSHFY, HTR20GSHFZ

RCARFR20GSHSS, RFR20GSHWW, RFR20GSHAS, RFR20GSHAM, RFR20GSHBK, RFR20GSHCC, RFR20GSHFB, RFR20GSHFG, RFR20GSHFM, RFR20GSHFN, RFR20GSHFS, RFR20GSHFT, RFR20GSHFV, RFR20GSHFW, RFR20GSHFX, RFR20GSHFY, RFR20GSHFZ

MonogramZFR20GSHSS, ZFR20GSHWW, ZFR20GSHAS, ZFR20GSHAM, ZFR20GSHBK, ZFR20GSHCC, ZFR20GSHFB, ZFR20GSHFG, ZFR20GSHFM, ZFR20GSHFN, ZFR20GSHFS, ZFR20GSHFT, ZFR20GSHFV, ZFR20GSHFW, ZFR20GSHFX, ZFR20GSHFY, ZFR20GSHFZ

CaféCFE20GSHSS, CFE20GSHWW, CFE20GSHAS, CFE20GSHAM, CFE20GSHBK, CFE20GSHCC, CFE20GSHFB, CFE20GSHFG, CFE20GSHFM, CFE20GSHFN, CFE20GSHFS, CFE20GSHFT, CFE20GSHFV, CFE20GSHFW, CFE20GSHFX, CFE20GSHFY, CFE20GSHFZ

WestinghouseWFR20GSHSS, WFR20GSHWW, WFR20GSHAS, WFR20GSHAM, WFR20GSHBK, WFR20GSHCC, WFR20GSHFB, WFR20GSHFG, WFR20GSHFM, WFR20GSHFN, WFR20GSHFS, WFR20GSHFT, WFR20GSHFV, WFR20GSHFW, WFR20GSHFX, WFR20GSHFY, WFR20GSHFZ

Kenmore79022612100, 79022612101, 79022612102, 79022614100, 79022614101, 79022614102, 79022622100, 79022622101, 79022622102, 79022624100, 79022624101, 79022624102, 79022632100, 79022632101, 79022632102

Sears46022612100, 46022612101, 46022612102, 46022614100, 46022614101, 46022614102, 46022622100, 46022622101, 46022622102, 46022624100, 46022624101, 46022624102

Professional Repair Time: 10-15 minutes
DIY Repair Time: 15-25 minutes
Difficulty Rating: Easy (1/5) — Requires basic tools, minimal mechanical skill, attention to wire connections

  1. Turn off power to the refrigerator at the circuit breaker to ensure complete power disconnection.
  2. Unplug the refrigerator from the wall outlet for additional safety.
  3. Verify power is off by attempting to turn on the refrigerator light. The light should not illuminate.
  4. Allow the refrigerator to warm up for 15-20 minutes before opening to prevent thermal shock and allow any frost to soften.
  5. Open the refrigerator and freezer doors fully to access the interior.
  6. Remove any food items from the freezer section to provide working space and prevent food spoilage.
  7. Take multiple photos of the defrost thermostat location, mounting, and wire connections before disassembly. Document from multiple angles. This is critical for proper reassembly.
  8. Locate the defrost thermostat mounted directly on the evaporator coil or in the freezer cavity near the evaporator (typically mounted with a clip or adhesive).
  9. Take a photo of the wire connections to the thermostat before disconnecting. Note the wire colors and terminal orientation.
  10. Disconnect the wire harness connector from the defrost thermostat by pressing the locking tab and pulling the connector straight off. Do not pull on the wires—grasp the connector body.
  11. If the thermostat is hardwired (no connector), note the wire colors and terminal positions before disconnecting. Label each wire with masking tape.
  12. Carefully disconnect the wires from the thermostat terminals. Use masking tape to label each wire indicating its original terminal position (e.g., "Terminal 1 - Red Wire").
  13. Remove the mounting clip or fastener that secures the thermostat to the evaporator coil or mounting bracket (typically a single clip or adhesive mount).
  14. Carefully remove the old defrost thermostat from the evaporator coil or mounting location.
  15. Place the old thermostat on a clean work surface with adequate space for inspection.
  16. Inspect the old thermostat for visible damage such as cracks, burns, corrosion, or discoloration. This confirms the diagnosis.
  17. Inspect the evaporator coil for excessive frost or ice buildup. Heavy frost indicates the defrost thermostat was not opening properly to stop the defrost heater.
  18. Inspect the mounting location on the evaporator coil for damage, corrosion, or debris. Clean the mounting area if necessary using a dry cloth.
  19. Unpack the new WG03F01804 defrost thermostat from its packaging. Handle carefully to avoid damaging the thermostat body or terminals.
  20. Verify the thermostat specifications match the old thermostat: metal housing, two wire terminals, bimetallic strip technology, mounting clip or adhesive.
  21. Compare the new thermostat to the old one to verify the dimensions, terminal positions, mounting method, and overall appearance match. Ensure you have the correct replacement part.
  22. Inspect the new thermostat for any damage or defects before installation. The housing should be intact with no cracks or damage, and the terminals should be clean and undamaged.
  23. Position the new defrost thermostat on the evaporator coil, aligning it with the mounting clip or adhesive location. The thermostat should be in direct contact with the evaporator coil for accurate temperature sensing.
  24. Install the mounting clip to secure the thermostat to the evaporator coil. Tighten gently but firmly—do not overtighten, which can crack the thermostat body.
  25. If using adhesive, apply a small amount of high-temperature adhesive to the thermostat mounting surface and press firmly onto the evaporator coil. Allow the adhesive to cure according to manufacturer instructions before restoring power.
  26. Verify the thermostat is securely mounted and does not wobble or shift when gently pressed.
  27. Verify the thermostat is in direct contact with the evaporator coil surface for accurate temperature sensing. Poor contact will result in improper defrost cycle operation.
  28. Reconnect the wire harness connector to the new thermostat by pushing the connector straight onto the terminals until it clicks into place (if the original thermostat had a connector).
  29. If the thermostat is hardwired, reconnect the wires to the correct terminals using your labeled wires. Match each wire to its original terminal position.
  30. Verify all wire connections are secure by gently tugging on each wire or connector. Wires should not pull off—they should be firmly seated.
  31. Restore power at the circuit breaker and plug in the refrigerator.
  32. Allow the refrigerator to cool for 15-20 minutes before opening the doors.
  33. Test the new defrost thermostat by monitoring the refrigerator operation over the next 24 hours.
  34. Verify the refrigerator maintains proper temperature (around 37-40°F in the fresh food section and 0°F in the freezer).
  35. Verify the defrost cycle operates normally by listening for the defrost heater activation (typically occurs every 8-12 hours for 15-20 minutes).
  36. Monitor the evaporator coil for frost or ice buildup. Excessive frost indicates the defrost thermostat is not opening properly to stop the defrost heater.
  37. Verify no water is leaking inside the refrigerator from the defrost cycle. Small amounts of water during defrost are normal.
  38. Reinstall any food items that were removed from the freezer.
  39. Monitor the refrigerator for 3-5 defrost cycles (typically 24-60 hours) to ensure the defrost thermostat operates properly without issues.

Safety Notes: Always turn off power at the circuit breaker and unplug the refrigerator before working on it to prevent electrical shock. The defrost thermostat is a safety-critical component—never bypass or disable it. Ensure all wire connections are correct and secure before restoring power. Incorrect wiring can damage the new thermostat or control board. This repair requires basic tools (screwdriver) and moderate mechanical skill—most homeowners can complete this repair successfully with proper precautions.

  1. The defrost thermostat is a safety device, not a temperature regulator. The defrost thermostat protects against overheating during the defrost cycle by shutting off the defrost heater if the evaporator coil temperature exceeds a safe limit (typically around -10°F to 0°F). It works with the defrost timer or control board to provide both defrost cycle control and safety protection. Never bypass or disable the defrost thermostat.
  2. Document wire connections before disconnecting. Take clear photos of the wire harness connector orientation, wire colors, and terminal positions before removing the old thermostat. This documentation prevents wiring errors that can damage the new thermostat or control board.
  3. The thermostat must be in direct contact with the evaporator coil. The WG03F01804 senses evaporator coil temperature through direct contact. Poor contact between the thermostat and coil surface will result in improper temperature sensing and defrost cycle malfunction. Ensure the thermostat is mounted securely and in full contact with the evaporator coil surface.
  4. Verify the defrost timer or control board is functioning properly before replacing the thermostat. The defrost thermostat works in conjunction with the defrost timer (or electronic control board) which initiates the defrost cycle. If the defrost timer is faulty, replacing the thermostat alone will not fix the problem. Test the defrost timer before ordering a replacement thermostat.
  5. Excessive frost or ice buildup indicates defrost thermostat failure. If the evaporator coil has heavy frost or ice accumulation, the defrost thermostat is likely stuck open (not closing the circuit) and not allowing the defrost heater to run. Replace the thermostat promptly to restore proper defrost cycle operation.
  6. The defrost thermostat cannot be reset or repaired. This is a one-time-use component. Once it fails, it must be replaced. There is no reset procedure or repair option. Order a replacement part immediately if failure is confirmed.
  7. Test the old thermostat with a multimeter to confirm failure. Use a multimeter set to continuity mode to test the old thermostat. At room temperature, the thermostat should show continuity (buzzer sounds). If no continuity is present at room temperature, the thermostat is faulty and needs replacement.
  8. The defrost cycle typically occurs every 8-12 hours for 15-20 minutes. Normal refrigerator operation includes automatic defrost cycles where the defrost heater runs to melt frost from the evaporator coil. The defrost thermostat stops the heater when the coil temperature reaches the setpoint. Listen for the defrost heater activation to verify normal operation.
  9. Water leaking during defrost cycles is normal in small amounts. During the defrost cycle, melted frost drains through the defrost drain line. Small amounts of water in the drain pan are normal. Excessive water leaking inside the refrigerator indicates a blocked defrost drain line or other problems.
  10. This repair is cost-effective compared to refrigerator replacement. The cost of defrost thermostat replacement ($25-50) is far less than the cost of a new refrigerator ($800-2,500+). Replace the thermostat promptly when failure is detected to prevent the need for expensive refrigerator replacement.
  • Refrigerator not defrosting properly (ice buildup on evaporator coil)
  • Defrost heater running continuously without stopping
  • Refrigerator not cooling (if defrost heater stuck on)
  • Frost or ice accumulating excessively on evaporator coil
  • Refrigerator temperature rising above normal
  • Water leaking inside refrigerator from excessive ice melt
  • Freezer section becoming warmer than normal
  • Error codes displayed on control panel (defrost error codes)
  • Refrigerator cycling on and off frequently
  • Compressor running constantly
  • Visible frost or ice in fresh food section
  • Freezer temperature fluctuating


Whirlpool refrigerator replacement parts, Frigidaire refrigerator replacement parts, GE refrigerator replacement parts, Kenmore refrigerator replacement parts, KitchenAid refrigerator replacement parts, LG refrigerator replacement parts, Maytag refrigerator replacement parts, Whirlpool refrigerator drawers and glides replacement, Whirlpool dishwasher replacement parts, GE dishwasher replacement parts, KitchenAid dishwasher replacement parts, Maytag dishwasher replacement parts, Frigidaire dishwasher replacement parts, Kenmore dishwasher replacement parts, Whirlpool washer replacement parts, GE washer replacement parts, Maytag washer replacement parts, Kenmore washer replacement parts, LG washer replacement parts, Whirlpool dryer replacement parts, GE dryer replacement parts, Maytag dryer replacement parts, Kenmore dryer replacement parts, LG dryer replacement parts, Whirlpool range replacement parts, GE range replacement parts, Whirlpool stove replacement parts, GE stove replacement parts, GE oven replacement parts, GE microwave replacement parts, buy Whirlpool refrigerator parts online, buy GE dishwasher parts online, replacement Kenmore washer parts for sale, buy Maytag dryer parts, LG washer replacement parts online, KitchenAid refrigerator parts for sale, Whirlpool stove and range replacement parts

WG03F01804 Refrigerator Defrost Thermostat

The WG03F01804 is a genuine OEM refrigerator defrost thermostat for GE and affiliated brand refrigerators and freezers. This defrost thermostat is a critical safety component that protects the refrigerator from overheating during the defrost cycle by automatically shutting off the defrost heating element if the evaporator coil temperature exceeds a safe maximum limit (typically -10°F to 0°F). The thermostat is constructed from durable metal housing with internal bimetallic strip technology that responds to temperature changes. The bimetallic strip bends when exposed to excessive heat, opening the electrical circuit and cutting power to the defrost heater. The WG03F01804 is designed specifically for refrigerator and freezer defrost circuits and works in conjunction with the main defrost timer or control board (which initiates the defrost cycle). The thermostat features two wire terminals for electrical connection and is mounted directly on the evaporator coil or in the freezer cavity near the evaporator. The thermostat is normally closed at room temperature (continuity present) and opens when the evaporator coil temperature exceeds the setpoint (typically around -10°F), stopping the defrost heater. The WG03F01804 replaces older part numbers including WG03F01818, WR50X10108, WR50X10109, 3033062, AP5712605, and EAP8688283 with improved reliability and consistency. Over time, refrigerator defrost thermostats can fail due to repeated thermal cycling causing metal fatigue, bimetallic strip corrosion or oxidation, electrical contact wear or burning, frost or ice buildup preventing proper temperature sensing, manufacturing defects, or moisture exposure. When the defrost thermostat fails, symptoms include the refrigerator not defrosting properly (ice buildup on evaporator coil), the defrost heater running continuously without stopping, the refrigerator not cooling (if the defrost heater is stuck on), frost or ice accumulating excessively on the evaporator coil, the refrigerator temperature rising above normal, water leaking inside the refrigerator from excessive ice melt, the freezer section becoming warmer than normal, or error codes displayed on the control panel (such as defrost error codes). The WG03F01804 is a complete replacement defrost thermostat that restores full refrigerator defrost cycle operation and safety protection. Replacing a faulty defrost thermostat eliminates all thermostat-related problems and restores reliable, safe refrigerator operation. Important: Always turn off power at the circuit breaker before working on the refrigerator. The defrost thermostat is a safety-critical component—never bypass or disable it. This part is a one-time-use component that cannot be reset or repaired; replacement is the only solution. Verify your refrigerator model number before ordering.


  • Precise Temperature Control: Automatically shuts off power at the ideal temperature to prevent overheating and ensure consistent performance.
  • Energy-Efficient Design: Helps reduce electricity usage by optimizing defrost cycles, making it a smart choice for everyday household appliances.
  • Easy Installation: Compact and standard-sized for quick replacement in supported models, minimizing downtime for your refrigerator.

By preventing frost buildup and maintaining even cooling, this thermostat solves common issues like inefficient cooling or excessive energy consumption, ultimately extending the life of your refrigerator and keeping your groceries fresher longer. Trust XPart Supply Ltd. for high-quality, reliable parts that deliver dependable results every time.

The WG03F01804 Refrigerator Defrost Thermostat ensures a reliable and consistent temperature is maintained in the refrigerator. This thermostat is designed to safely turn off the power when the ideal temperature is achieved, helping to reduce power consumption and keep food fresh.

Part Number WG03F01804 replaces WG03F01818, WR50X10108, WR50X10109

Supported Models:

CFE28TP2MDS1, CFE28TP3MCD1, CFE28TP4MBW2, CFE28TSHBSS, CFE28TSHCSS, CFE28TSHDSS, CFE28TSHESS, CFE28TSHFSS, CFE28TSHGSS, CFE28TSHISS,CFE28TP3MCD1, CFE28TP2MDS1, CFE28TP4MBW2, PFE29PSDASS, PFE29PSDBSS, PFE29PSDCSS, PFE29PSDDSS, PFE29PSDESS, PFE29PSDFSS, GFE28HMKNES, GFE26GMHBES, GFE26GMHCES, GFE26GMHDES, GFE26GMHEES, GFE26GMHFES, GFE26GMKBES, GFE26GSHBSS, GFE26GSHCSS, GFE26GSHFSS, GFE26GSHGSS, GFE26GSKBSS, GNE29GMHBES, GNE29GMHCES, GNE29GMHDES, GNE29GMKBES, GNE29GMKFES, GNE29GSHBSS, GNE29GSHDSS, GNE29GSHESS, GNE29GSKBSS, GNE29GSKFSS, GNE29GGHBWW, GNE29GGHCWW, GNE29GGHEWW, CYE22TSHBSS, CYE22TSHCSS, CYE22TSHDSS, CYE22TSHESS, CYE22TSHFSS, CYE22TSHGSS, CYE22TSHHSS, CYE22TSHJSS, CYE22TSHPSS, CYE22UELBDS, CYE22USHBSS, CYE22USHCSS, CYE22USHESS, CYE22USHFSS, CYE22USHKSS, CWE23SSHBSS, CWE23SSHCSS, CWE23SSHDSS, CWE23SSHFSS, CWE23SSHHSS, CWE23SSHNSS, CFE28UELBDS, CFE28TSHBSS, CFE28TSHCSS, CFE28TSHDSS, CFE28TSHESS, CFE28TSHFSS, CFE28TSHGSS, CFE28TSHISS, CFE28TSHJSS, CFE28TSHOSS, CFE28USHBSS, CFE28USHESS, CFE28USHHSS, CFE28USHKSS, PYE22PSHBSS, PYE22PSHFSS, PYE22PSHHSS, PYE22PSHISS, PYE22PSHJSS, PYE22PSKBSS, PYE22PSKGSS, PYE22PMKBES, PYD22KSLBSS, PYD22KBLBTS, PWE23KMDCES, PWE23KMDDES, PWE23KMDEES, PWE23KMDFES, PWE23KMKBES, PWE23KMKEES, PWE23KMKFES, PWE23KSDCSS, PWE23KSDDSS, PWE23KSDESS, PWE23KSDFSS, PWE23KSDHSS, PWE23KSKBSS, PFE28RSHDSS, PFE28RSHESS, PFE28RSHFSS, PFE28PMKBES, PFE28PSKBSS, ZWE23ESNCSS, ZWE23PSNCSS, ZWE23ESHMSS, ZWE23PSHLSS, ZWE23PSHMSS, PFE29PSDSS, GFE28HSHBSS, PFE28RSHBSS, ZWE23ESHBSS, ZWE23ESHCSS, ZWE23ESHDSS, ZWE23ESHESS, GFE28HSHCSS


Hard to find parts? We've got them or we'll find them!

Over 10,000 New & Used Parts Ready for Pickup

Show this item number to our store staff to help locate the exact part you need
XPART GTIN/UPC NUMBER
9665381138721

XPart Supply Advantage

Your trusted partner for fast, reliable parts delivery across North America

Lightning Fast Shipping

Same-day processing with expedited delivery options across North America

Massive Inventory

Over 10,000 parts in stock and ready to ship immediately

North America Coverage

Comprehensive shipping network covering USA, Canada, and Mexico

Quality Guaranteed

Premium parts with warranty protection and expert customer support

10K+
Parts in Stock
24-48H
Local Delivery
99.8%
Customer Satisfaction
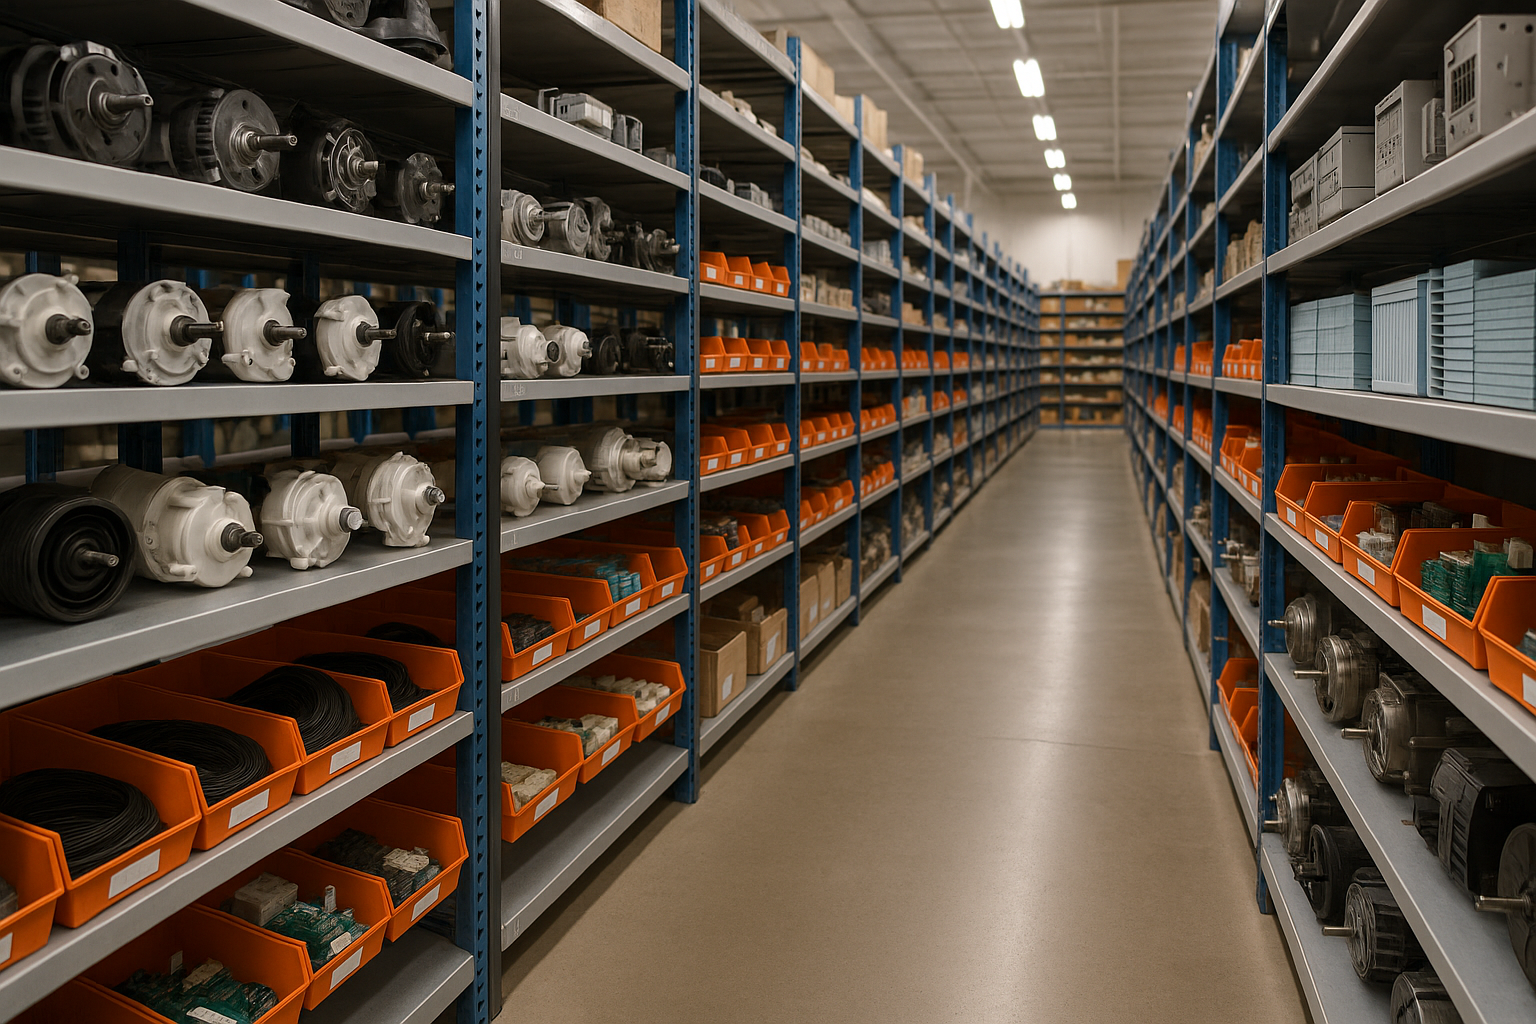
Professional appliance parts warehouse with organized shelving and extensive inventory

Express Warehouse Shipping

Order within the countdown for same-day shipping!

00 Hours
00 Minutes
00 Seconds

In stock orders placed during business hours ship the same day.

Order of $75 or more of eligible items qualify for FREE Shipping.

Same-day shipping deadline has passed

Orders placed now will ship the next business day.

Same-day shipping deadline has passed

Orders placed outside business hours will be processed when we reopen.

Business Hours: Monday - Friday, 9:00 AM - 5:00 PM EST

Trusted Family Business

29 years of Excellence in Appliance Parts

For over 29 years, our family has been dedicated to providing quality appliance parts and exceptional service. What started as a small local business has grown into a trusted name, but we've never forgotten our roots. Every customer receives the personal attention and care that only a family-owned business can provide.

Years of Experience

Our knowledge has been built over the past 29 years in the business, ensuring expert advice for every appliance need.

Personal Service Guarantee

We treat every customer like family, providing personalized solutions and standing behind our products.

Built on Trust

Our reputation has been built one satisfied customer at a time, creating lasting relationships in our community.

Buy Online Pick Up In-Store

Address
101 Trillium Dr
Kitchener, Ontario N2R 1J8
Phone
Hours
Monday - Friday 9:00 AM - 5:00 PM
Get Directions

Contact Us Customer Service

Hard to find parts? We've got them or we'll find them!

Call now for expert appliance parts assistance

Available Monday - Friday, 9AM - 5PM EST