WG03F09216 Refrigerator Main Cntrl Board

XPart Supply Ltd.

Sale price
$279.58
Regular price
$335.50
You save
$55.92 (17%)

Frequently Bought Together

Stock Notification

Get notified when this product is available again

WR55X10942, WR55X10942P, WR55X11119, WR55X11120, 200D4850G009, 200D4850G010, PS12067194, AP6885432, 4835056, 4835057

Fits Models: (Ctrl+F and Enter Your Model Number)

GE: GFE28GMKES, GFE28GSKSS, GFE28GYNFS, GNE27JSMSS, GNE27JYMFS, GNE29GYNFS, GSE25HSHSS, GSE25HYNFS, GSS25GSHSS, GSS25IYNFS

GE (continued): PFE28KSKSS, PFE28PSKSS, PYE22KSKSS, PYE22PSKSS, GYE22HSKSS, GYE22GYNFS, GZS22DSJSS, GZS22IYNFS, GDE25ESKSS, GDE25EYKFS

Hotpoint: HSS22GFTSA, HSS22GFTBB, HSS22GFTWW, HSS25GFTSA, HSS25GFTBB, HSS25GFTWW, HSS25IFTSA, HSS25IFTBB, HSS25IFTWW, HTS18GBMWW

Haier: HRF15N3AGS, HRF18N6AGS, HRQ16N3BGS, HRQ20N6BGS, HRB15N3BGS, HRB18N6BGS, HRS21N3BGS, HRS24N6BGS, HRF21N6ASE, HRQ21N6BGS

Note: This is a partial list. This main control board is used in many GE-manufactured side-by-side, French door, and top-freezer refrigerators built between 2015-2024. Verify your specific model number for compatibility before ordering. Control boards are model-specificโ€”using an incompatible board will cause malfunction.

Professional: 45-75 minutes
DIY: 90-150 minutes
Difficulty Level: Advanced repair (requires extensive wire management, precise connector placement, and electrical knowledge)

Required Tools:

  • Phillips screwdriver
  • Flathead screwdriver
  • 1/4" or 5/16" nut driver
  • Needle-nose pliers
  • Work gloves
  • Flashlight
  • Camera or smartphone (for reference photos)
  • Masking tape and marker (for labeling wires)

Step-by-Step Installation:

  1. Disconnect Power: Unplug the refrigerator from the electrical outlet or turn off the circuit breaker. Never work on the refrigerator with power connected. Wait 5 minutes for capacitors to discharge before proceeding.
  2. Empty Refrigerator (Recommended): Remove food items from the refrigerator and freezer, or at least from areas where you'll be working. This prevents food spoilage and provides better access.
  3. Locate Control Board: The main control board location varies by model:Rear-mounted:ย Behind the refrigerator at the top or middle back panelInterior-mounted:ย Inside the fresh food compartment behind the temperature control panel, light shield, or upper rear panelTop-mounted:ย On top of the refrigerator beneath a cover panel Consult your refrigerator's service manual or look for a plastic housing with multiple wire connectors.
  4. Access Control Board (Rear-Mounted): If the board is rear-mounted, pull the refrigerator away from the wall to access the back panel. Remove screws securing the rear access panel or control board cover (typically 4-8 screws). Lift the panel off to expose the control board.
  5. Access Control Board (Interior-Mounted): If the board is inside the refrigerator, remove shelves and bins as needed. Remove the temperature control panel or light shield by removing screws or releasing clips. This exposes the control board housing.
  6. Photograph Wire Connections (Critical): Before disconnecting anything, take multiple clear, close-up photos of ALL wire harness connections to the control board. Photograph each connector from multiple angles showing wire colors, connector positions, and orientation. This is absolutely critical for correct reinstallation. Label each connector with masking tape and marker if needed (e.g., "Compressor," "Defrost," "Display," etc.).
  7. Disconnect Wire Harnesses: The control board will have multiple wire harness connectors (typically 6-15 connectors depending on model). Carefully disconnect each connector one at a time:Press the release tab or locking mechanism on each connectorPull the connector straight offโ€”do not pull on wires, only on the connector housingIf connectors are tight, gently wiggle while pullingKeep track of which connector goes where using your photos and labels
  8. Remove Mounting Hardware: The control board housing is secured with mounting screws, clips, or brackets (typically 2-6 fasteners). Remove all mounting hardware. Keep these fastenersโ€”you'll need them for reinstallation.
  9. Remove Old Control Board: Once all connections and mounting hardware are removed, carefully lift the old control board and housing away from the mounting location. Handle gently to avoid damaging other components.
  10. Inspect Old Control Board: Examine the old board for visible damage: burned components, melted plastic, corrosion, moisture damage, or blown fuses. This helps confirm the diagnosis and identify the cause of failure. Check for signs of power surge damage or water intrusion.
  11. Compare Old and New Boards: Remove the new control board from its packaging (use anti-static precautionsโ€”touch a grounded metal surface before handling). Compare the new board to the old board:Verify connector locations match exactlyCheck that mounting hole positions are identicalConfirm part numbers match or are compatibleEnsure the board is the correct replacement
  12. Prepare New Control Board: If the new board comes without a housing, you may need to transfer the old housing to the new board. Remove screws securing the old board to its housing and carefully remove the old board. Install the new board into the housing using the same mounting screws.
  13. Position New Control Board: Carefully position the new control board (with housing) into the mounting location. Align mounting holes with the refrigerator mounting points or brackets.
  14. Install Mounting Hardware: Secure the control board with mounting screws, clips, or brackets. Tighten screws firmly but do not overtightenโ€”excessive force can crack the plastic housing or damage the board.
  15. Reconnect Wire Harnesses (Critical Step): Using your reference photos and labels, reconnect all wire harness connectors to the new control board. This is the most critical step:Match each connector to its correct port on the boardEnsure connectors are oriented correctly (they typically only fit one way)Push each connector straight on until you hear or feel a clickVerify the locking tab engages on each connectorGently tug each connector to ensure it's fully seated and won't pull offDouble-check every connection against your photos before proceeding
  16. Verify All Connections: Before closing panels, carefully verify that:All wire connectors are attached to the correct portsNo connectors are loose or partially connectedNo wires are pinched, damaged, or touching sharp edgesAll locking tabs are engagedThe board is securely mounted
  17. Reinstall Access Panels: Replace the rear access panel, control panel cover, or light shield. Secure with all mounting screws or clips.
  18. Move Refrigerator Back (if applicable): If you moved the refrigerator away from the wall, carefully push it back into position.
  19. Restore Power: Plug the refrigerator back into the electrical outlet or turn on the circuit breaker.
  20. Initial Power-Up: When power is restored, the control board will initialize. You may hear beeps, see the display light up, or hear the compressor and fans start. This is normal. Some models require 5-10 minutes for the control board to complete initialization.
  21. Reset/Configure Settings: Depending on your model, you may need to:Set the temperature controls to desired settings (typically 37ยฐF fresh food, 0ยฐF freezer)Reset the water filter indicator if applicableReconfigure any custom settings (Sabbath mode, alarm settings, etc.)Run diagnostics if your model has a diagnostic mode
  22. Test All Functions: Systematically test all refrigerator functions:Cooling:ย Verify compressor runs and both compartments begin coolingDisplay Panel:ย Check that all display segments work and respond to button pressesTemperature Controls:ย Adjust temperature settings and verify the display changesIce Maker:ย Verify ice maker operates (if equipped)Water Dispenser:ย Test water dispenser operation (if equipped)Lights:ย Check that interior lights turn on when doors openDoor Alarms:ย Test door alarm by leaving door openDefrost Cycle:ย The defrost cycle runs automaticallyโ€”you can't test immediately
  23. Monitor for 24 Hours: Allow the refrigerator to run for 24 hours and monitor for:Proper cooling in both compartments (use a thermometer to verify temperatures)Normal compressor cycling (runs for 15-30 minutes, then cycles off)No error codes or unusual displaysNormal operation of all features
  24. Check for Error Codes: If error codes appear on the display, consult your refrigerator's service manual to diagnose. Some error codes indicate additional component failures or incorrect board installation.
  25. Reload Food: Once you've verified proper operation for several hours and temperatures are stable, reload food items into the refrigerator and freezer.

Diagnose before replacingโ€”control boards are expensive and often misdiagnosed. The main control board is one of the most expensive refrigerator parts ($200-400), and it's frequently replaced unnecessarily. Before ordering a control board, systematically test other components: compressor (test start relay and overload protector), temperature sensors (test resistance), defrost system (test defrost heater, thermostat, and timer), and power supply (verify 120V at outlet). An estimated 40% of control board replacements are unnecessaryโ€”the actual problem is a failed sensor, compressor component, or wiring issue. A $15 thermistor or $25 start relay can cause the same symptoms as a $300 control board.

Take extensive photos and label everything. Control board replacement has the highest reinstallation error rate of any appliance repair. With 10-15 wire connectors that look similar, it's extremely easy to connect wires to the wrong ports, causing immediate board failure, component damage, or electrical shorts. Take 20-30 photos from multiple angles before disconnecting anything. Label every connector with tape and marker. Compare your photos constantly during reinstallation. One misconnected wire can destroy your new $300 board instantly.

Check for power surges and voltage issues before installing the new board. If your control board failed due to a power surge or voltage spike, installing a new board without addressing the electrical issue will destroy the new board immediately. Test the outlet voltage (should be 115-125V AC). Install a surge protector or whole-house surge protection. If you experience frequent power outages or brownouts, the electrical supply may be damaging appliances. Many manufacturers void warranties if surge damage is evident.

Verify the compressor start relay and overload protector. Control boards often fail because they're repeatedly trying to start a compressor with a bad start relay or overload protector. The board sends start signals, the compressor fails to start, and the repeated cycling damages the board's relay circuits. Before installing a new control board, remove and test the compressor start relay and overload protector. Replace them if they test bad or show signs of burning. Installing a new board without replacing failed compressor components will destroy the new board within weeks.

Control boards are non-returnable and non-refundable. Almost all appliance parts suppliers have strict no-return policies on control boards because they're easily damaged by incorrect installation, static electricity, or misdiagnosis. Once you install a control board and apply power, it cannot be returned even if it doesn't fix the problem. This makes accurate diagnosis absolutely critical before ordering. If you're not confident in your diagnosis, hire a professional technicianโ€”paying $150 for a service call is cheaper than buying the wrong $300 control board.

Update firmware if applicable (newer models). Some modern refrigerator control boards have updatable firmware that fixes bugs, improves performance, or adds features. Check the manufacturer's website or service portal for firmware updates for your specific model. Some updates can only be installed by authorized service technicians with specialized equipment. If your refrigerator had recurring issues before the board failed, a firmware update on the new board may prevent the same problems.

Protect against moisture and condensation. Control board failures are frequently caused by moisture intrusion from condensation, water leaks, or high humidity. After installing the new board, inspect all door gaskets for leaks, check the defrost drain for clogs (which cause water backup), and ensure the control board housing has proper seals. If your refrigerator is in a high-humidity environment (garage, basement), consider adding a dehumidifier nearby. Moisture is the #1 killer of refrigerator control boards.

  • Refrigerator completely dead (no lights, no cooling, no display)
  • Display panel blank or shows garbled characters
  • Temperature controls not responding to button presses
  • Refrigerator not cooling (compressor won't run)
  • Freezer not cooling properly
  • Compressor runs continuously without cycling off
  • Compressor won't start (clicking sound but no cooling)
  • Fans not running (evaporator fan or condenser fan)
  • Ice maker not working or not making ice
  • Water dispenser not working
  • Defrost cycle not operating (frost buildup on evaporator coils)
  • Error codes displayed on control panel
  • Intermittent cooling (works sometimes, not others)
  • Temperature fluctuations (too warm or too cold)
  • Lights not working
  • Door alarm not functioning
  • Sabbath mode stuck on or won't activate
  • Control board making clicking or buzzing noises
  • Refrigerator resets randomly or loses settings
  • Visible damage to control board (burned components, moisture)


Whirlpool refrigerator replacement parts, Frigidaire refrigerator replacement parts, GE refrigerator replacement parts, Kenmore refrigerator replacement parts, KitchenAid refrigerator replacement parts, LG refrigerator replacement parts, Maytag refrigerator replacement parts, Whirlpool refrigerator drawers and glides replacement, Whirlpool dishwasher replacement parts, GE dishwasher replacement parts, KitchenAid dishwasher replacement parts, Maytag dishwasher replacement parts, Frigidaire dishwasher replacement parts, Kenmore dishwasher replacement parts, Whirlpool washer replacement parts, GE washer replacement parts, Maytag washer replacement parts, Kenmore washer replacement parts, LG washer replacement parts, Whirlpool dryer replacement parts, GE dryer replacement parts, Maytag dryer replacement parts, Kenmore dryer replacement parts, LG dryer replacement parts, Whirlpool range replacement parts, GE range replacement parts, Whirlpool stove replacement parts, GE stove replacement parts, GE oven replacement parts, GE microwave replacement parts, buy Whirlpool refrigerator parts online, buy GE dishwasher parts online, replacement Kenmore washer parts for sale, buy Maytag dryer parts, LG washer replacement parts online, KitchenAid refrigerator parts for sale, Whirlpool stove and range replacement parts

WG03F09216 Refrigerator Main Control Board

Experience dependable refrigeration performance with the WG03F09216 Main Control Board from XPart Supply Ltd., a reliable replacement part designed for homeowners and appliance technicians seeking to restore consistent cooling in compatible refrigerator models.

Key Features and Design

This control board features advanced engineering from XPart Supply Ltd., including a precise temperature sensor that ensures accurate readings for optimal operation. Crafted as a direct replacement for parts like WG03F08113 and WG03F09060, it seamlessly integrates with supported models such as CSB42WP2NCS1, CCSB48WP2NCS1, CZIS420NNBII, CZIS480NNBII, CZISB420DNBII, CZISB480DNBII, and CZISS420NNBSS. With its compact and durable design, this board is built to handle the demands of everyday use, making it an essential component for maintaining your refrigerator's efficiency.

Performance and Benefits

By installing the WG03F09216 board, you can resolve issues like inconsistent temperatures and enhance your refrigerator's overall reliability, helping to extend its lifespan and reduce energy consumption. XPart Supply Ltd. ensures this part delivers superior cooling technology, providing peace of mind with its trustworthy performance and easy compatibility for a smoother appliance repair experience.

Enjoy reliable cooling technology with WG03F09216 Refrigerator Main Control Board. This board is designed to help maintain consistent temperatures for superior refrigeration performance. The board is equipped with essential features, including a temperature sensor for accurate readings.

Part number WG03F09216 replaces WG03F08113, WG03F09060

Supported Models:

CSB42WP2NCS1, CCSB48WP2NCS1, CZIS420NNBII, CZIS480NNBII, CZISB420DNBII, CZISB480DNBII, CZISS420NNBSSย 

Hard to find parts? We've got them or we'll find them!

Over 10,000 New & Used Parts Ready for Pickup

Show this item number to our store staff to help locate the exact part you need
XPART GTIN/UPC NUMBER
9665482916129

XPart Supply Advantage

Your trusted partner for fast, reliable parts delivery across North America

Lightning Fast Shipping

Same-day processing with expedited delivery options across North America

Massive Inventory

Over 10,000 parts in stock and ready to ship immediately

North America Coverage

Comprehensive shipping network covering USA, Canada, and Mexico

Quality Guaranteed

Premium parts with warranty protection and expert customer support

10K+
Parts in Stock
24-48H
Local Delivery
99.8%
Customer Satisfaction
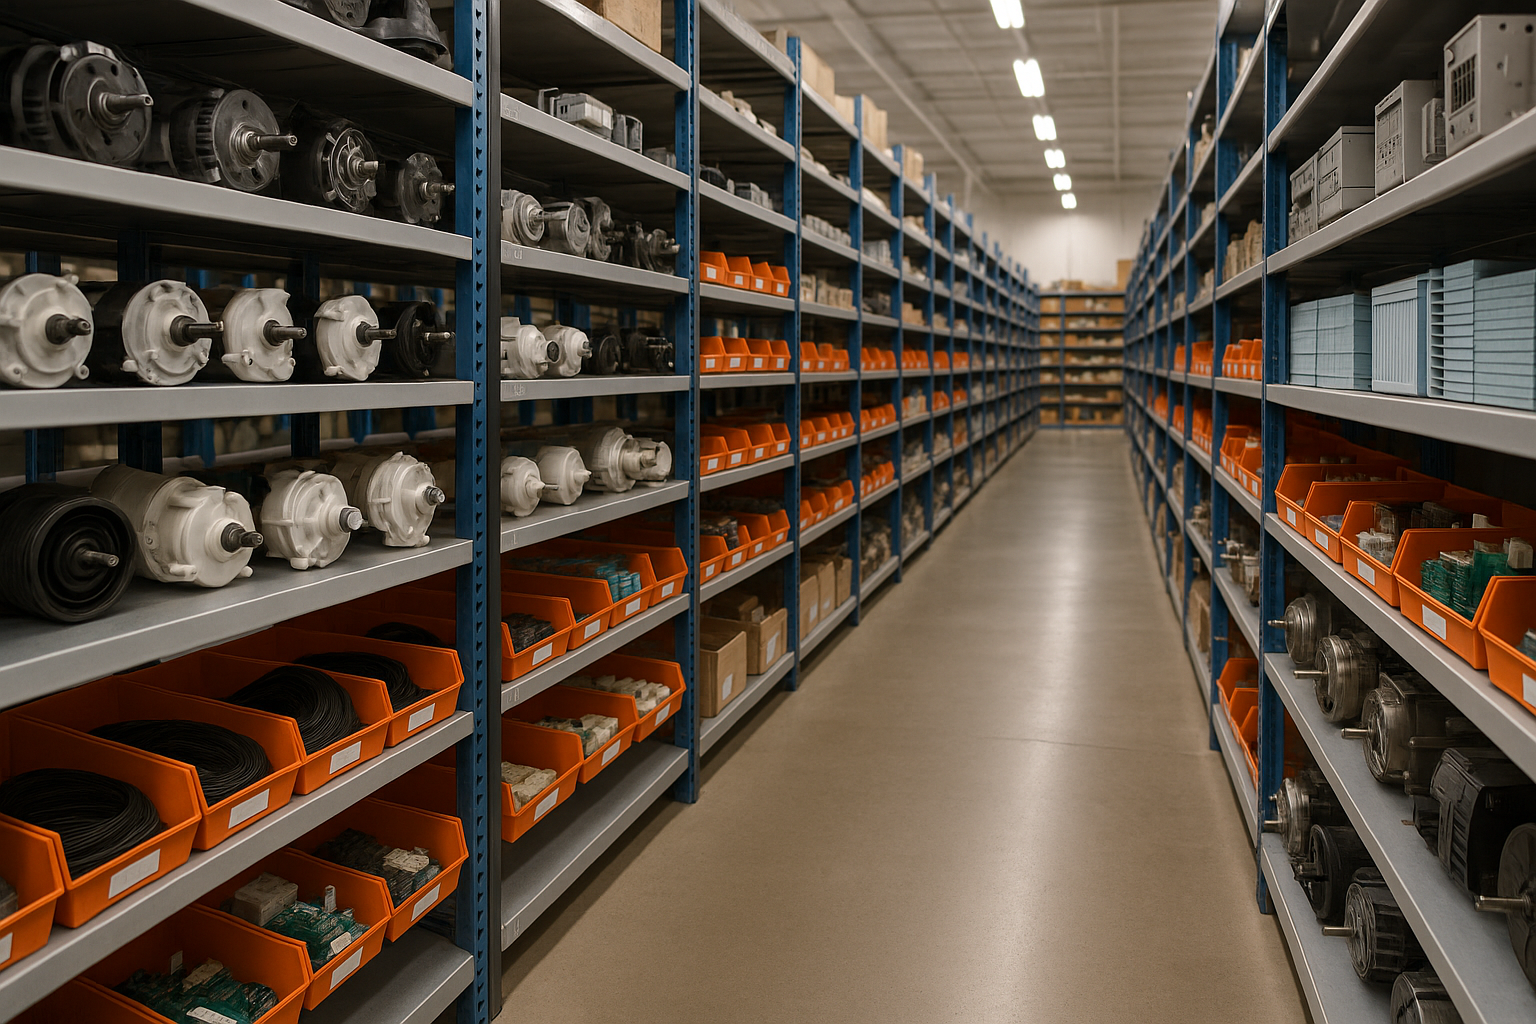
Professional appliance parts warehouse with organized shelving and extensive inventory

Express Warehouse Shipping

Order within the countdown for same-day shipping!

00 Hours
00 Minutes
00 Seconds

In stock orders placed during business hours ship the same day.

Order of $75 or more of eligible items qualify for FREE Shipping.

Same-day shipping deadline has passed

Orders placed now will ship the next business day.

Same-day shipping deadline has passed

Orders placed outside business hours will be processed when we reopen.

Business Hours: Monday - Friday, 9:00 AM - 5:00 PM EST

Trusted Family Business

29 years of Excellence in Appliance Parts

For over 29 years, our family has been dedicated to providing quality appliance parts and exceptional service. What started as a small local business has grown into a trusted name, but we've never forgotten our roots. Every customer receives the personal attention and care that only a family-owned business can provide.

Years of Experience

Our knowledge has been built over the past 29 years in the business, ensuring expert advice for every appliance need.

Personal Service Guarantee

We treat every customer like family, providing personalized solutions and standing behind our products.

Built on Trust

Our reputation has been built one satisfied customer at a time, creating lasting relationships in our community.

Buy Online Pick Up In-Store

Address
101 Trillium Dr
Kitchener, Ontario N2R 1J8
Phone
Hours
Monday - Friday 9:00 AM - 5:00 PM
Get Directions

Contact Us Customer Service

Hard to find parts? We've got them or we'll find them!

Call now for expert appliance parts assistance

Available Monday - Friday, 9AM - 5PM EST