WG04F09450 Washer Front Load Motor (replaces J58PWMAD1155)

XPart Supply Ltd. 884049175842

Sale price
$749.99
Regular price
$783.04
You save
$33.05 (4%)
Buying Options: OEM
Condition: New

Product variant with selected options does not exist!

Frequently Bought Together

Drive Motor, Front Load Motor, Direct Drive Motor, Inverter Motor, Brushless DC Motor, Motor Assembly, BLDC Motor

WG04F09450, J58PWMAD1155, WH20X23194, WH20X20837

GE, Hotpoint

Fits Models: (Ctrl+F and Enter Your Model Number)

GEGFW450SSKWW, GFW450SSMWW, GFW450SPKDG, GFW450SPMDG, GFW460SSKWW, GFW460SSMWW, GFW460SPKDG, GFW460SPMDG, GFW480SSKWW, GFW480SSMWW, GFW490SSKWW, GFW490SSMWW, GFW490RPKDG, GFW490RPMDG, GFW500SSKWW, GFW500SSMWW, GFW510SSKWW, GFW510SSMWW, GFW520SSKWW, GFW520SSMWW, GFW525SSKWW, GFW525SSMWW, GFW530SSKWW, GFW530SSMWW, GFW540SSKWW, GFW540SSMWW, GFW550SSKWW, GFW550SSMWWHotpointHTW240ASKWS, HTW240ASKWW, HTW240SSKWS, HTW240SSKWW, HTW241ASKWS, HTW241ASKWW

Professional Repair Time: 2-3 hours
DIY Repair Time: 3-4 hours (not recommended for untrained individuals due to complexity and heavy component handling)
Difficulty Rating: High (4.5/5) — Requires unplugging washer, turning off water supply, disassembling washer panels, supporting wash drum, disconnecting and labeling electrical connector, removing old motor (heavy component), installing new motor, reconnecting electrical connector, reassembling washer, testing operation

CRITICAL SAFETY WARNING: This repair involves working with heavy components (motor weighs 15-25 lbs), electrical systems, and the washer drum. Always unplug the washer from the electrical outlet and turn off the water supply before beginning work to prevent electrical shock and water damage. If uncomfortable with this repair or unfamiliar with electrical safety procedures, hire a qualified appliance technician. IMPORTANT: This is a complex repair that requires disassembling the washer to access the motor—allow 2-3 hours for completion.TOOLS REQUIRED: Phillips screwdriver, flathead screwdriver, nut driver or socket set (typically 5/16-inch, 3/8-inch, 7/16-inch), Torx screwdriver set, needle-nose pliers, adjustable wrench, flashlight, work gloves, towels, helper for lifting.IMPORTANT: This motor is heavy (15-25 lbs)—use proper lifting technique and get assistance when handling.

  1. Unplug the washer from the electrical outlet to ensure complete power disconnection. CRITICAL: Never work on the washer while it's plugged in.
  2. Turn off the water supply to the washer by closing the hot and cold water valves.
  3. Disconnect the water inlet hoses from the back of the washer. Caution: Water may drain from the hoses—have towels ready.
  4. Move the washer away from the wall to provide working space. Caution: Front-load washers are heavy (150-250 lbs)—get assistance when moving.
  5. Remove the top panel of the washer by locating and removing screws at the back of the panel (typically 2-4 screws). Slide the panel back and lift it off.
  6. Remove the detergent dispenser drawer by pulling it out and pressing the release tab.
  7. Remove the control panel by locating and removing screws securing the panel (typically 2-4 screws behind the dispenser drawer opening). Carefully tilt the panel forward or remove it completely. Caution: The panel has wire harnesses attached—disconnect carefully if necessary.
  8. Remove the front panel by locating and removing screws around the door opening and at the bottom of the panel (typically 6-10 screws). Carefully pull the front panel forward and lift it off. Caution: The panel is heavy—get assistance.
  9. Remove the door boot seal from the front panel lip by releasing the spring clamp or wire clamp securing it. Use needle-nose pliers or a flathead screwdriver to release the clamp. Carefully pull the boot seal off the front panel lip.
  10. Locate the washer motor mounted on the rear of the wash drum. The motor is typically a large cylindrical assembly with an electrical connector and mounting bolts.
  11. Take multiple photos of the motor location, electrical connector position, mounting bolt configuration, wire routing, and component positions before disassembly. CRITICAL: Electrical connections and mounting must be exact for proper reassembly and safe operation.
  12. Take detailed close-up photos of: the electrical connector and wire connections (typically 4-8 wires), wire colors and routing, mounting bolt locations and sizes, motor orientation and alignment, and drum hub connection.
  13. Disconnect the electrical connector from the motor by pressing the release tab and pulling the connector straight off. Caution: Do not pull on the wires—press the release tab and carefully remove the connector.
  14. Label the wires with tape or markers indicating their positions before disconnection. CRITICAL: Incorrect wiring causes motor malfunction or electrical hazards.
  15. Support the wash drum to prevent it from falling when the motor is removed. Use blocks or have a helper hold the drum. CRITICAL: The drum is heavy and will drop when the motor is removed.
  16. Remove the mounting bolts securing the motor to the drum hub using a socket wrench or nut driver (typically 4-6 bolts, 5/16-inch to 7/16-inch size). Caution: The motor is heavy—support it while removing the last bolt.
  17. Carefully remove the old motor from the drum hub. Caution: The motor weighs 15-25 lbs—use proper lifting technique and get assistance. Pull the motor straight back to disengage it from the drum hub.
  18. Inspect the old motor for damage indicators: motor not running or running slowly (motor failure, most common), loud grinding or squealing noise (bearing failure), burning smell (motor overheating or winding failure), visible damage to motor housing or shaft (physical damage), or corroded or damaged electrical connector (corrosion). This confirms the diagnosis.
  19. Inspect the drum hub for damage, wear, or debris. Clean the hub mounting surface thoroughly.
  20. Inspect the motor mounting bolts for damage or wear. Replace if damaged.
  21. Clean the motor mounting area on the drum hub, removing any dirt, debris, or residue.
  22. Unpack the new WG04F09450 motor from its packaging. Caution: The motor is heavy—use proper lifting technique.
  23. Compare the new motor to the old one to verify dimensions, shaft length and diameter, mounting bolt pattern, electrical connector type, and overall design match.
  24. Inspect the new motor for any shipping damage before installation. The motor housing should be intact with no cracks or damage, the shaft should be straight and undamaged, the electrical connector should be clean and undamaged, and the motor should rotate freely by hand.
  25. Position the new motor on the drum hub, aligning the motor shaft with the hub center and the mounting bolt holes. Important: The motor orientation must match the old motor per your detailed photos.
  26. Push the motor firmly onto the drum hub to engage the shaft with the hub. Caution: The motor is heavy—get assistance.
  27. Install the mounting bolts to secure the motor to the drum hub. Start all bolts by hand before tightening. Important: Tighten the bolts in a star pattern (opposite bolts) to ensure even pressure and proper alignment.
  28. Tighten the mounting bolts firmly using a socket wrench or nut driver. Caution: Do not over-tighten—this can damage the motor housing or drum hub. Typical torque is 15-20 ft-lbs.
  29. Verify the motor is securely mounted with no excessive play or movement. Try to move the motor by hand—it should not move.
  30. Remove the drum support blocks or have your helper release the drum.
  31. Connect the electrical connector to the new motor according to your detailed photos and labels. Push the connector firmly onto the motor terminals until it clicks into place. CRITICAL: Incorrect connections cause motor malfunction or electrical hazards.
  32. Verify the electrical connector is fully seated by trying to pull it off—it should not come off without pressing the release tab.
  33. Inspect the electrical connection for proper seating and alignment.
  34. Reinstall the door boot seal onto the front panel lip, securing it with the spring clamp or wire clamp.
  35. Reinstall the front panel by positioning it and securing with screws.
  36. Reinstall the control panel by positioning it and securing with screws.
  37. Reinstall the detergent dispenser drawer.
  38. Reinstall the top panel by positioning it and securing with screws.
  39. Reconnect the water inlet hoses to the back of the washer.
  40. Move the washer back into position. Caution: Get assistance when moving.
  41. Turn on the water supply by opening the hot and cold water valves.
  42. Restore electrical power by plugging in the washer.
  43. Run a diagnostic test cycle to verify proper motor operation:Consult your washer's service manual for diagnostic mode entry procedure (typically involves pressing specific button combinations)Enter diagnostic mode and run through all motor test functionsVerify the motor runs smoothly in both directionsVerify the motor accelerates and decelerates properlyVerify no unusual noises or vibrationsVerify error codes are not displayed
  44. Run a normal wash cycle with no load to verify proper operation:Select a short wash cyclePress startMonitor the cycle—the washer should fill, tumble, drain, and spin normallyVerify all cycle phases execute correctlyVerify the cycle completes without errors
  45. Check for any unusual sounds, vibrations, or error codes during the test cycle.
  46. Run a full wash cycle with a small load of towels to verify proper operation over an extended period.
  47. Monitor for proper performance during the full cycle: smooth motor operation, proper tumbling action, complete drainage, high-speed spin without excessive vibration, and no error codes displayed.
  48. If the washer operates normally through all cycle phases with no errors, the repair is complete.

Safety Notes: Always unplug the washer and turn off water supply before working on the motor. The motor is heavy (15-25 lbs)—use proper lifting technique and get assistance. Support the wash drum before removing the motor to prevent it from falling. Label all electrical connections before disconnection to ensure correct reassembly. Tighten mounting bolts in a star pattern to ensure even pressure. Verify the electrical connector is fully seated before testing. Test operation thoroughly in diagnostic mode before considering the repair complete. This repair requires mechanical and electrical knowledge and typically takes 2-3 hours for a qualified technician. If uncomfortable working with heavy components and electrical systems, hire a professional appliance technician.

  1. The WG04F09450 is a direct drive brushless DC motor with integrated inverter control—it is not compatible with older belt-driven motor systems. GE front-load washers use direct drive motors that mount directly to the drum hub without belts or pulleys. Older GE washers may use belt-driven motors with different mounting systems. Always verify your washer model uses a direct drive motor before ordering this part. Installing a direct drive motor on a belt-driven system causes incompatibility and failure.
  2. Before replacing the front load motor, always verify the motor is actually the problem—a faulty inverter control board is often misdiagnosed as a failed motor. The motor requires an electrical signal from the inverter to operate. If the motor is not running, verify the inverter is sending the signal. This requires testing with a multimeter or observing the motor for rotation when power is applied. If the inverter is not sending the signal, the inverter board may be faulty—not the motor. Test the motor by manually rotating the drum by hand—it should rotate freely without grinding or squealing. If the drum rotates freely, the motor may not be receiving power from the inverter.
  3. The motor bearing is the most common failure point—if the motor makes a loud grinding or squealing noise, the bearing has failed and the motor must be replaced. The motor has sealed ball bearings that support the motor shaft and allow smooth rotation. Over time, the bearings wear out from continuous operation and lack of lubrication. When a bearing fails, the motor makes a loud grinding or squealing noise and the drum may not rotate smoothly. Inspect the old motor by manually rotating the shaft by hand—it should rotate smoothly without grinding or squealing. If the shaft is rough or makes noise, the bearing has failed.
  4. The motor shaft must be properly aligned with the drum hub—improper alignment causes excessive vibration, noise, and premature bearing failure. After installing the new motor, verify the shaft is centered in the hub opening and the motor is mounted squarely to the drum. Tighten the mounting bolts in a star pattern (opposite bolts) to ensure even pressure and proper alignment. If the motor is misaligned, the drum will vibrate excessively during operation and the bearing will wear prematurely.
  5. The motor mounting bolts must be tightened to the correct torque—over-tightening can damage the motor housing or drum hub, and under-tightening causes the motor to come loose. Typical torque for motor mounting bolts is 15-20 ft-lbs. Use a torque wrench if available to ensure correct tightening. Tighten the bolts in a star pattern (opposite bolts) to ensure even pressure. If the bolts are over-tightened, the motor housing or drum hub can crack. If the bolts are under-tightened, the motor can come loose and cause excessive vibration.
  6. Improper electrical connections cause motor failure and potential fire hazard. If the electrical connector is loose or corroded, the motor cannot receive power from the inverter. Always connect the electrical connector firmly to the motor terminals, ensuring it clicks into place. After connection, gently tug the connector to verify it's secure. If the old motor connector shows signs of burning or corrosion, clean the connector thoroughly or replace the wiring harness before installing the new motor.
  7. If the new motor fails immediately after installation (within the first few cycles), the cause is typically: incorrect electrical connections, faulty inverter control board, improper motor alignment, or defective replacement motor. Verify the electrical connector is fully seated and correctly positioned. Verify the inverter is sending power to the motor using a multimeter. Verify the motor is properly aligned with the drum hub and the mounting bolts are tight. If everything else is correct, the replacement motor may be defective—contact the supplier for a replacement or refund.
  8. The motor inverter control board converts AC power to DC and controls motor speed and direction—if the inverter fails, the motor cannot operate. The inverter is typically integrated into the motor assembly or mounted separately on the washer frame. If the motor is not running but the electrical connector is secure, the inverter may be faulty. Test the inverter by checking for power output using a multimeter—a good inverter should provide DC voltage to the motor. If no DC voltage is present, the inverter has failed and must be replaced.
  9. The motor thermal protection circuitry prevents overheating and damage—if the motor overheats, the thermal protection will shut down the motor to prevent fire hazard. If the motor shuts down during operation and displays an error code, the motor may be overheating. Causes of overheating include: motor bearing failure (increased friction), motor winding failure (increased resistance), inverter failure (incorrect power delivery), or excessive load (overloaded washer). If the motor overheats, allow it to cool for 30 minutes before running another cycle. If the motor continues to overheat, the motor or inverter must be replaced.
  10. The motor shaft must be straight and undamaged—a bent or damaged shaft causes excessive vibration, noise, and bearing failure. Inspect the old motor shaft by manually rotating it by hand—it should rotate smoothly without wobbling or binding. If the shaft wobbles or binds, it is bent or damaged and the motor must be replaced. A bent shaft cannot be straightened and will cause premature bearing failure in the new motor if not replaced.
  11. After replacing the front load motor, run a diagnostic test cycle to verify all motor functions before using the washer normally. Most GE washers have a diagnostic mode that tests all motor functions (forward rotation, reverse rotation, speed control, etc.). Consult your washer's service manual for diagnostic mode entry procedure. Run through all diagnostic tests and verify all motor functions operate correctly. If any function fails in diagnostic mode, the motor may be defective or a connector may be loose.
  12. The front load motor lifespan is typically 10-20 years with average use, but can be shortened by bearing wear, inverter failure, water damage, thermal stress, or manufacturing defects. Factors that shorten motor life include: bearing wear from continuous operation (mechanical wear), inverter failure from power surges or component failure (electrical stress), water damage from leaks or seal failure (corrosion), thermal stress from overheating (component degradation), and poor electrical connections (arcing and overheating). To extend motor life, maintain proper water seal to prevent leaks, avoid overloading the washer, use proper wash cycles for load size, keep the washer in a cool, dry location, and maintain proper electrical connections.
  • Washer will not start wash cycle (motor not running, most common symptom)
  • Washer makes loud grinding or squealing noise during operation (bearing failure)
  • Washer drum not rotating or rotating slowly (motor failure or inverter failure)
  • Washer stuck in one direction (inverter failure)
  • Washer not spinning or spinning slowly (motor failure or bearing failure)
  • Burning smell from motor area (motor overheating or winding failure)
  • Washer displaying motor error codes (E20, E21, E23, E24, etc.)
  • Complete washer failure (motor unable to operate)
  • Washer drum not tumbling during wash cycle (motor failure)
  • Washer making excessive vibration or noise (bearing failure or misalignment)
  • Washer taking longer than normal to complete cycles (motor running slowly)
  • Washer not reaching high spin speeds (motor failure or bearing failure)
  • Intermittent motor operation (electrical connection failure or inverter failure)


Whirlpool refrigerator replacement parts, Frigidaire refrigerator replacement parts, GE refrigerator replacement parts, Kenmore refrigerator replacement parts, KitchenAid refrigerator replacement parts, LG refrigerator replacement parts, Maytag refrigerator replacement parts, Whirlpool refrigerator drawers and glides replacement, Whirlpool dishwasher replacement parts, GE dishwasher replacement parts, KitchenAid dishwasher replacement parts, Maytag dishwasher replacement parts, Frigidaire dishwasher replacement parts, Kenmore dishwasher replacement parts, Whirlpool washer replacement parts, GE washer replacement parts, Maytag washer replacement parts, Kenmore washer replacement parts, LG washer replacement parts, Whirlpool dryer replacement parts, GE dryer replacement parts, Maytag dryer replacement parts, Kenmore dryer replacement parts, LG dryer replacement parts, Whirlpool range replacement parts, GE range replacement parts, Whirlpool stove replacement parts, GE stove replacement parts, GE oven replacement parts, GE microwave replacement parts, buy Whirlpool refrigerator parts online, buy GE dishwasher parts online, replacement Kenmore washer parts for sale, buy Maytag dryer parts, LG washer replacement parts online, KitchenAid refrigerator parts for sale, Whirlpool stove and range replacement parts

WG04F09450 Washer Front Load Motor

The WG04F09450 is a genuine OEM GE washer front load motor designed for GE and Hotpoint front-load washing machines. This critical component is the primary drive system that rotates the wash drum during all wash and spin cycles. The drive motor is essential for proper washer function—without a functioning motor, the washer cannot agitate, tumble, or spin and clothes will not be washed or dried. The WG04F09450 is a direct drive brushless DC motor (BLDC) rated for 120V AC operation with integrated inverter control and is designed to provide reliable, efficient, variable-speed operation for all wash and spin cycles. The washer front load motor is a complete assembly that includes all components necessary for installation. The washer front load motor is constructed from premium materials including a brushless DC motor with permanent magnet rotor (provides high efficiency and variable speed control), integrated inverter control board (converts AC power to DC and controls motor speed and direction), heavy-duty motor housing (aluminum or steel construction for durability and heat dissipation), sealed ball bearings (provide smooth, quiet operation and long service life), motor shaft with mounting flange (connects directly to wash drum without belts or pulleys), electrical connector and wiring harness (provides connection to main control board), mounting bracket and hardware (secures motor to washer frame), and thermal protection circuitry (prevents motor overheating and damage). The WG04F09450 features a compact direct drive design that mounts directly to the rear of the wash drum, eliminating the need for belts, pulleys, or transmission systems. The motor shaft connects directly to the drum hub using a mounting flange and bolts. The motor has an electrical connector that plugs into the washer wiring harness, allowing the main control board to send speed and direction commands to the inverter. The direct drive design provides several advantages over traditional belt-driven motors including higher efficiency (no energy loss from belts or pulleys), quieter operation (fewer moving parts), more precise speed control (inverter can vary speed continuously), faster acceleration and deceleration (direct connection to drum), and improved reliability (fewer parts to wear or fail). The WG04F09450 replaces older motor part numbers including J58PWMAD1155, WH20X23194, WH20X20837, and similar motors and features improved brushless DC motor design for higher efficiency and longer lifespan (50% longer than brushed motors), enhanced inverter control board for better speed regulation and smoother operation, upgraded motor bearings for quieter operation and reduced vibration, improved thermal protection for better overload resistance, optimized motor winding design for higher torque and faster spin speeds, and enhanced electrical connector for better conductivity and corrosion resistance across all compatible washer models. The washer front load motor operates through electronic speed control: when the user selects a wash cycle and presses start, the main control board sends speed and direction commands to the motor inverter; the inverter converts 120V AC power to variable DC voltage; the inverter sends DC power to the motor windings in a specific sequence; the motor rotor (permanent magnets) is attracted to the energized windings and rotates; the inverter varies the voltage and switching sequence to control motor speed and direction; during wash cycles, the motor rotates the drum slowly in alternating directions (tumbling action); during spin cycles, the motor accelerates the drum to high speed (up to 1200-1400 RPM) to extract water; the main control board monitors motor speed using feedback from the inverter; if the motor speed is incorrect or the motor fails to start, the control board displays an error code and stops the cycle. Common failure causes include normal wear from age and continuous operation (typical motor lifespan 10-20 years with average use), motor bearing failure from wear or lack of lubrication (most common failure), inverter control board failure from power surges or component failure, motor winding failure from overheating or electrical stress, rotor magnet degradation from age or thermal stress, electrical connection failure from corrosion or loose terminals, water damage from leaks or seal failure, manufacturing defects, or premature failure from low-quality replacement motors. When the washer front load motor fails, symptoms include washer will not start wash cycle (motor not running, most common symptom), washer makes loud grinding or squealing noise during operation (bearing failure), washer drum not rotating or rotating slowly (motor failure or inverter failure), washer stuck in one direction (inverter failure), washer not spinning or spinning slowly (motor failure or bearing failure), burning smell from motor area (motor overheating or winding failure), washer displaying motor error codes (E20, E21, E23, E24, etc.), or complete washer failure (motor unable to operate). The WG04F09450 is a direct replacement front load motor that provides reliable, efficient, variable

Part number WG04F09450 replaces WG04A03001, WH20X23194, WDNFF0305010000, WH20X20837, YXTK-600-4-3L, J58PWMAD1155

Supported Models:

GFW400SCK0WW, GFWN1100H1W, GFWN1300J0WW, GFWN1300J1WW, GFWN1600J1WW, WMC1586NXWW1, GFWH1200H0WW, GFWN1100H0WW

Hard to find parts? We've got them or we'll find them!

Over 10,000 New & Used Parts Ready for Pickup

Show this item number to our store staff to help locate the exact part you need
XPART GTIN/UPC NUMBER
9665584333089

XPart Supply Advantage

Your trusted partner for fast, reliable parts delivery across North America

Lightning Fast Shipping

Same-day processing with expedited delivery options across North America

Massive Inventory

Over 10,000 parts in stock and ready to ship immediately

North America Coverage

Comprehensive shipping network covering USA, Canada, and Mexico

Quality Guaranteed

Premium parts with warranty protection and expert customer support

10K+
Parts in Stock
24-48H
Local Delivery
99.8%
Customer Satisfaction
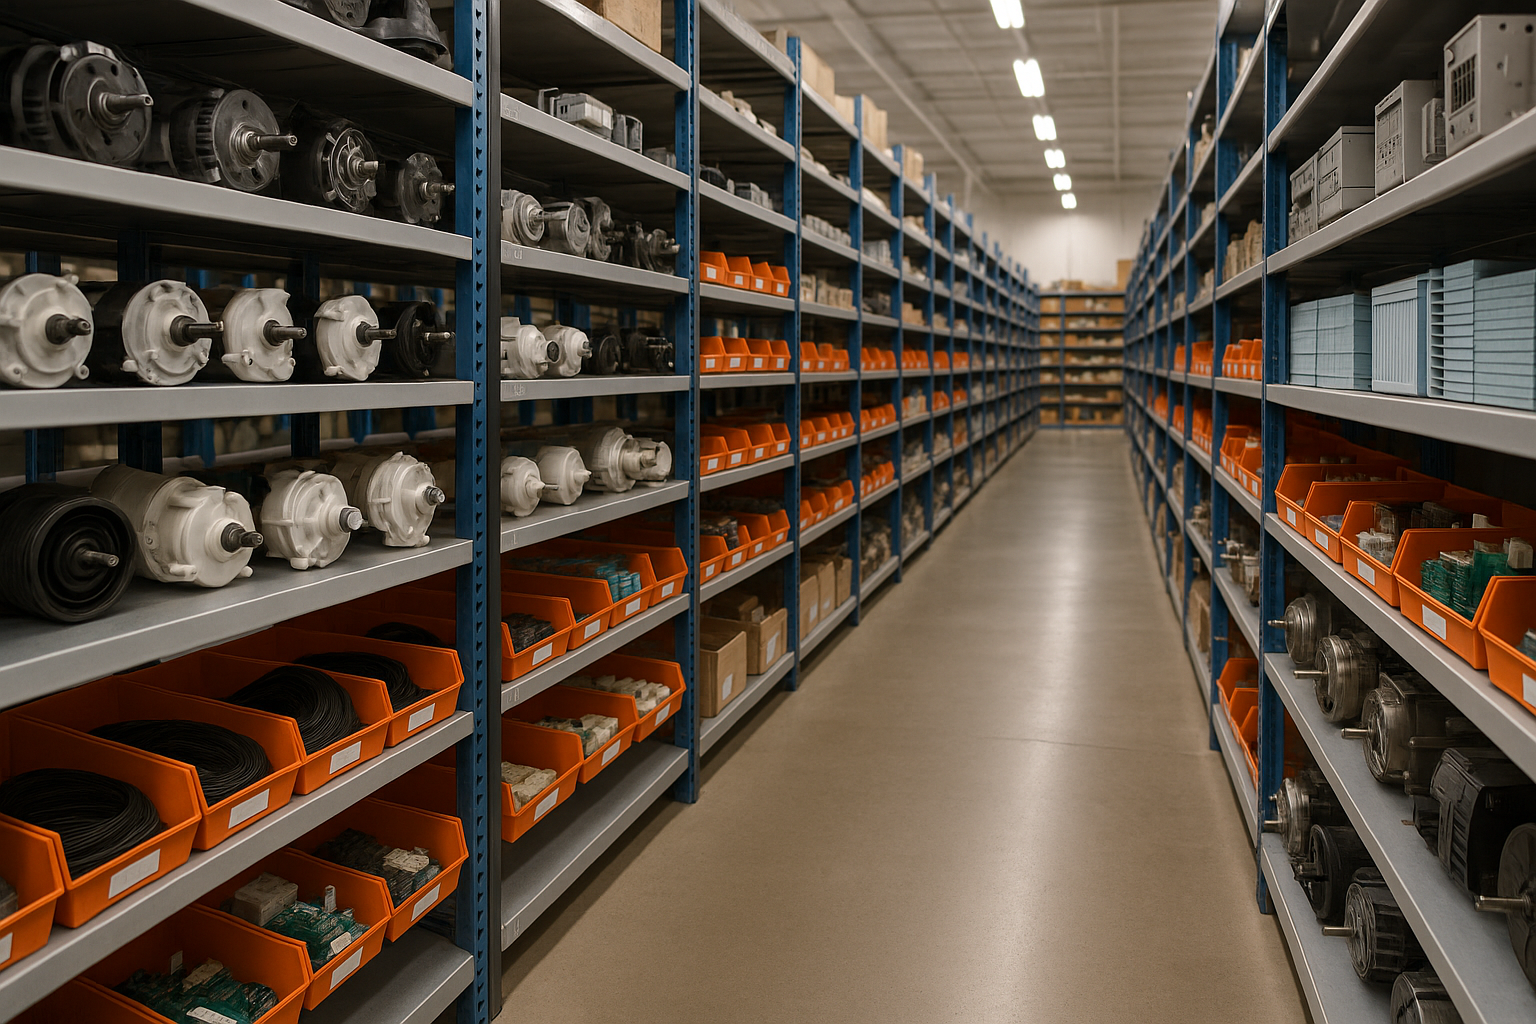
Professional appliance parts warehouse with organized shelving and extensive inventory

Express Warehouse Shipping

Order within the countdown for same-day shipping!

00 Hours
00 Minutes
00 Seconds

In stock orders placed during business hours ship the same day.

Order of $75 or more of eligible items qualify for FREE Shipping.

Same-day shipping deadline has passed

Orders placed now will ship the next business day.

Same-day shipping deadline has passed

Orders placed outside business hours will be processed when we reopen.

Business Hours: Monday - Friday, 9:00 AM - 5:00 PM EST

Trusted Family Business

29 years of Excellence in Appliance Parts

For over 29 years, our family has been dedicated to providing quality appliance parts and exceptional service. What started as a small local business has grown into a trusted name, but we've never forgotten our roots. Every customer receives the personal attention and care that only a family-owned business can provide.

Years of Experience

Our knowledge has been built over the past 29 years in the business, ensuring expert advice for every appliance need.

Personal Service Guarantee

We treat every customer like family, providing personalized solutions and standing behind our products.

Built on Trust

Our reputation has been built one satisfied customer at a time, creating lasting relationships in our community.

Buy Online Pick Up In-Store

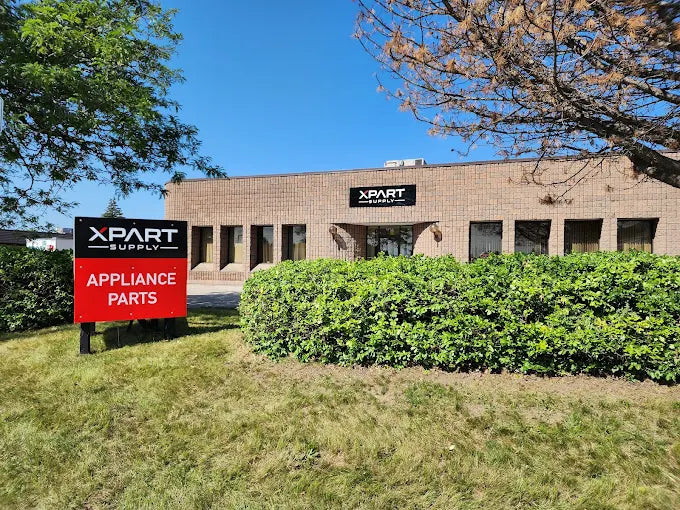
Address
101 Trillium Dr
Kitchener, Ontario N2R 1J8
Phone
Hours
Monday - Friday 9:00 AM - 5:00 PM
Get Directions

Contact Us Customer Service

Hard to find parts? We've got them or we'll find them!

Call now for expert appliance parts assistance

Available Monday - Friday, 9AM - 5PM EST