W11243624 Refrigerator Water Dispenser Cover

XPart Supply Ltd.

Price
$76.50

Frequently Bought Together

Dispenser Cover Assembly, Water Dispenser Cover, Dispenser Shield, Dispenser Trim Cover, Dispenser Housing Cover, Dispenser Bezel

W10823377, W10823376, W10823375, W11243624, PS12584053, AP6783105, EAP12584053

Whirlpool, Maytag, KitchenAid, Jenn-Air, Amana, Roper, Admiral, Estate, Inglis, Crosley


Fits Models: (Ctrl+F and Enter Your Model Number)

WhirlpoolWRT771RWYW, WRT771RWYW00, WRT771RWYW01, WRT771RWYW02, WRT771RWYB, WRT771RWYB00, WRT771RWYB01, WRT771RWYB02, WRT518SZFM, WRT518SZFM00, WRT518SZFM01, WRT518SZFM02, WRT549SZDM, WRT549SZDM00, WRT549SZDM01, WRT549SZDM02

MaytagMRT711SMFZ, MRT711SMFZ00, MRT711SMFZ01, MRT711SMFZ02, MRT518SZFZ, MRT518SZFZ00, MRT518SZFZ01, MRT518SZFZ02, MRT311FFFZ, MRT311FFFZ00, MRT311FFFZ01, MRT311FFFZ02

KitchenAidKFFS20EYMS, KFFS20EYMS00, KFFS20EYMS01, KFFS20EYMS02, KRFF507HPS, KRFF507HPS00, KRFF507HPS01, KRFF507HPS02, KRFF577KPS, KRFF577KPS00, KRFF577KPS01, KRFF577KPS02

Jenn-AirJFC2089BEM, JFC2089BEM00, JFC2089BEM01, JFC2089BEM02, JFX2897DRM, JFX2897DRM00, JFX2897DRM01, JFX2897DRM02, JFC2290REM, JFC2290REM00, JFC2290REM01, JFC2290REM02

AmanaAFI2539ERM, AFI2539ERM00, AFI2539ERM01, AFI2539ERM02, ASI2575FRS, ASI2575FRS00, ASI2575FRS01, ASI2575FRS02, AFD2535DES, AFD2535DES00, AFD2535DES01, AFD2535DES02

RoperRT18DKXJQ, RT18DKXJQ00, RT18DKXJQ01, RT18DKXJQ02, RT18DKXJQ03, RS25AGXKQ, RS25AGXKQ00, RS25AGXKQ01, RS25AGXKQ02

AdmiralASD2522WRB, ASD2522WRB00, ASD2522WRB01, ASD2522WRB02, ASD2626HES, ASD2626HES00, ASD2626HES01, ASD2626HES02

EstateERS2522WRW, ERS2522WRW00, ERS2522WRW01, ERS2522WRW02, ERS2626HES, ERS2626HES00, ERS2626HES01, ERS2626HES02

InglisIRS2522WRW, IRS2522WRW00, IRS2522WRW01, IRS2522WRW02, IRS2626HES, IRS2626HES00, IRS2626HES01, IRS2626HES02

CrosleyCRS2522WRW, CRS2522WRW00, CRS2522WRW01, CRS2522WRW02, CRS2626HES, CRS2626HES00, CRS2626HES01, CRS2626HES02

Professional Repair Time: 15-20 minutes
DIY Repair Time: 20-30 minutes
Difficulty Rating: Easy (1.5/5) — Requires minimal mechanical skills, careful handling of plastic components, attention to mounting method, understanding of snap-fit or screw mounting

  1. Unplug the refrigerator from the electrical outlet to ensure complete power disconnection.
  2. Verify power is off by checking that the refrigerator lights are off and the display is blank.
  3. Open the fresh food compartment door to provide access to the water dispenser cover on the inside of the door.
  4. Take multiple photos of the dispenser cover installation, mounting position, actuator paddle position, nozzle alignment, and how the cover attaches to the door liner before removal. Document from multiple angles. This is absolutely critical for proper reassembly. Use a camera or smartphone to capture high-quality images.
  5. Locate the water dispenser cover mounted on the inside of the fresh food compartment door (typically in the upper section of the door).
  6. Take additional detailed photos of the mounting tabs, clips, or screws that secure the cover to the door liner before removal.
  7. Identify the mounting method for the dispenser cover. The cover may be secured with snap-fit clips, mounting tabs that slide into slots, or mounting screws (typically 2-4 screws). Refer to your photos and parts diagram to determine the mounting method for your model.
  8. If the cover is secured with screws: Locate the mounting screws (typically 2-4 screws around the perimeter of the cover). Remove the screws using a Phillips screwdriver or nut driver. Set the screws aside in a safe location.
  9. If the cover is secured with snap-fit clips or tabs: Gently pry the cover away from the door liner by inserting a flathead screwdriver or plastic trim tool between the cover and the door liner at the clip or tab locations. Apply gentle, even pressure to release the clips or tabs without breaking them. Work around the perimeter of the cover, releasing one clip or tab at a time.
  10. Carefully remove the old dispenser cover from the refrigerator door and place it on a clean work surface with adequate space for inspection.
  11. Inspect the old dispenser cover for visible damage such as cracks, breaks, chips, discoloration, staining, broken mounting tabs or clips, warping, or damage to integrated components (actuator paddle, nozzle, drip tray). This confirms the diagnosis.
  12. Inspect the door liner mounting area for damage, cracks, or broken mounting points. If the door liner is damaged, it may need repair or replacement before installing the new cover.
  13. Clean the door liner mounting area using a mild detergent and warm water to remove any dirt, residue, or adhesive. Dry thoroughly with a clean cloth.
  14. Unpack the new W11243624 dispenser cover from its packaging. Handle carefully to avoid damaging the plastic components or integrated parts.
  15. Verify the dispenser cover specifications match the old cover: dimensions approximately 6-8 inches x 8-10 inches x 2-3 inches, mounting hole or tab locations, actuator paddle design, nozzle position, drip tray design, color and finish.
  16. Compare the new dispenser cover to the old one to verify the dimensions, mounting holes or tabs, actuator paddle position, nozzle alignment, drip tray design, color, finish, and overall appearance match. Ensure you have the correct replacement part.
  17. Inspect the new dispenser cover for any damage or defects before installation. The cover should be intact with no visible cracks, chips, or damage. The mounting tabs or clips should be intact and undamaged. The actuator paddle (if included) should move freely and smoothly.
  18. Test the actuator paddle (if included) by gently pressing it. The paddle should move smoothly and return to its original position when released.
  19. Position the new dispenser cover on the refrigerator door liner, aligning the mounting holes, tabs, or clips with the mounting points on the door liner.
  20. If the cover is secured with screws: Align the mounting holes on the cover with the mounting holes on the door liner. Install the mounting screws and tighten using a Phillips screwdriver or nut driver. Tighten firmly but do not overtighten, which can crack the plastic cover or strip the mounting holes.
  21. If the cover is secured with snap-fit clips or tabs: Align the clips or tabs on the cover with the slots or mounting points on the door liner. Press the cover firmly against the door liner, starting at one edge and working around the perimeter. You should hear or feel the clips or tabs snap into place as the cover seats properly.
  22. Verify the dispenser cover is securely mounted by gently pulling on the cover. The cover should not move or shift—it should be firmly seated.
  23. Verify the actuator paddle moves freely (if applicable) by gently pressing it. The paddle should move smoothly without binding or sticking, and should return to its original position when released.
  24. Verify the water outlet nozzle is properly aligned (if applicable) and positioned to direct water into a glass or container.
  25. Verify the drip tray is properly positioned (if applicable) to collect water drips.
  26. Double-check the installation by comparing it to your detailed photos. Verify the cover is properly aligned, all mounting points are secure, and the cover fits flush against the door liner with no gaps.
  27. Close the fresh food compartment door and verify it closes properly without interference from the new dispenser cover.
  28. Restore power by plugging in the refrigerator.
  29. Test the water dispenser by pressing a glass against the actuator paddle. Water should dispense smoothly and consistently.
  30. Verify the actuator paddle returns to its original position when the glass is removed.
  31. Inspect for water leaks around the dispenser area during and after dispensing. If any leaks are detected, verify the cover is properly seated and all connections are secure.
  32. Verify the drip tray collects water drips properly and prevents water from dripping onto the refrigerator shelf.
  33. Test the dispenser multiple times to ensure consistent, reliable operation.
  34. Monitor the dispenser for 24-48 hours to ensure the new cover operates properly without issues.

Safety Notes: Always unplug the refrigerator before working on it to prevent electrical shock. Handle plastic components carefully to avoid cracking or breaking them during removal and installation. Do not overtighten mounting screws, which can crack the plastic cover or strip the mounting holes. Verify the cover is properly seated and all mounting points are secure before restoring power. This repair requires minimal mechanical skills and careful attention to detail—most homeowners can complete this repair successfully with proper precautions and documentation.

  1. Take detailed photos before removing the old dispenser cover. Document the mounting method, tab positions, actuator paddle alignment, nozzle position, and how the cover fits against the door liner from multiple angles. These photos are critical for ensuring correct installation of the new cover, especially if the mounting method is not immediately obvious.
  2. Use a plastic trim tool instead of a flathead screwdriver to release snap-fit clips. Plastic trim tools are less likely to damage the cover or door liner compared to metal screwdrivers. If you must use a screwdriver, wrap the tip with tape to prevent scratching or damaging the plastic surfaces.
  3. Release snap-fit clips gradually and evenly around the perimeter. Do not attempt to pry the entire cover off at once. Release one clip at a time, working around the perimeter of the cover. Applying excessive force to a single clip can break the clip or crack the cover or door liner.
  4. Clean the door liner mounting area thoroughly before installing the new cover. Remove all dirt, residue, adhesive, or debris from the mounting area using a mild detergent and warm water. A clean mounting surface ensures proper adhesion and seating of the new cover, preventing gaps or loose fit.
  5. Verify the actuator paddle moves freely and smoothly before finalizing installation. Press the paddle several times to ensure it moves without binding or sticking, and returns to its original position when released. A stiff or binding paddle indicates improper installation or a defective part.
  6. Do not overtighten mounting screws. Tighten screws firmly but not excessively—overtightening can crack the plastic cover, strip the mounting holes in the door liner, or warp the cover. Tighten until the cover is snug and secure, then stop.
  7. **Verify the cover fits flush against the door liner with no gaps.** After installation, inspect the perimeter of the cover to ensure it sits flush against the door liner. Gaps indicate that mounting tabs or clips are not fully seated, or that the cover is misaligned. Remove and reinstall the cover if gaps are present.
  8. Test the water dispenser immediately after installation to verify proper operation. Press a glass against the actuator paddle and verify water dispenses smoothly and consistently. If water does not dispense or the paddle does not activate the dispenser switch, the cover may be misaligned or the paddle may not be properly positioned. Adjust the cover as needed.
  9. The dispenser cover color and finish must match the refrigerator interior. Dispenser covers are available in multiple colors and finishes (white, black, stainless steel) to match different refrigerator models. Verify you have ordered the correct color and finish for your refrigerator before installation. An incorrect color or finish will be visually obvious and detract from the refrigerator's appearance.
  10. The dispenser cover is a cosmetic and functional component that typically fails due to physical damage rather than wear. Covers are most commonly damaged by impact (dropping items, rough handling) or by aggressive cleaning with harsh chemicals. Handle the cover carefully during installation and avoid using abrasive cleaners or harsh chemicals that can discolor or damage the plastic. This repair is cost-effective and restores the refrigerator's professional appearance—the cost of dispenser cover replacement ($40-80) is far less than the cost of a new refrigerator ($1,500-4,000+).
  • Dispenser cover cracked, broken, or damaged
  • Dispenser cover loose or falling off refrigerator door
  • Dispenser cover discolored or stained
  • Dispenser actuator paddle not functioning properly (sticking or not returning)
  • Water dripping or leaking around dispenser area
  • Dispenser nozzle damaged or misaligned
  • Dispenser cover not fitting properly or having gaps
  • Mounting tabs or clips broken
  • Cover warped or deformed
  • Integrated components (paddle, nozzle, drip tray) damaged
  • Cosmetic damage affecting refrigerator appearance
  • Dispenser mechanism exposed or unprotected


Whirlpool refrigerator replacement parts, Frigidaire refrigerator replacement parts, GE refrigerator replacement parts, Kenmore refrigerator replacement parts, KitchenAid refrigerator replacement parts, LG refrigerator replacement parts, Maytag refrigerator replacement parts, Whirlpool refrigerator drawers and glides replacement, Whirlpool dishwasher replacement parts, GE dishwasher replacement parts, KitchenAid dishwasher replacement parts, Maytag dishwasher replacement parts, Frigidaire dishwasher replacement parts, Kenmore dishwasher replacement parts, Whirlpool washer replacement parts, GE washer replacement parts, Maytag washer replacement parts, Kenmore washer replacement parts, LG washer replacement parts, Whirlpool dryer replacement parts, GE dryer replacement parts, Maytag dryer replacement parts, Kenmore dryer replacement parts, LG dryer replacement parts, Whirlpool range replacement parts, GE range replacement parts, Whirlpool stove replacement parts, GE stove replacement parts, GE oven replacement parts, GE microwave replacement parts, buy Whirlpool refrigerator parts online, buy GE dishwasher parts online, replacement Kenmore washer parts for sale, buy Maytag dryer parts, LG washer replacement parts online, KitchenAid refrigerator parts for sale, Whirlpool stove and range replacement parts

W11243624 Refrigerator Water Dispenser Cover

The W11243624 is a genuine OEM refrigerator water dispenser cover assembly for Whirlpool and affiliated brand refrigerators. This dispenser cover is a critical cosmetic and functional component that attaches to the refrigerator inner liner (inside the fresh food compartment door) and covers the water dispenser fill switch mechanism, providing a clean, finished appearance while protecting internal dispenser components from damage and contamination. The dispenser cover assembly is constructed from durable plastic (typically ABS or polycarbonate), with a smooth, finished surface that matches the refrigerator interior color (typically white, black, or stainless steel finish), mounting tabs or clips for secure attachment to the inner liner, and openings or cutouts for the dispenser actuator paddle, water outlet nozzle, and drip tray. The assembly measures approximately 6-8 inches in width, 8-10 inches in height, and 2-3 inches in depth, weighing approximately 0.3-0.5 pounds. The dispenser cover mounts to the refrigerator door inner liner using snap-fit clips, mounting tabs, or screws (depending on the model), and may include integrated components such as the dispenser actuator paddle, water outlet nozzle, drip tray, or dispenser switch housing. The W11243624 replaces older part numbers including W10823377, W10823376, W10823375, PS12584053, AP6783105, and others with improved fit, finish, and durability. The dispenser cover serves multiple functions: (1) it provides a clean, finished appearance to the refrigerator interior, covering the dispenser mechanism and wiring; (2) it protects the dispenser fill switch and internal components from damage, contamination, and moisture; (3) it guides the user's glass or container to the proper position for water dispensing; (4) it supports the dispenser actuator paddle and ensures proper alignment with the fill switch; (5) it collects and directs water drips to the drip tray, preventing water from dripping onto the refrigerator shelf. Over time, refrigerator water dispenser covers can fail due to physical damage (cracks, breaks, or chips from impact), discoloration or staining (from water exposure or cleaning products), mounting tab or clip breakage (causing the cover to become loose or fall off), warping or deformation (from heat or stress), wear or damage to integrated components (actuator paddle, nozzle, drip tray), or manufacturing defects. When the dispenser cover fails, symptoms include the cover being cracked, broken, or damaged, the cover being loose or falling off the refrigerator door, the cover being discolored or stained, the dispenser actuator paddle not functioning properly (sticking or not returning to position), water dripping or leaking around the dispenser area, the dispenser nozzle being damaged or misaligned, or the cover not fitting properly or having gaps. The W11243624 is a complete replacement dispenser cover assembly that restores the clean, finished appearance of the refrigerator interior and ensures proper dispenser operation. Replacing a damaged dispenser cover eliminates all cosmetic and functional problems and restores the refrigerator's professional appearance. Important: Always unplug the refrigerator before working on it to prevent electrical shock. This is a simple repair requiring minimal mechanical skills and careful handling of plastic components. Verify your refrigerator model number before ordering. The dispenser cover assembly may include multiple components—refer to your parts diagram for a comprehensive parts list. This repair can be completed by most homeowners with basic mechanical skills and careful attention to detail.

Key Features & Design

This genuine OEM part features a sturdy design that seamlessly integrates with your refrigerator's water dispenser. Crafted from high-quality plastic, as commonly used in such components, it replaces outdated or damaged covers with part numbers like W10159478, W10204289, and others. Its compact size ensures an easy fit for a variety of bottom-mount and top-freezer models, providing a clean, protective barrier without altering the original appliance layout.

  • Direct replacement for multiple part numbers, ensuring compatibility with Kenmore, Jenn-Air, Whirlpool, and similar brands.
  • Built with durable materials to withstand everyday use and maintain the refrigerator's interior appearance.
  • Simple, user-friendly design that matches the original specifications for a hassle-free installation.

Performance & Benefits

By installing the W11243624 cover, you can protect your refrigerator's water dispenser from dust, spills, and wear, extending the overall lifespan of your appliance. It solves common issues like exposed mechanisms or cosmetic damage, helping you avoid costly repairs while enhancing the user experience with a neat, functional interior. From XPart Supply Ltd., this part offers peace of mind with its dependable quality, making it a smart choice for maintaining your kitchen's efficiency and appearance.

Part Number W11243624 replaces W10159478, W10204289, W10204292, W10386345, WPW10386345

Hard to find parts? We've got them or we'll find them!

Over 10,000 New & Used Parts Ready for Pickup

Show this item number to our store staff to help locate the exact part you need
XPART GTIN/UPC NUMBER
9665430126881

XPart Supply Advantage

Your trusted partner for fast, reliable parts delivery across North America

Lightning Fast Shipping

Same-day processing with expedited delivery options across North America

Massive Inventory

Over 10,000 parts in stock and ready to ship immediately

North America Coverage

Comprehensive shipping network covering USA, Canada, and Mexico

Quality Guaranteed

Premium parts with warranty protection and expert customer support

10K+
Parts in Stock
24-48H
Local Delivery
99.8%
Customer Satisfaction
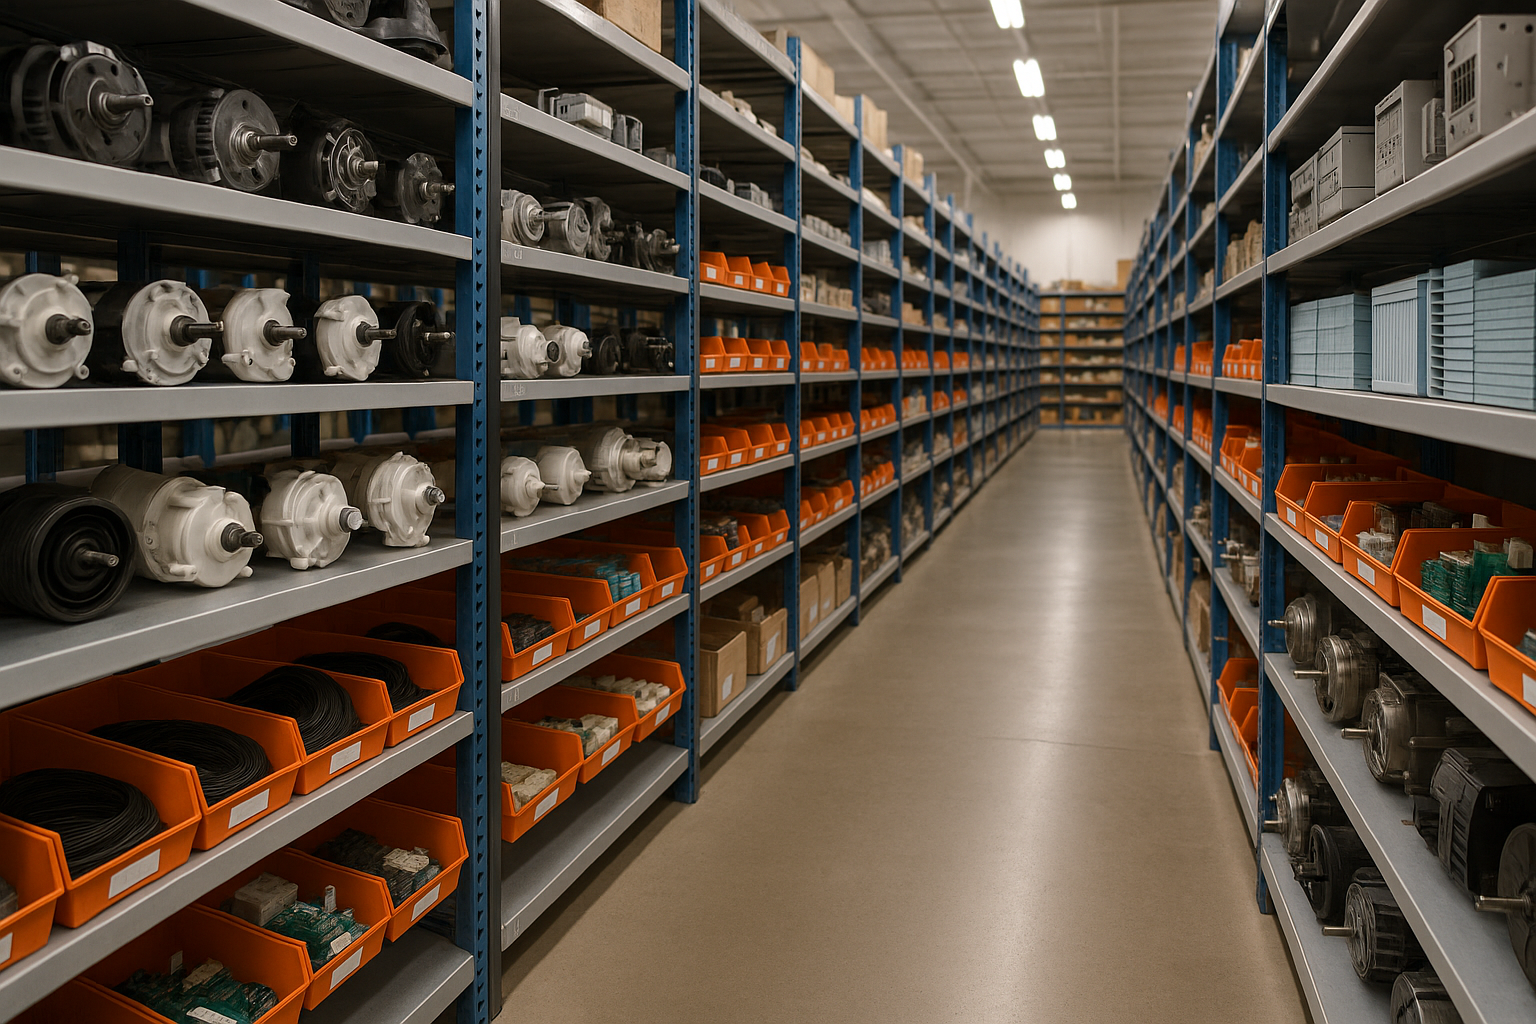
Professional appliance parts warehouse with organized shelving and extensive inventory

Express Warehouse Shipping

Order within the countdown for same-day shipping!

00 Hours
00 Minutes
00 Seconds

In stock orders placed during business hours ship the same day.

Order of $75 or more of eligible items qualify for FREE Shipping.

Same-day shipping deadline has passed

Orders placed now will ship the next business day.

Same-day shipping deadline has passed

Orders placed outside business hours will be processed when we reopen.

Business Hours: Monday - Friday, 9:00 AM - 5:00 PM EST

Trusted Family Business

29 years of Excellence in Appliance Parts

For over 29 years, our family has been dedicated to providing quality appliance parts and exceptional service. What started as a small local business has grown into a trusted name, but we've never forgotten our roots. Every customer receives the personal attention and care that only a family-owned business can provide.

Years of Experience

Our knowledge has been built over the past 29 years in the business, ensuring expert advice for every appliance need.

Personal Service Guarantee

We treat every customer like family, providing personalized solutions and standing behind our products.

Built on Trust

Our reputation has been built one satisfied customer at a time, creating lasting relationships in our community.

Buy Online Pick Up In-Store

Address
101 Trillium Dr
Kitchener, Ontario N2R 1J8
Phone
Hours
Monday - Friday 9:00 AM - 5:00 PM
Get Directions

Contact Us Customer Service

Hard to find parts? We've got them or we'll find them!

Call now for expert appliance parts assistance

Available Monday - Friday, 9AM - 5PM EST